Over the past few months, almost every customer conversation has shifted from SEO to AI readiness.
The questions are no longer just:
“How do we rank higher on Google?”
They’re becoming:
“How do we make sure ChatGPT, Copilot, Gemini, or Claude can find and understand our content?”
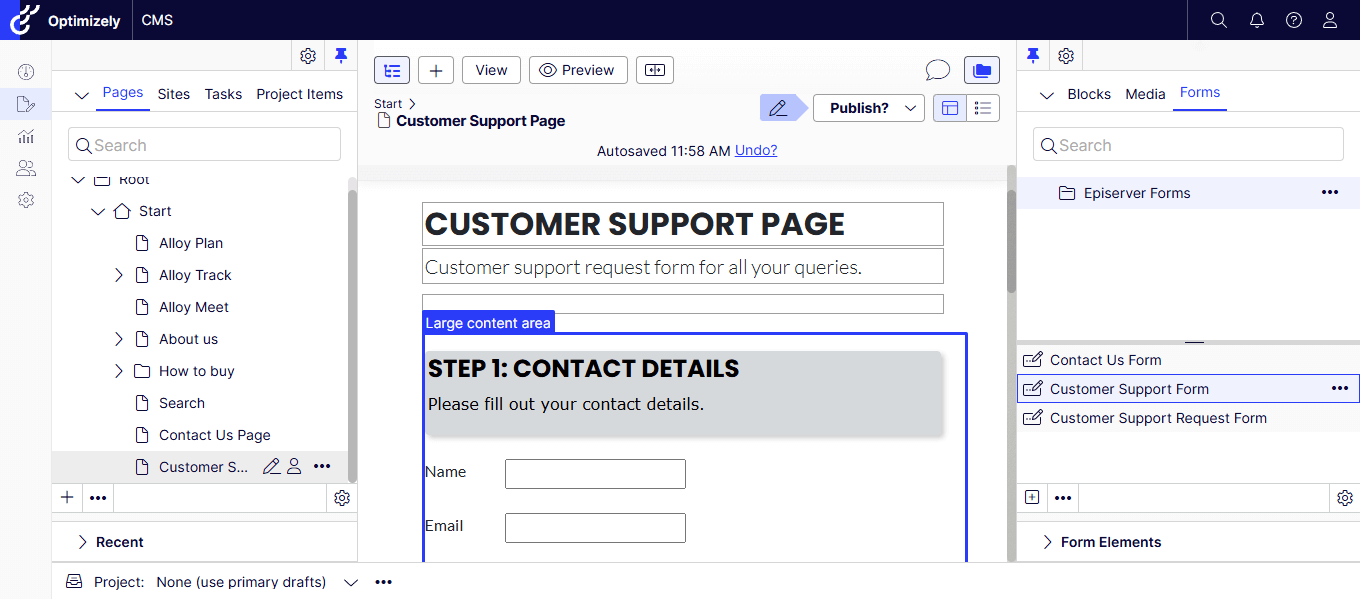
If you’re running an Optimizely website, the good news is that you don’t need a complete redesign. A few small improvements can make your content much easier for AI systems to discover and consume.
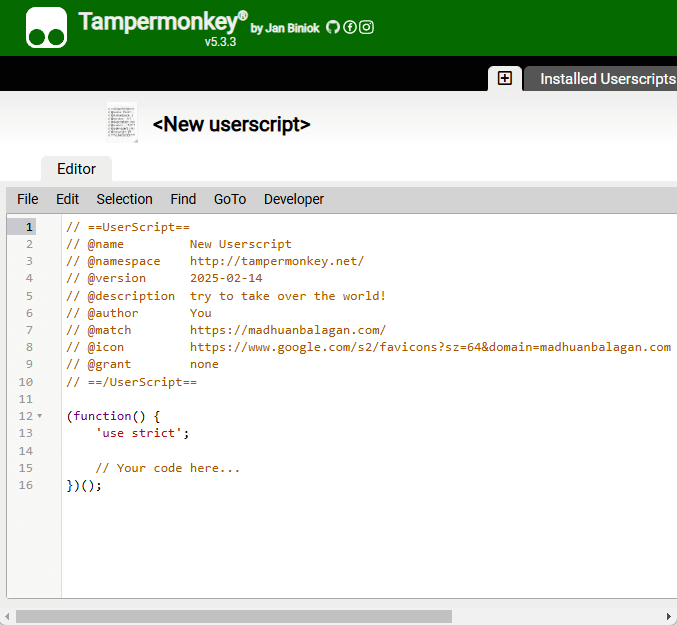
In this post, I’ll walk through a few simple changes we’ve been discussing with customers, including:
- Upgrading the Stott Security RobotHandler
- Adding an llms.txt file
- Structuring content for AI
- Improving metadata
- Preparing your Optimizely implementation for the next generation of search
Why AI Readiness Matters
Search engines return links.
LLMs return answers.
That means AI systems need to understand your content, not just crawl it.
If your website has:
- messy content
- outdated metadata
- poor internal linking
- no structured information
then AI assistants have a harder time understanding what your organization actually offers.
Fortunately, most of these improvements are things we should already be doing.
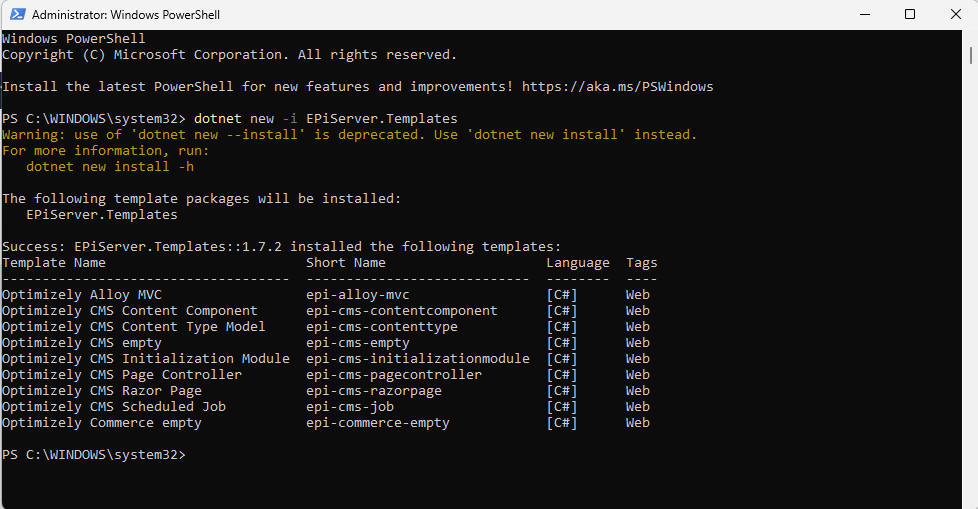
Step 1 – Upgrade Stott Security RobotHandler
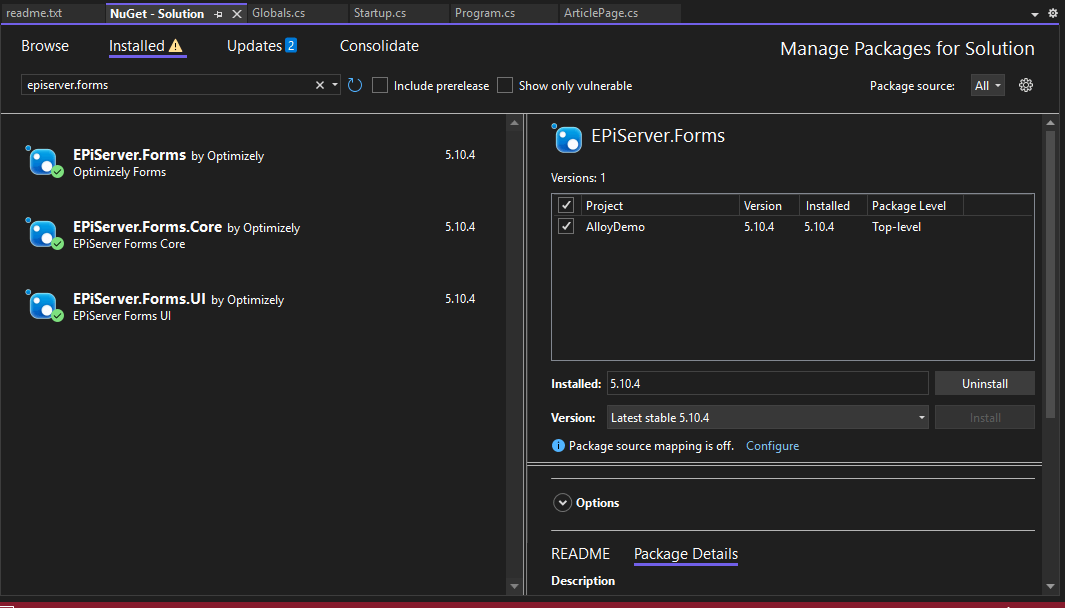
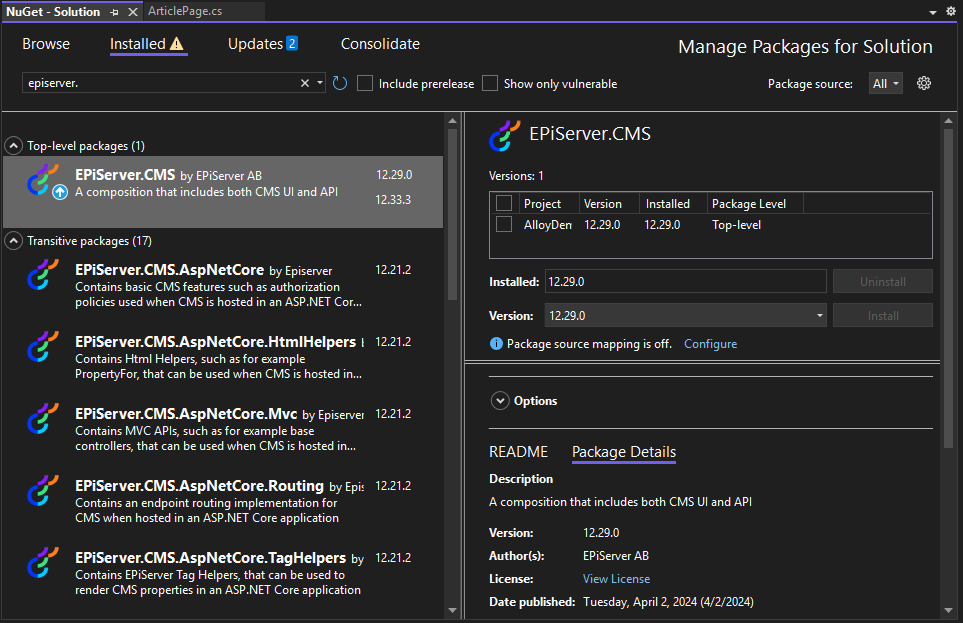
We are currently using Stott.Security.Optimizely.RobotsHandler 3.x – CMS PaaS 12
There isn’t necessarily anything wrong with version 3, but if you’re actively maintaining your solution, it’s worth upgrading to the latest release to benefit from ongoing fixes, compatibility improvements, and newer Optimizely support.
Updating is straightforward.
Remove the old package:
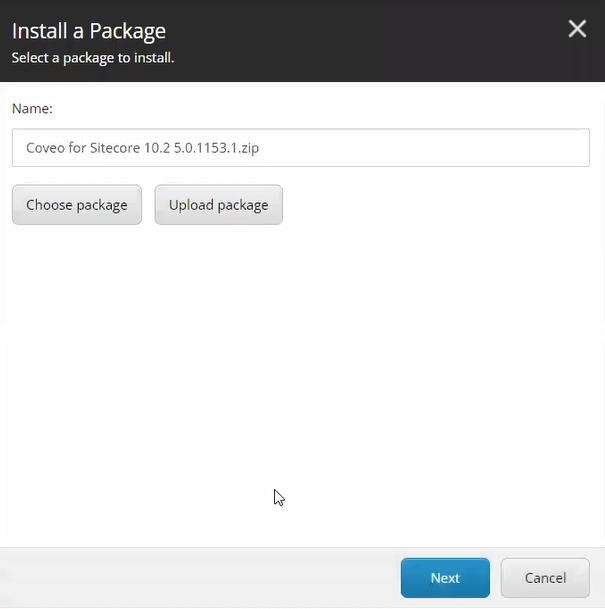
Install the latest version:
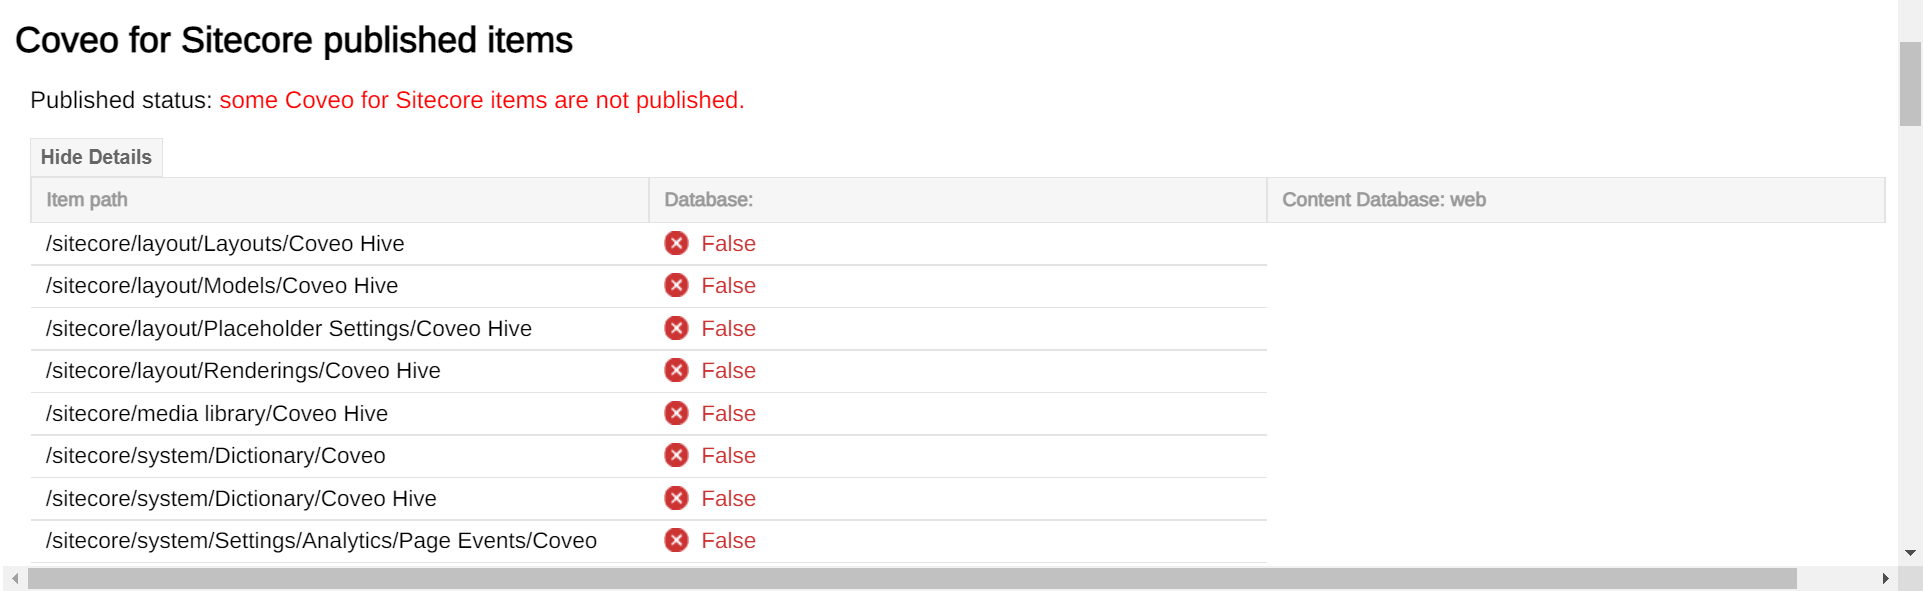
After upgrading, verify that:
- robots.txt is still generated correctly
- your sitemap is referenced
- custom rules still work
- different environments behave as expected
It only takes a few minutes but keeps an important part of your site’s crawl configuration up to date.
Step 2 – Add an llms.txt File
You have probably heard about llms.txt recently.
Think of it as the AI equivalent of a sitemap.
While it isn’t an official web standard today, more organizations are publishing one to help AI systems discover their most important content.
A simple example looks like this:
# Contoso

Website:
https://contoso.com

Documentation:
https://contoso.com/docs

Products:
https://contoso.com/products

Support:
https://contoso.com/support
For smaller websites, a static file is perfectly fine.
For enterprise Optimizely implementations with thousands of pages, I’d recommend generating it dynamically so it always reflects your published content.
That’s something I’ll cover in a future post.
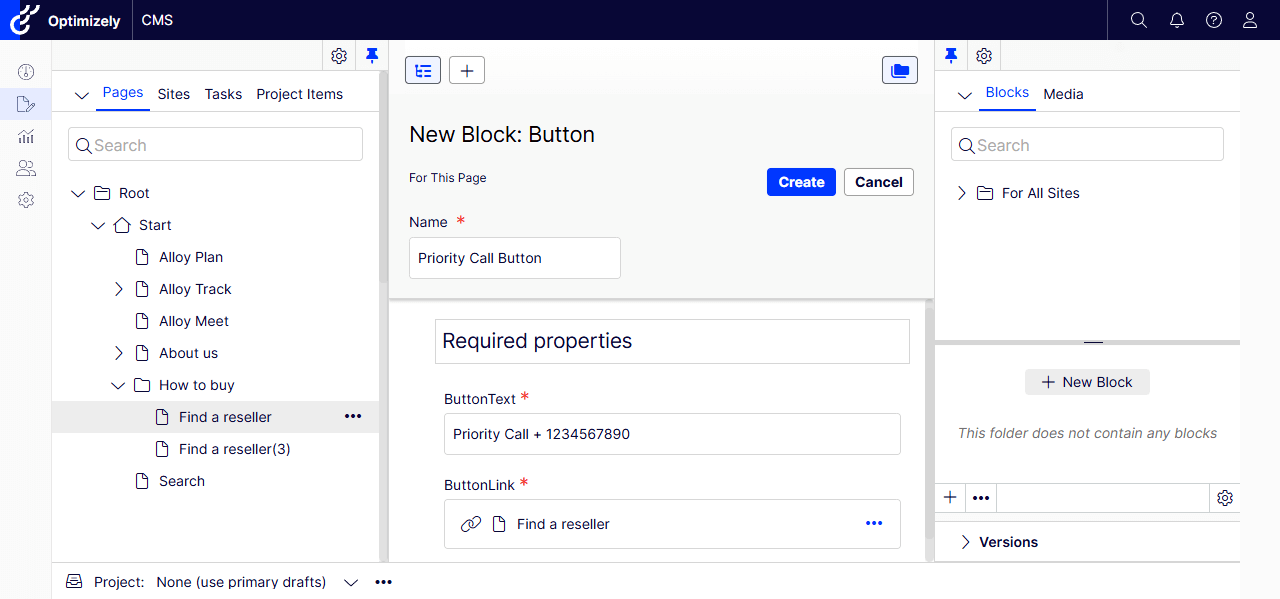
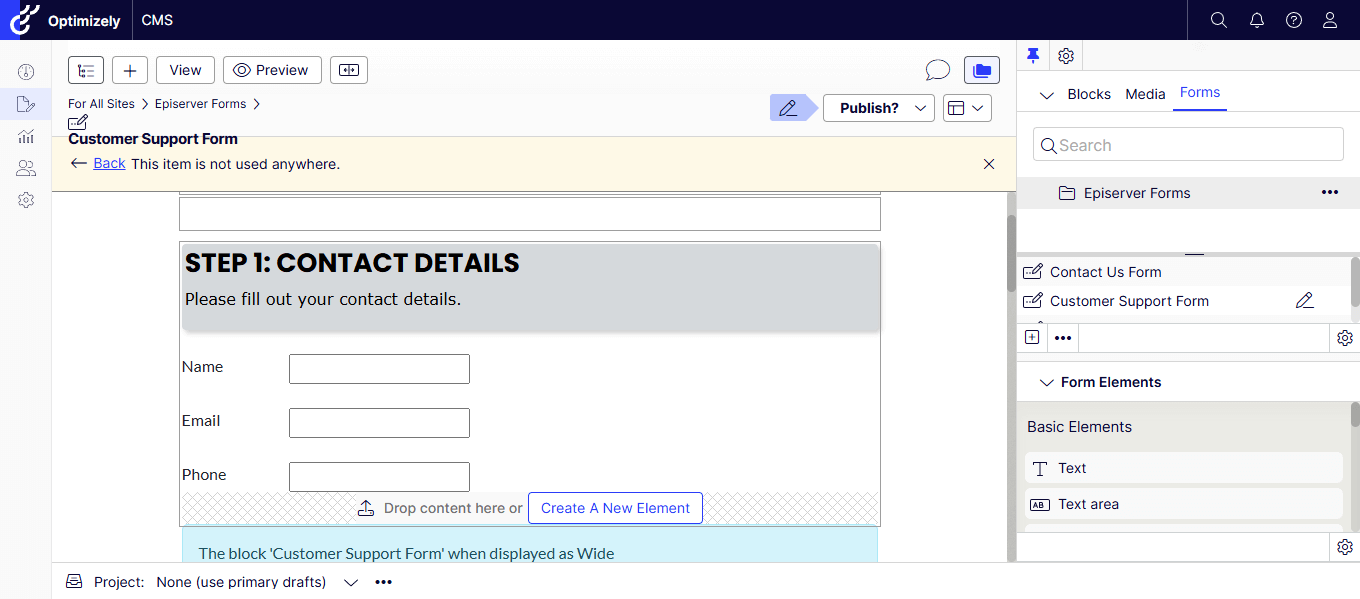
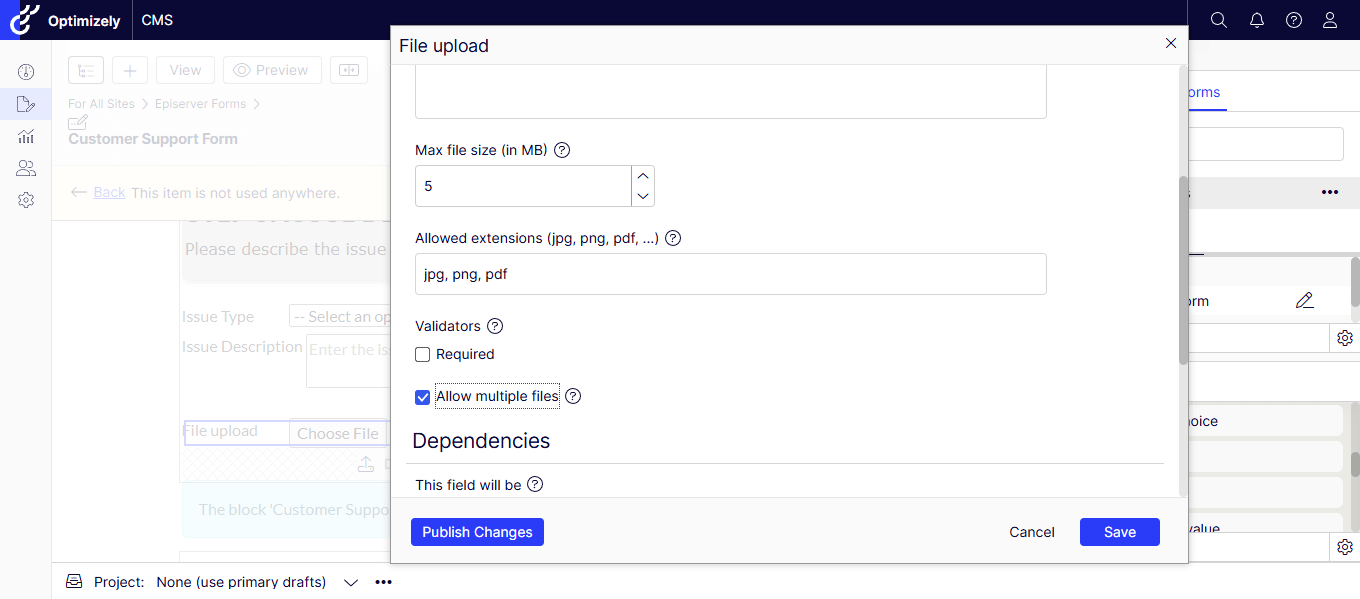
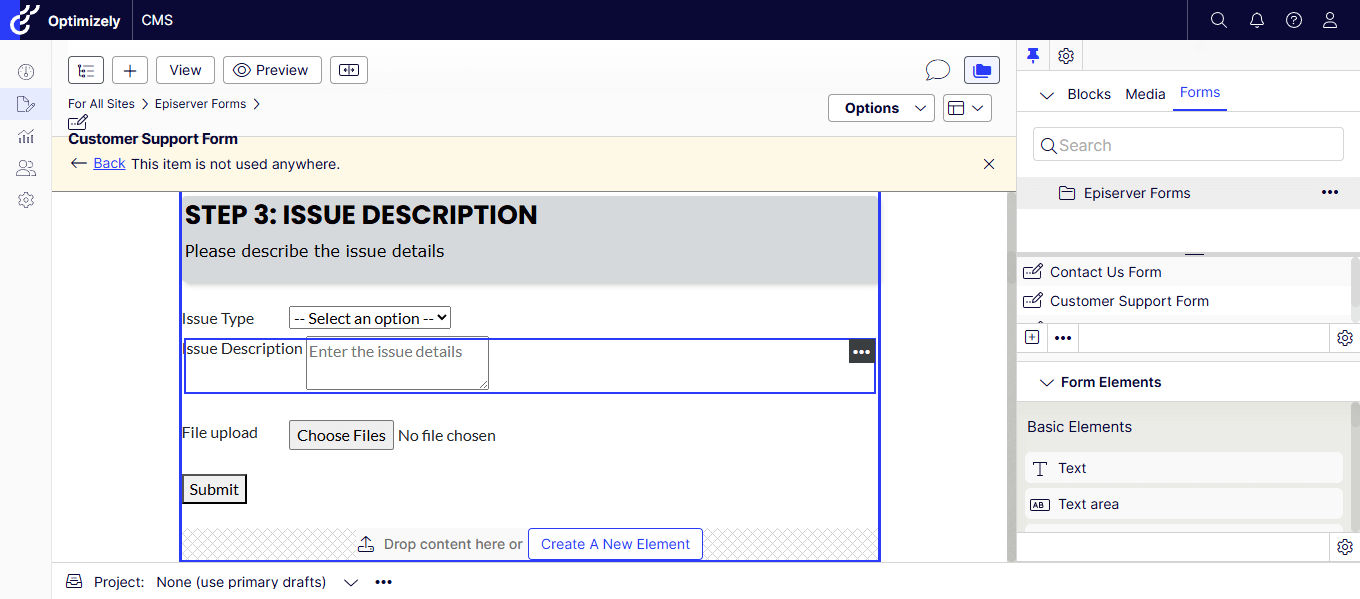
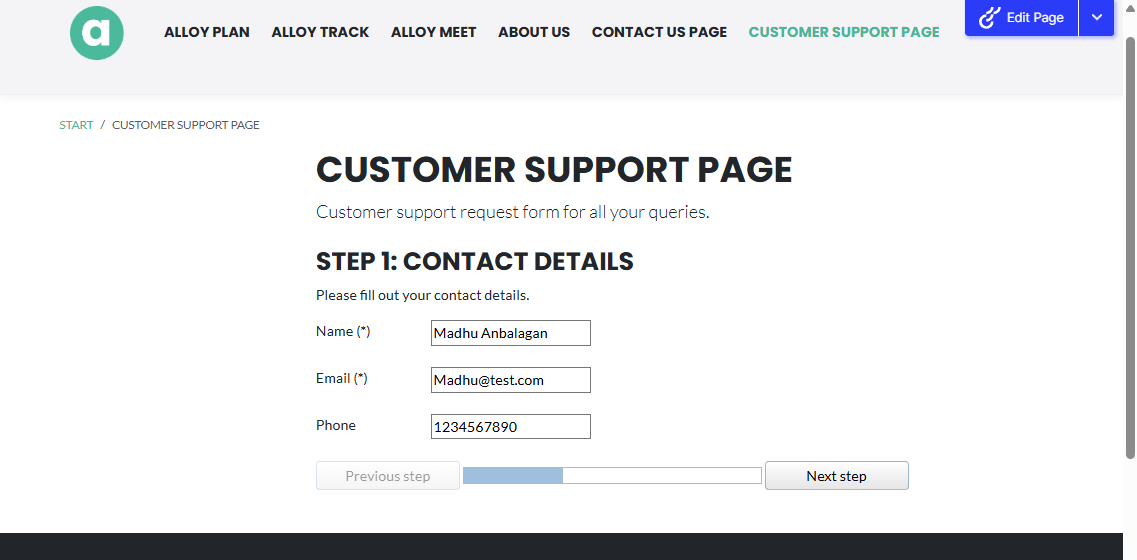
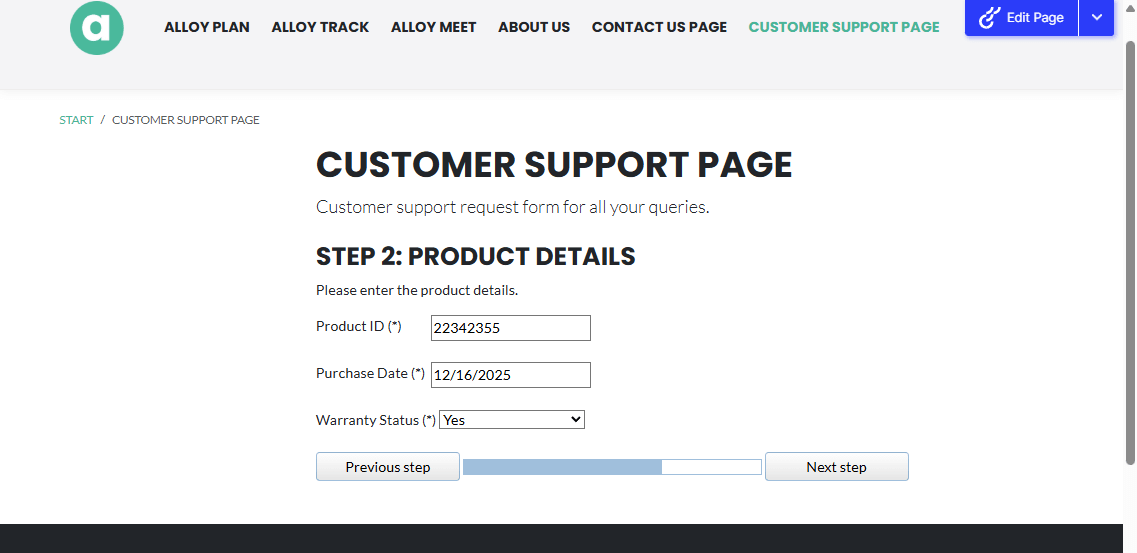
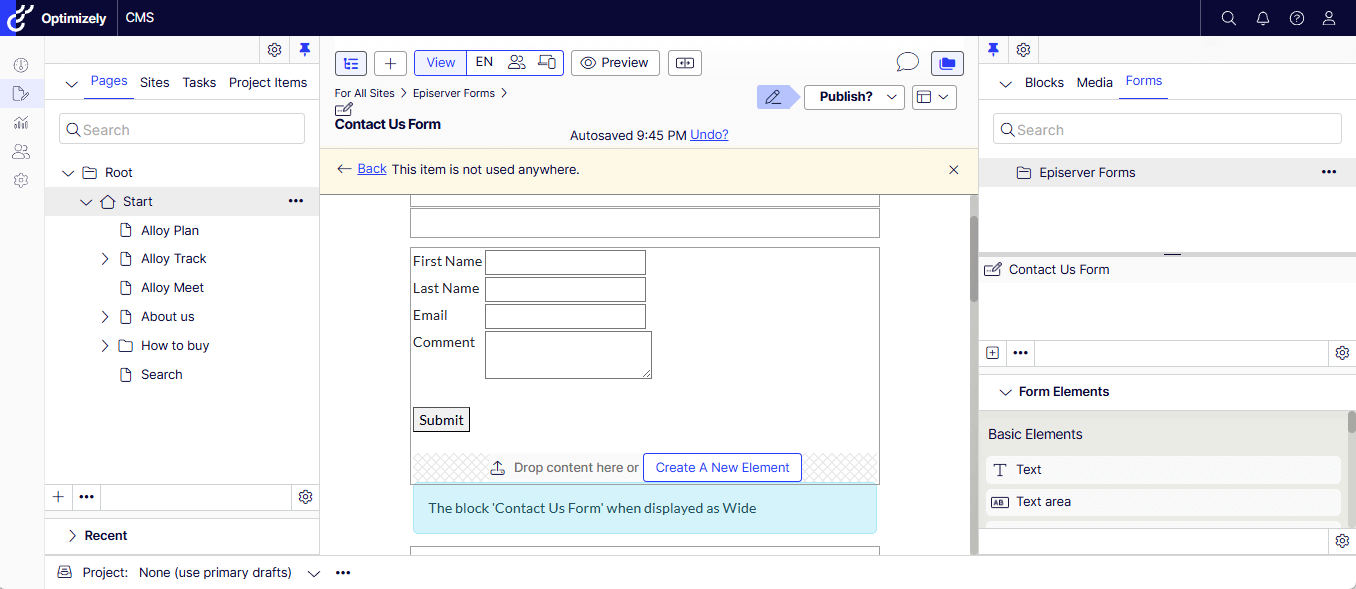
Step 3 – Structure Your Content
This is probably the biggest opportunity.
Many websites still publish pages that contain multiple unrelated topics, huge blocks of text, and headings like:
Learn More
AI models love structure.
Instead, organize pages with:
- meaningful headings
- summaries
- FAQs
- bullet lists
- tables where appropriate
Good content structure helps humans and AI alike.
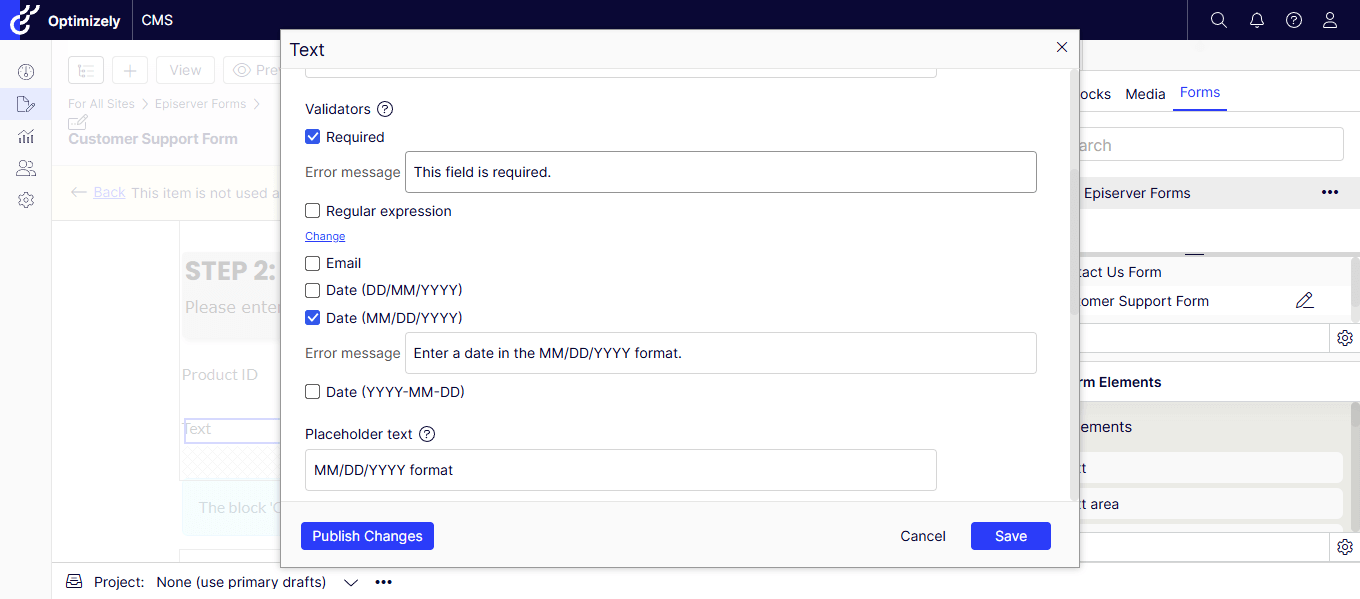
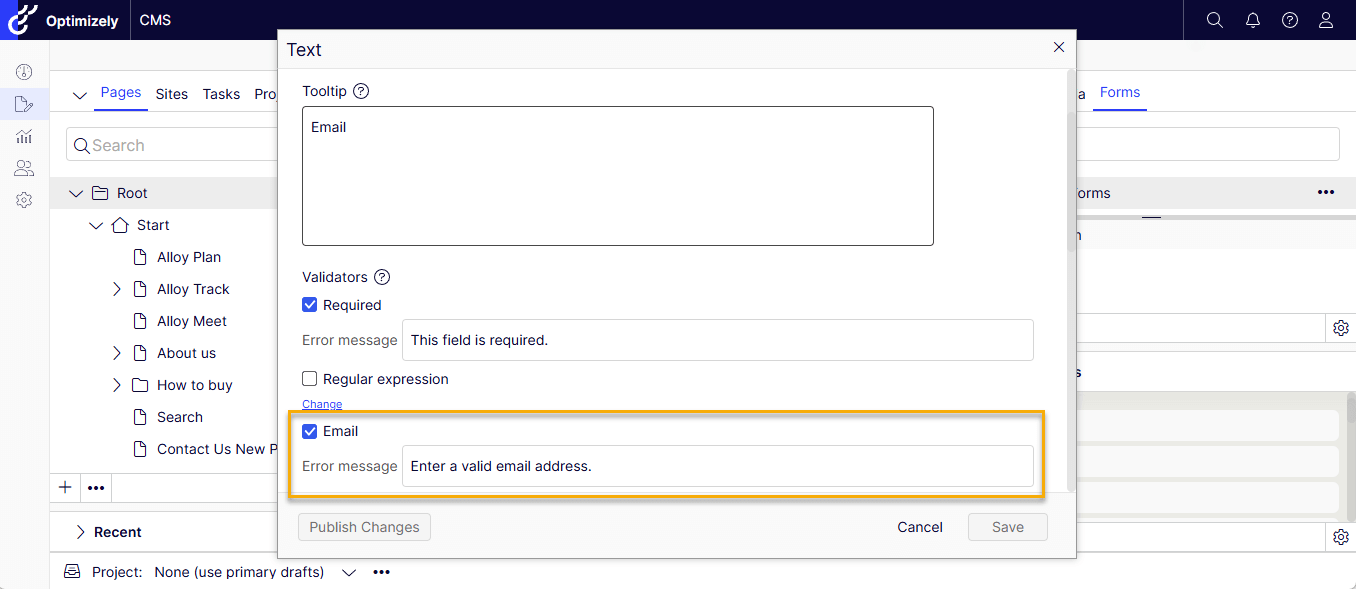
Step 4 – Don’t Ignore Metadata
Metadata is still important.
Make sure every page includes:
- Page title
- Meta description
- Canonical URL
- Open Graph tags
- Schema.org structured data
Structured data gives AI additional context about your pages, products, articles, events, and organization.
Step 5 – Review Your Sitemap
Your XML sitemap should always be current.
Remove:
- unpublished pages
- redirects
- expired content
Include:
- important landing pages
- articles
- product pages
- documentation
This benefits traditional search engines and AI crawlers alike.
Step 6 – Improve Internal Linking
One thing that’s often overlooked is internal linking.
If every page exists in isolation, AI has to work harder to understand the relationships between your content.
Instead, connect related pages naturally.
For example:
- Blog → Product
- Product → Documentation
- Documentation → FAQ
- FAQ → Support
These relationships help both users and AI navigate your website more effectively.
Step 7 – Expose Content Through APIs
If you’re building AI-powered experiences, don’t stop with web pages.
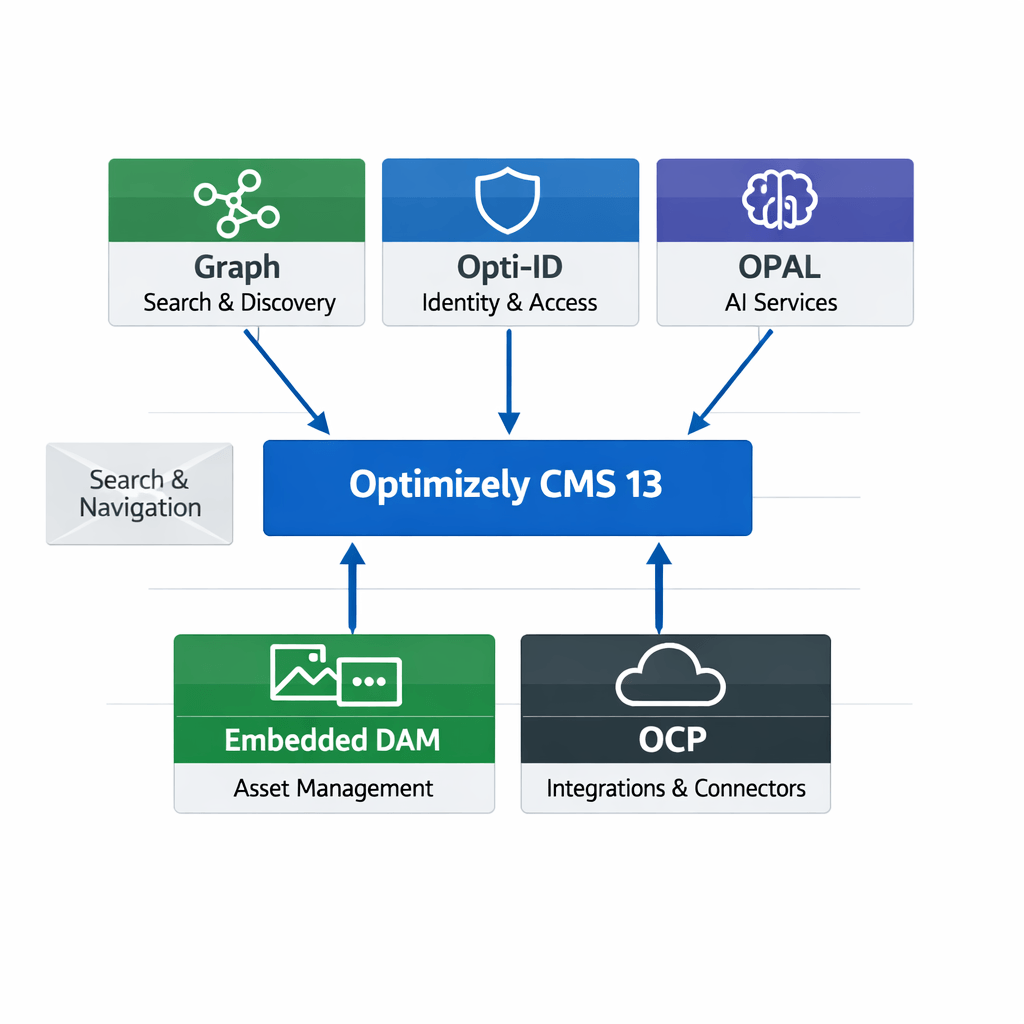
Optimizely already provides excellent options for exposing structured content, including:
- Content Delivery API
- Content Graph
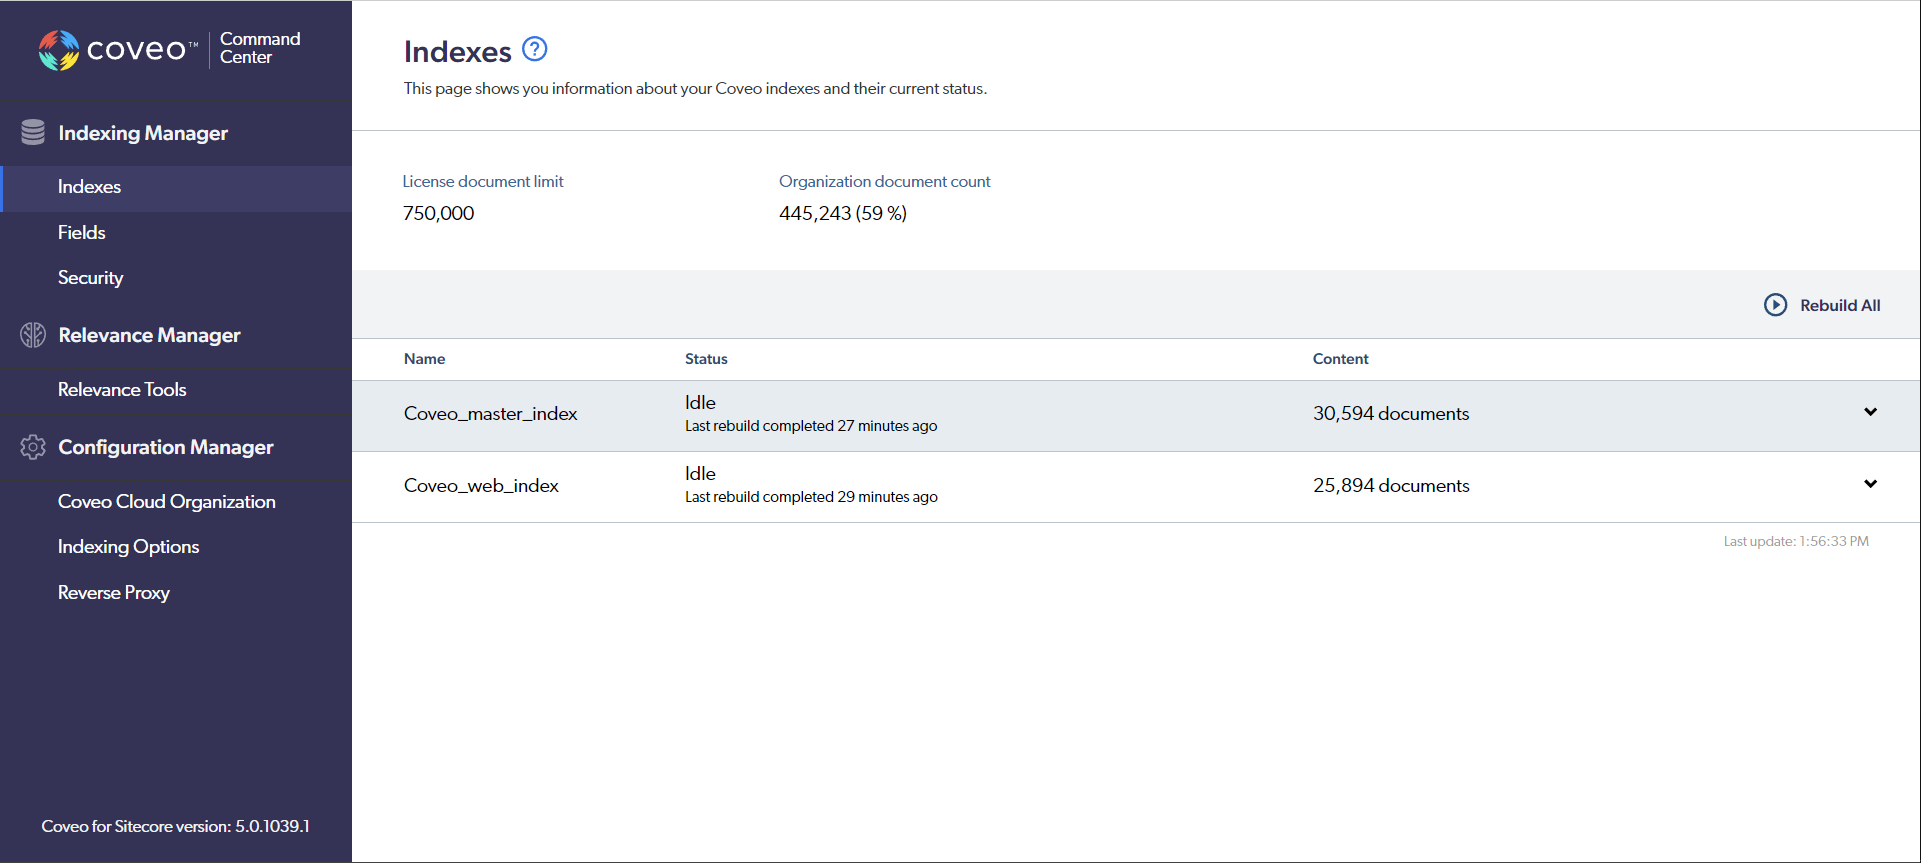
- Search & Navigation indexes
These services make it much easier to build Retrieval-Augmented Generation (RAG) applications and AI assistants that provide grounded responses based on your content.
Most of these are relatively small changes, but together they make your content significantly easier for AI systems to understand and surface.
As AI continues to change how people discover information, preparing your Optimizely website today will put you in a much stronger position tomorrow.
Happy Optimizing!


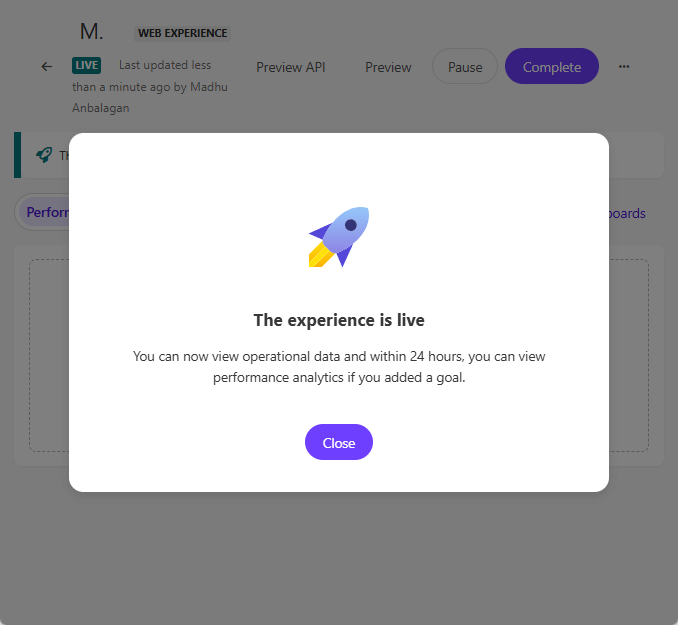


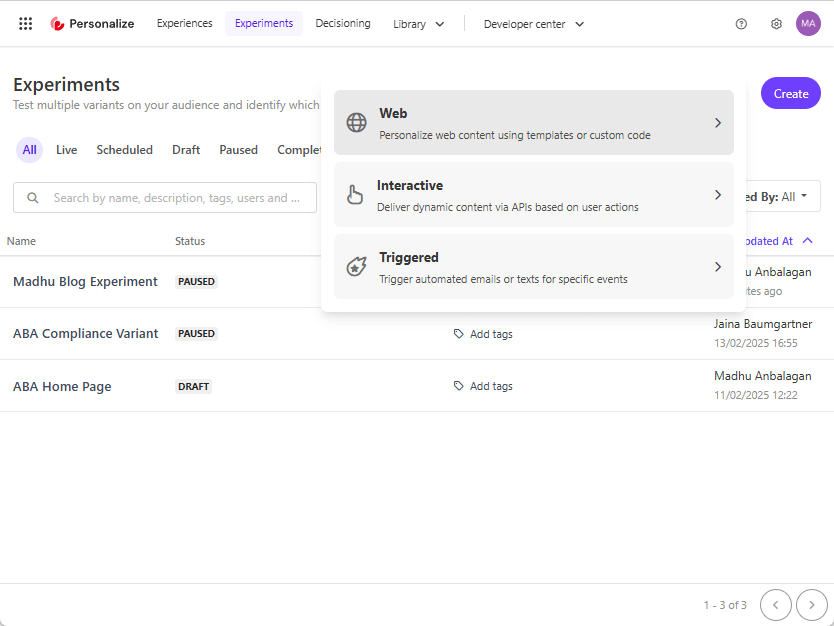 Types of Experiments:


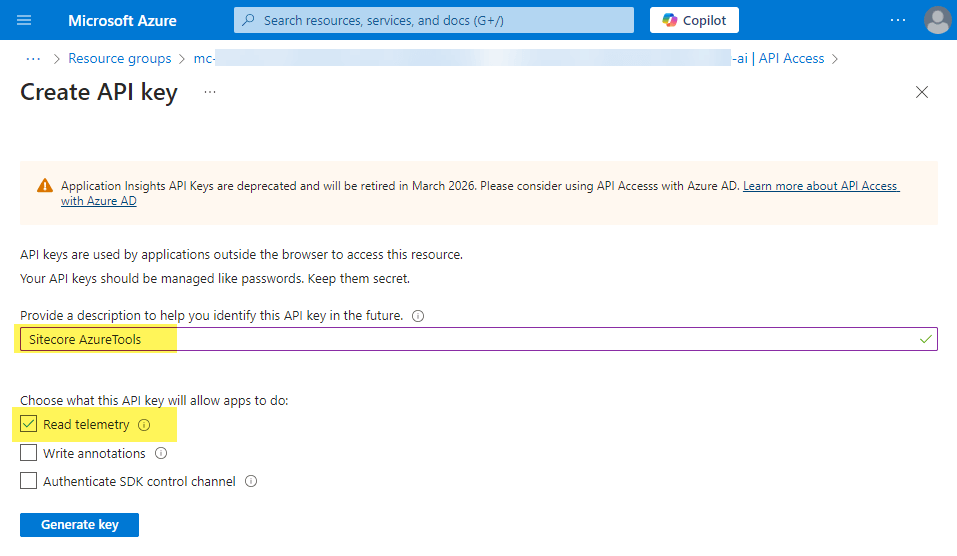
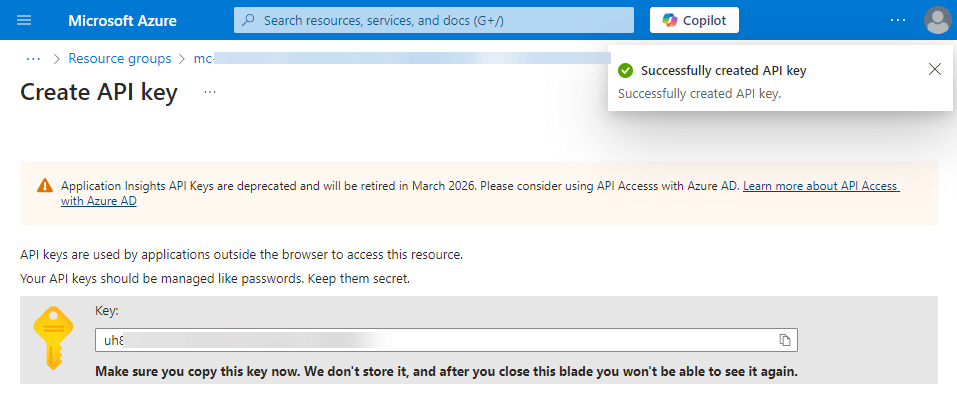
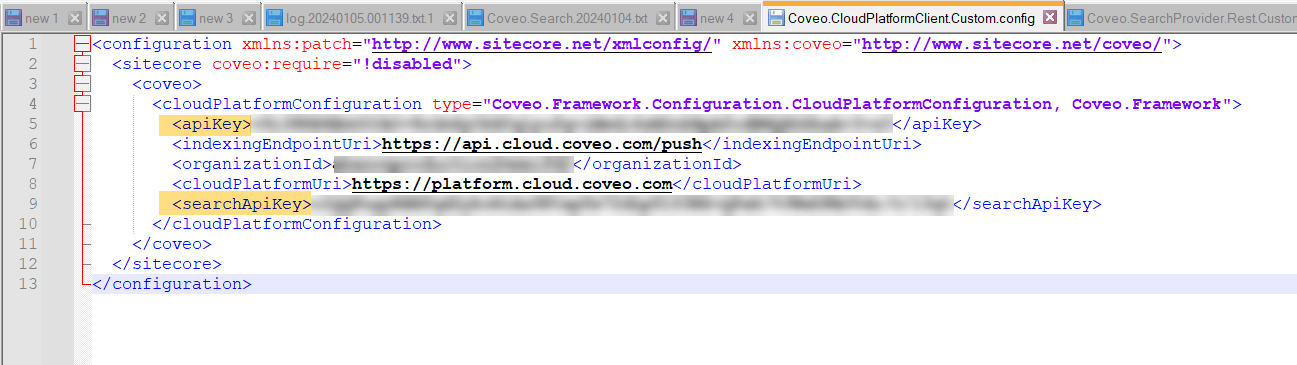
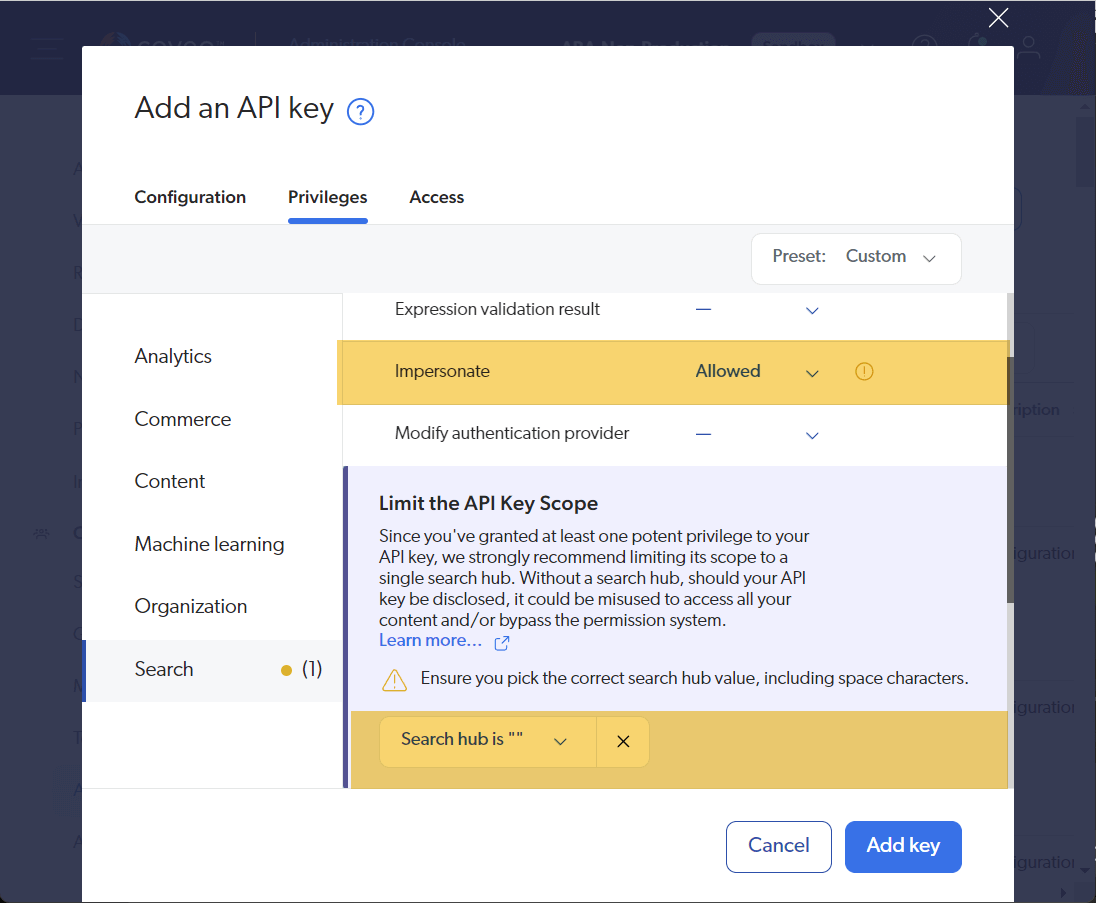
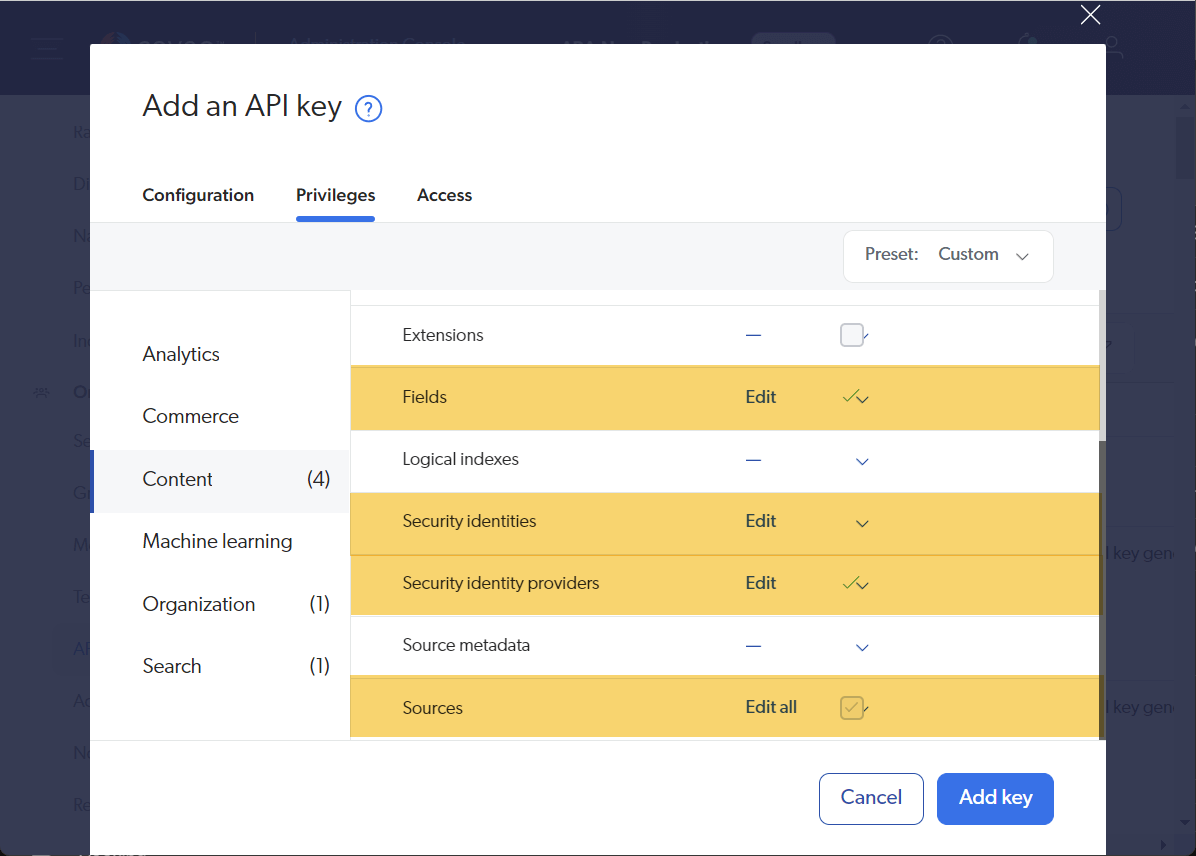
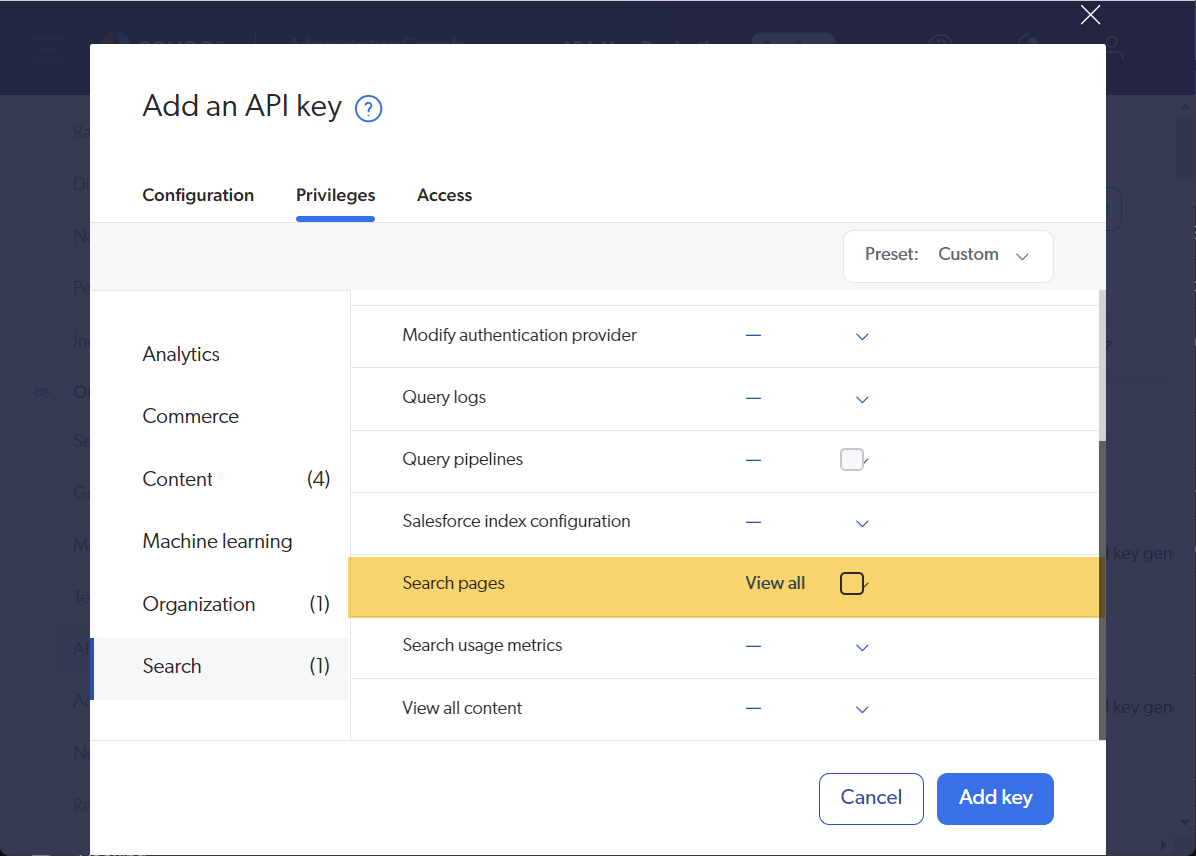
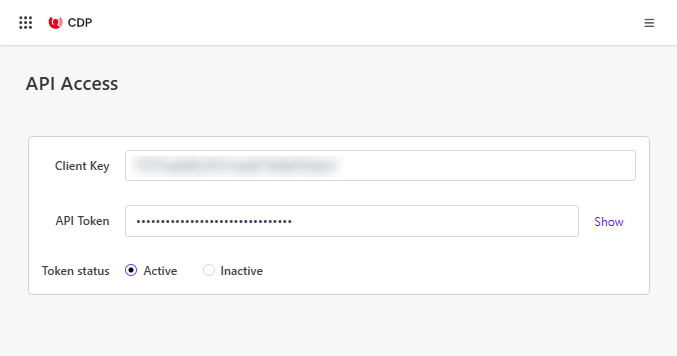
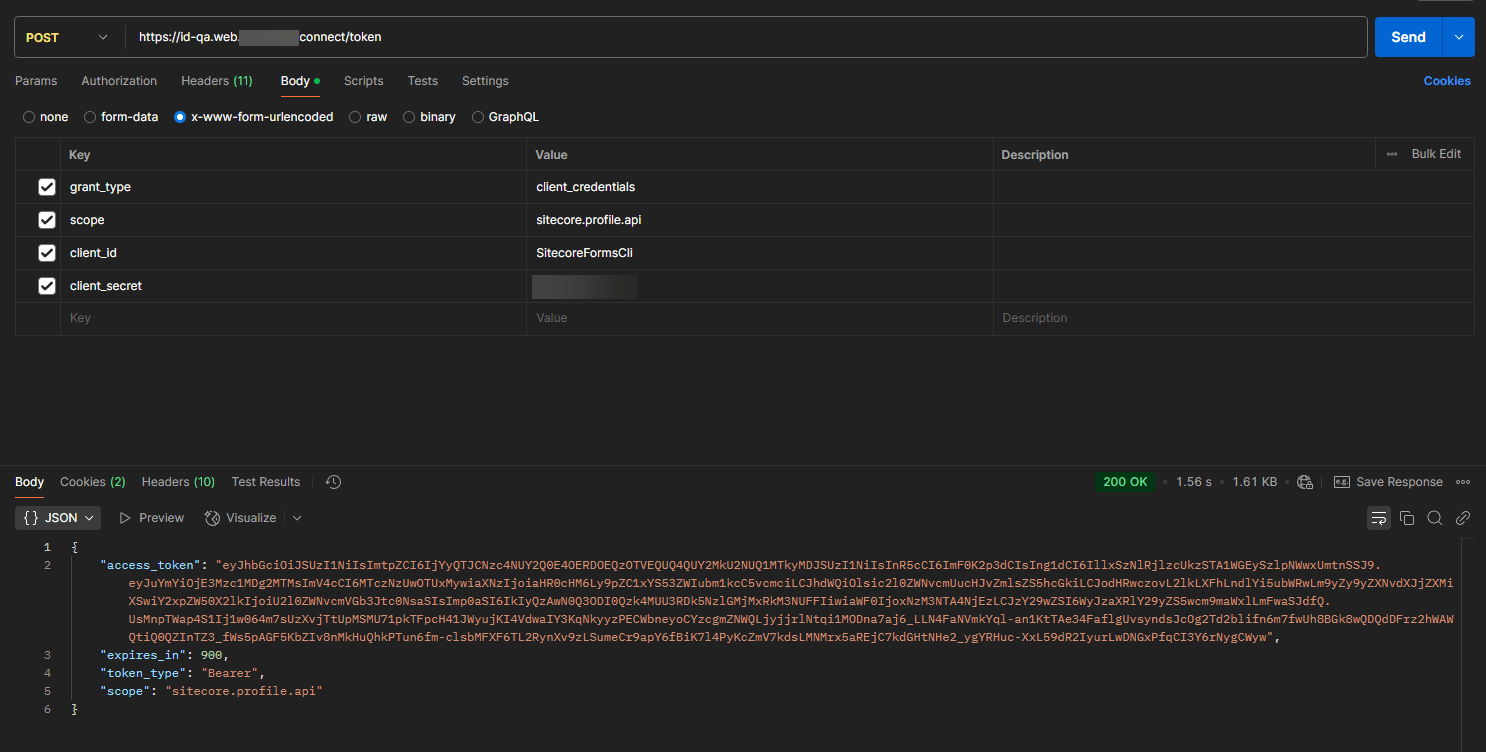
 API Key: