I have been exploring Personalization on Optimizely CMS 12 – Simple to set up, and can be utilized throughout the website.
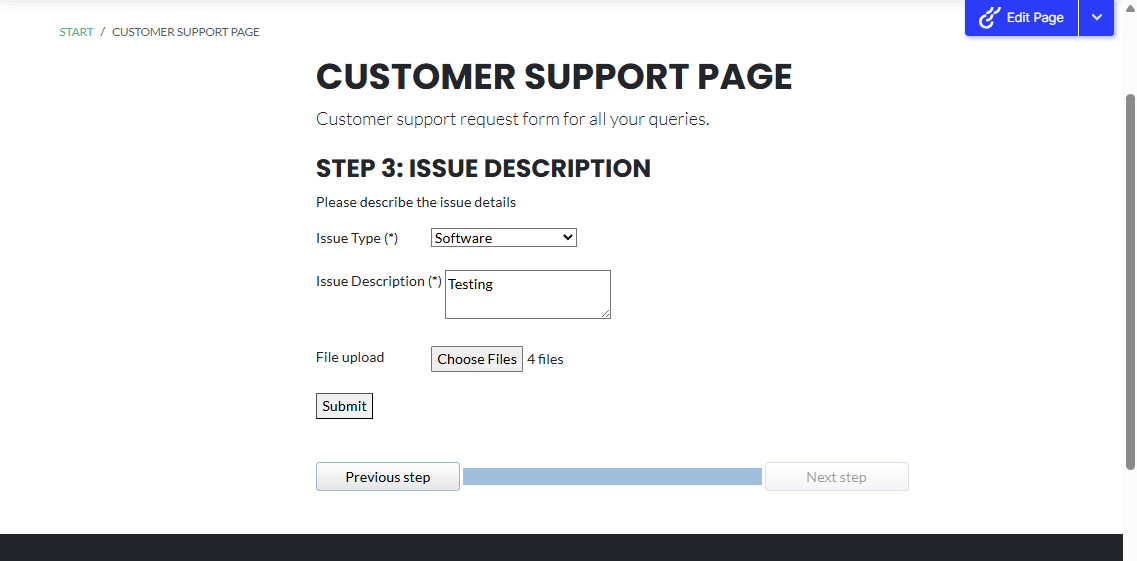
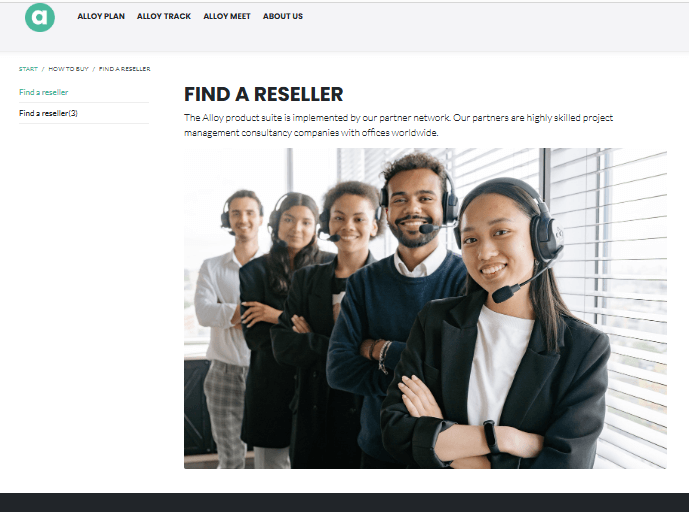
I came across this use case where we want to show the Priority Call button on a page only during business hours.
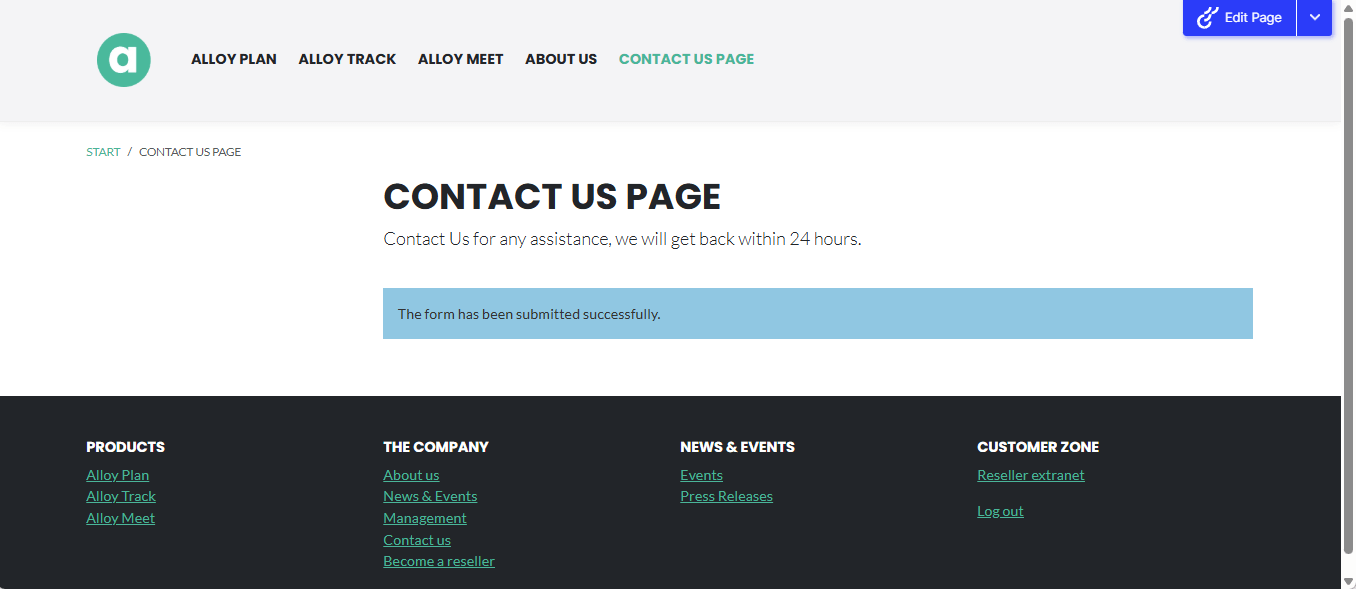
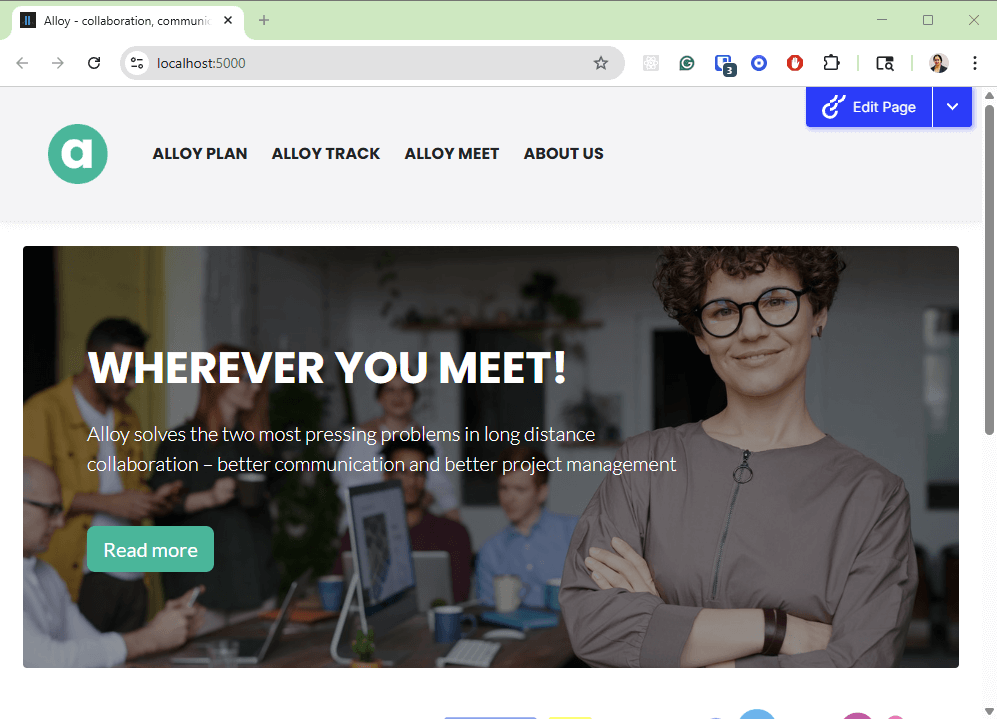
The page currently has no call-to-action button.
Let’s get started to personalize the page to add a Priority Call button.
Step 1: Create Audience
- Create an audience with the rules you would like to define.
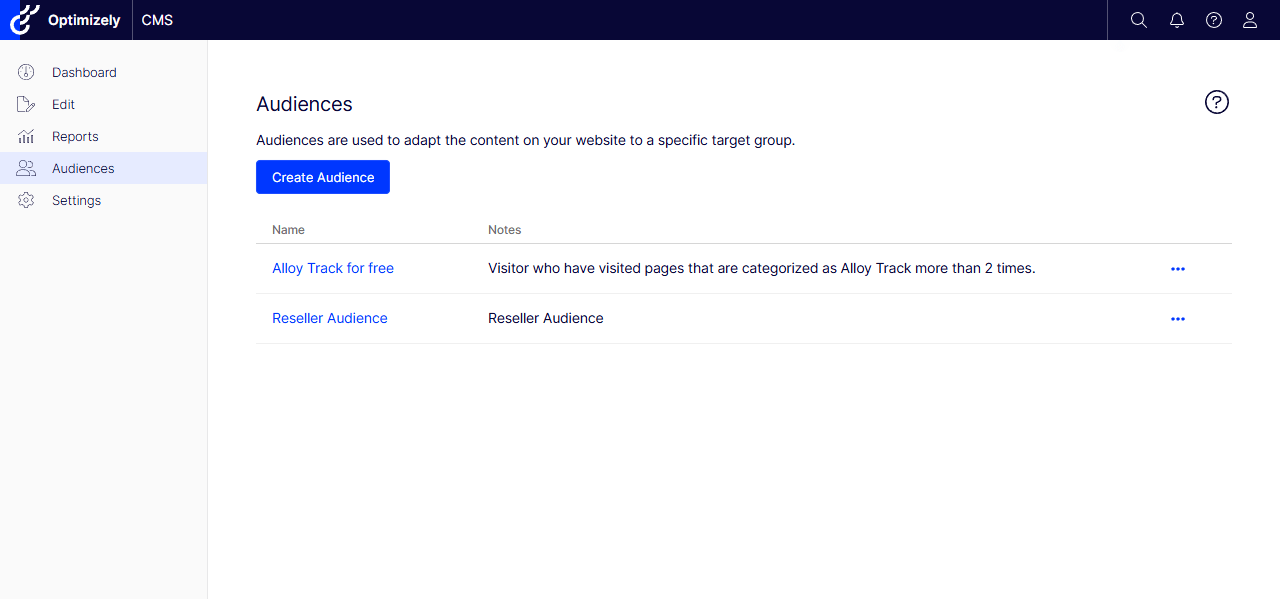
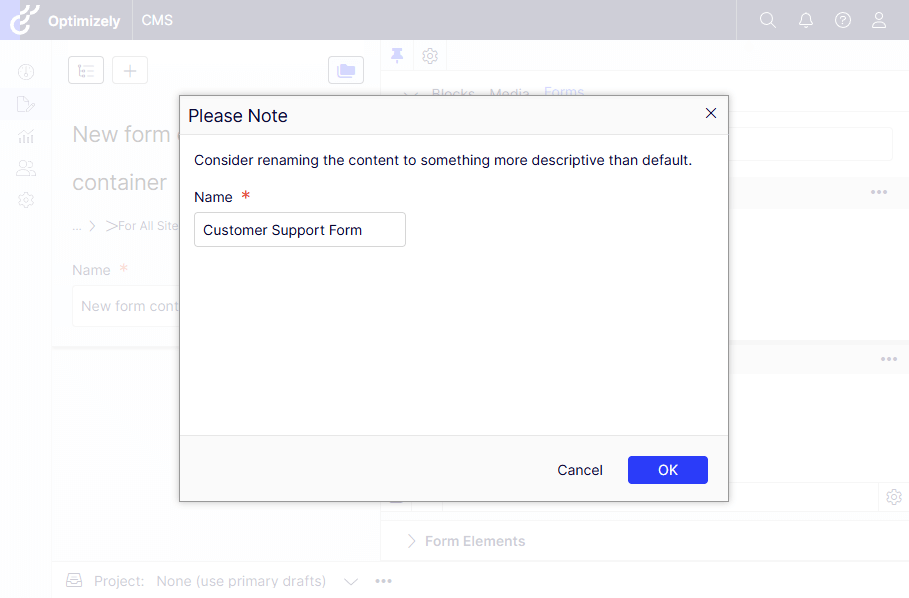
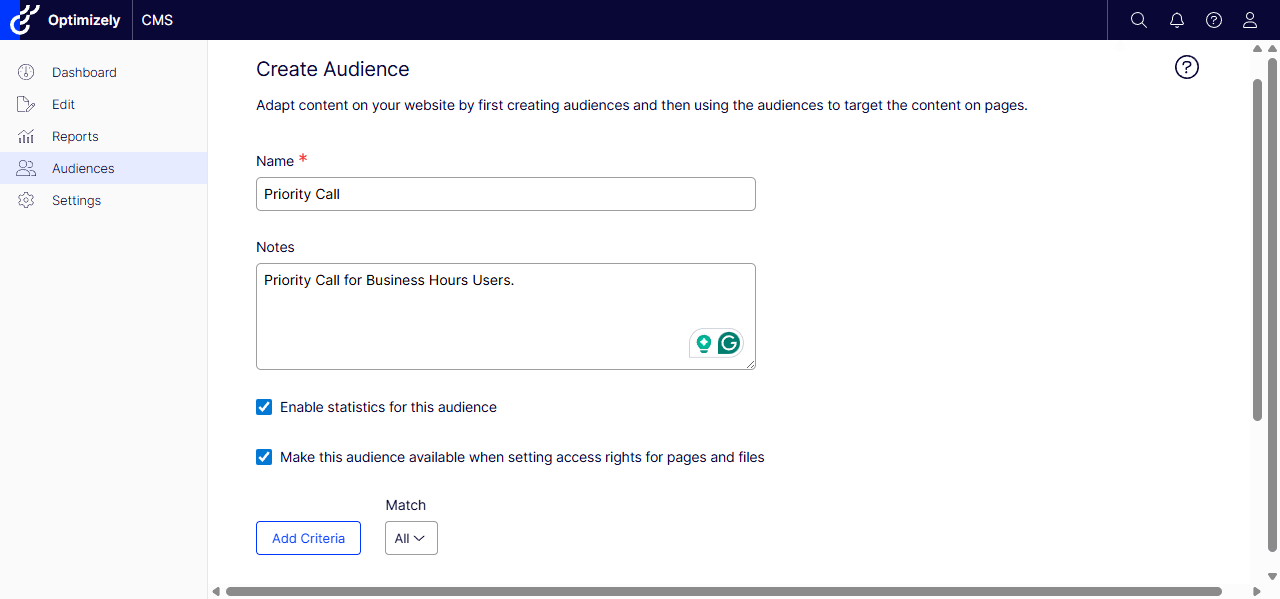
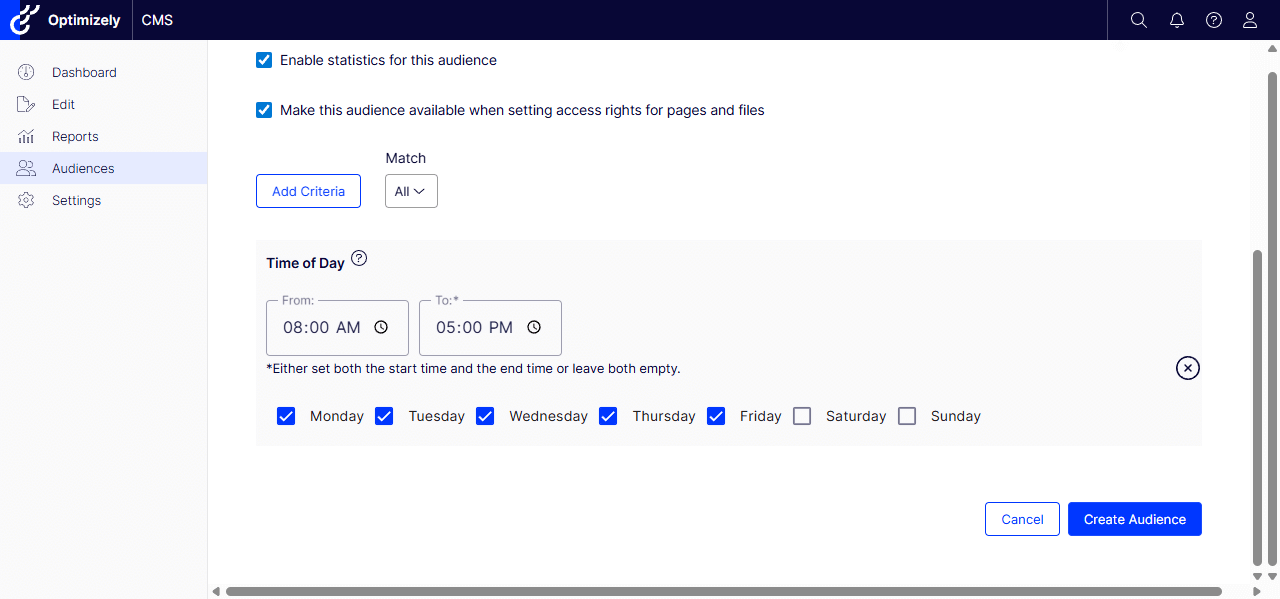
- I created an Audience called Priority Call specifically for customers who can call the priority phone number during business hours.
- Add Criteria based on the project needs – multiple criteria can target specific customers.
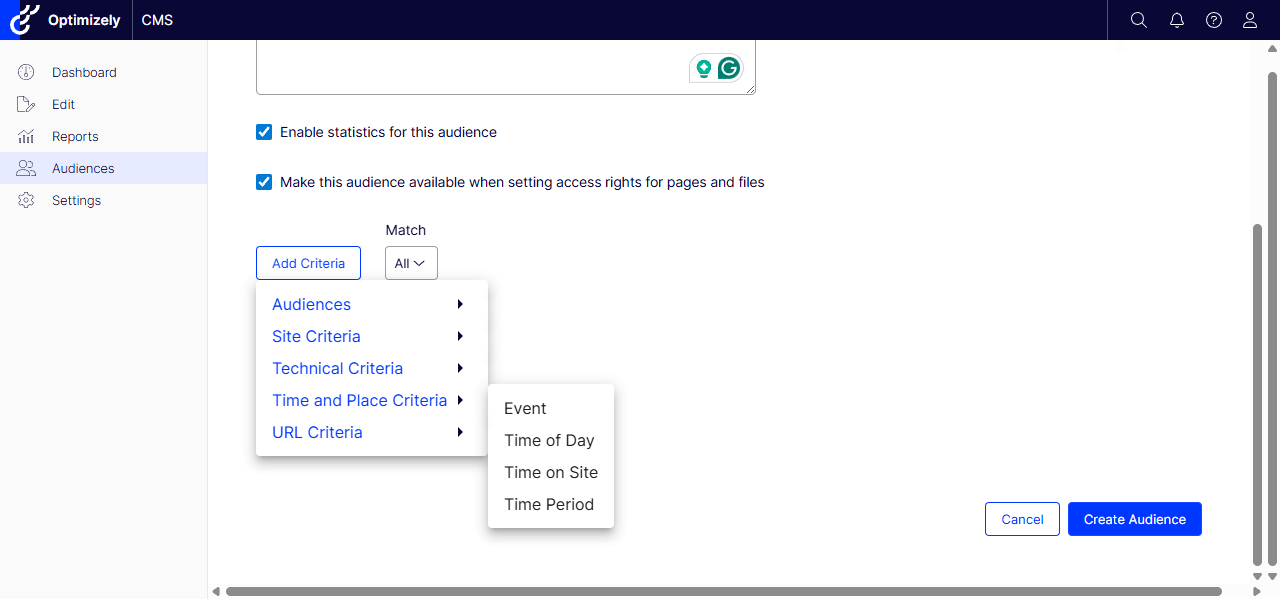
- Added Time of Day criteria – Monday to Friday from 8 am to 5 pm.
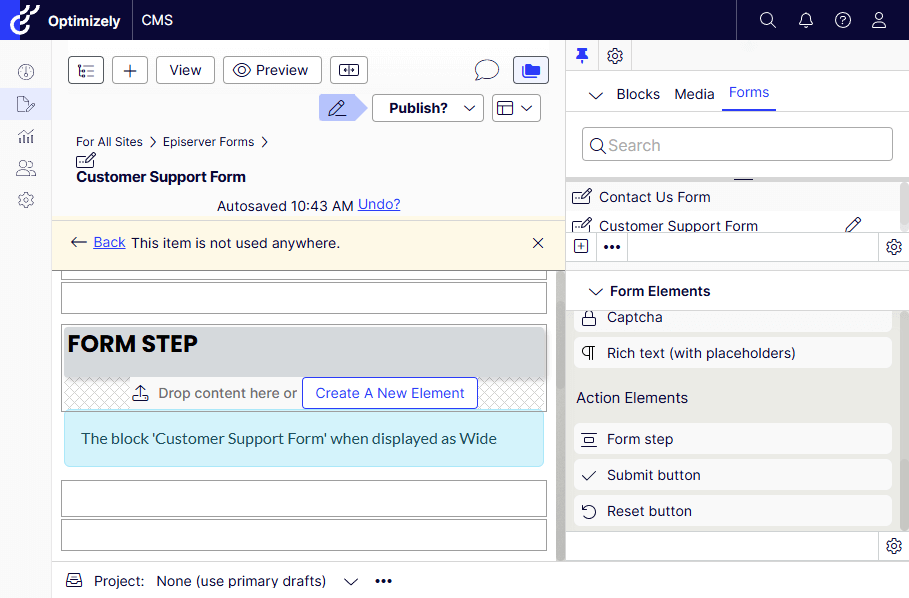
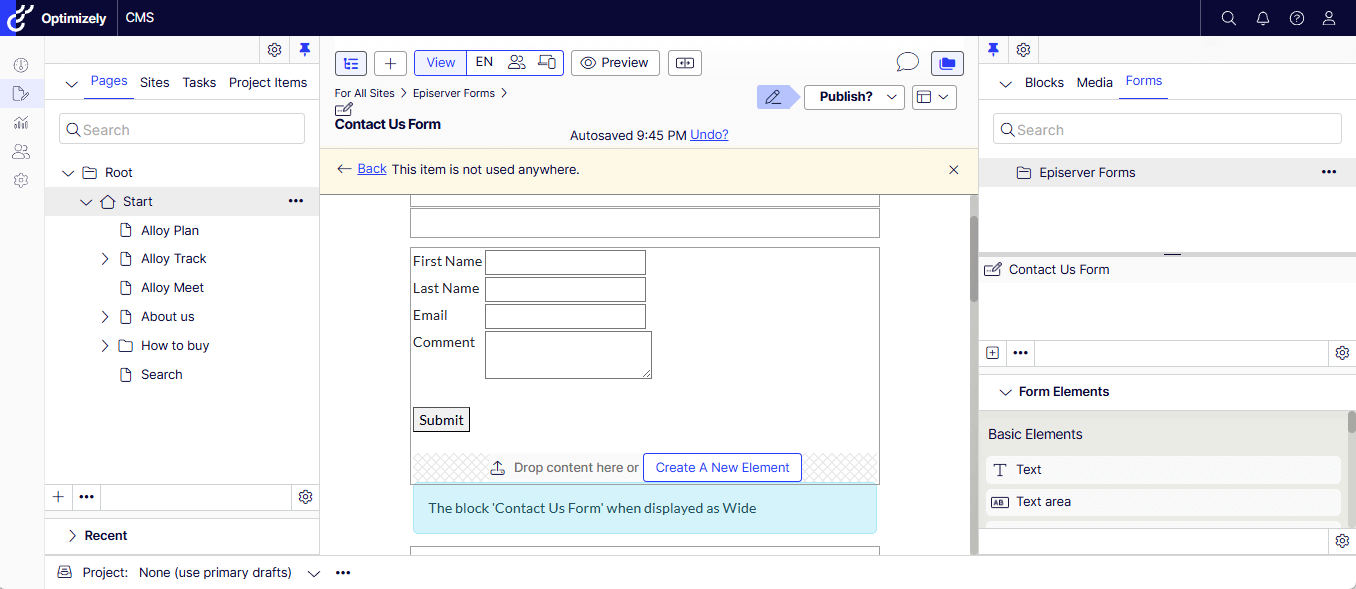
Step 2: Create a Personalized Block
- Now that we have created the target Audience. Let’s make a personalized block for a page.
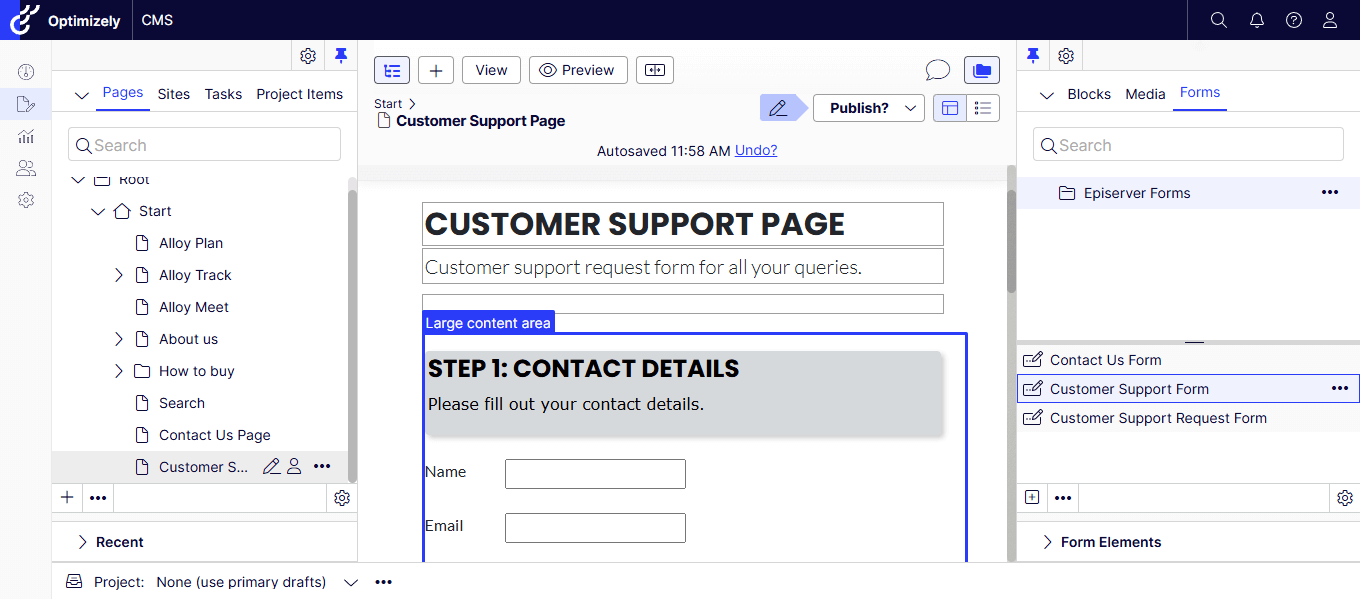
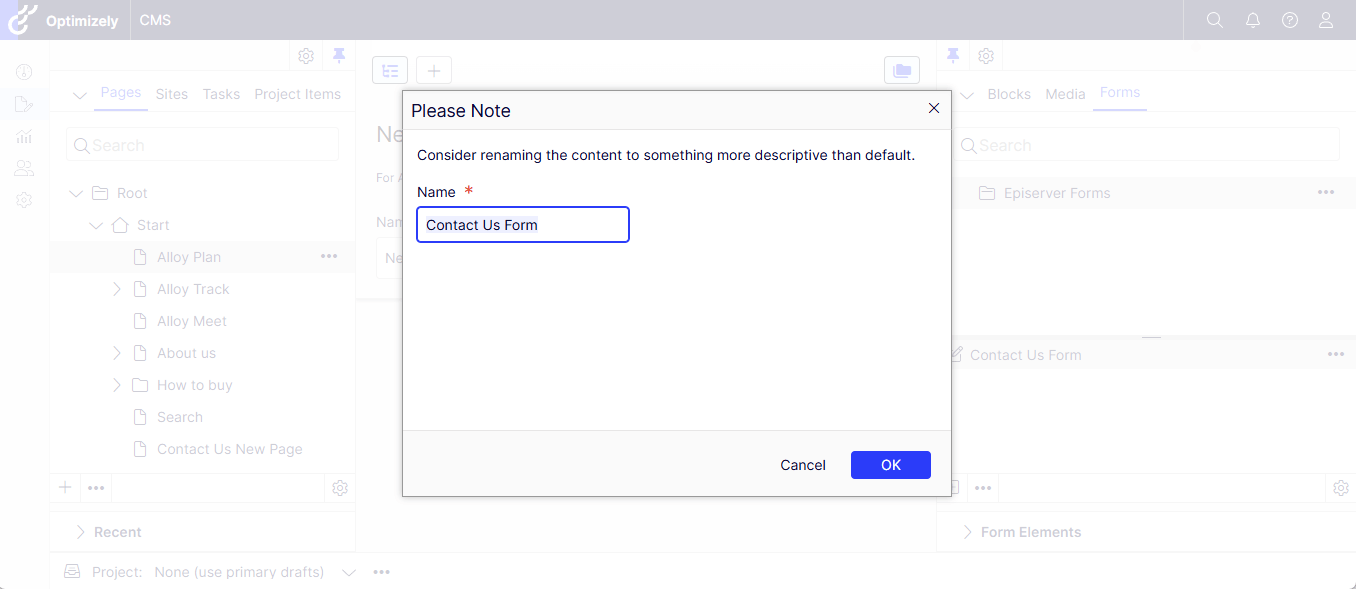
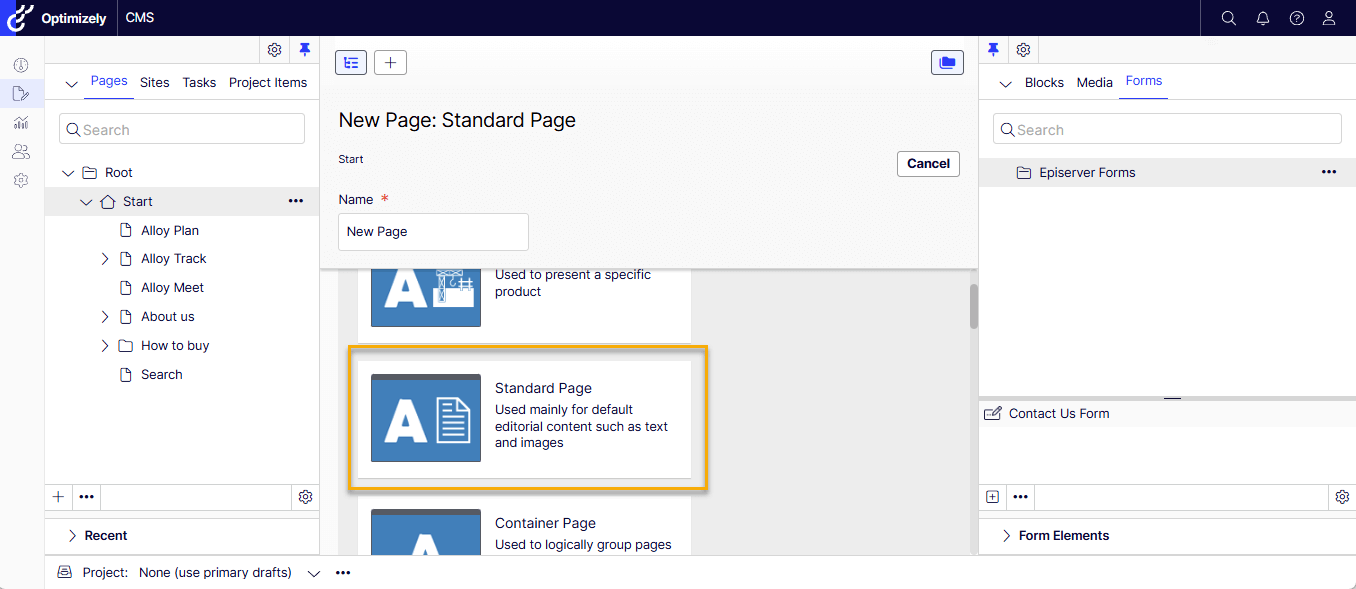
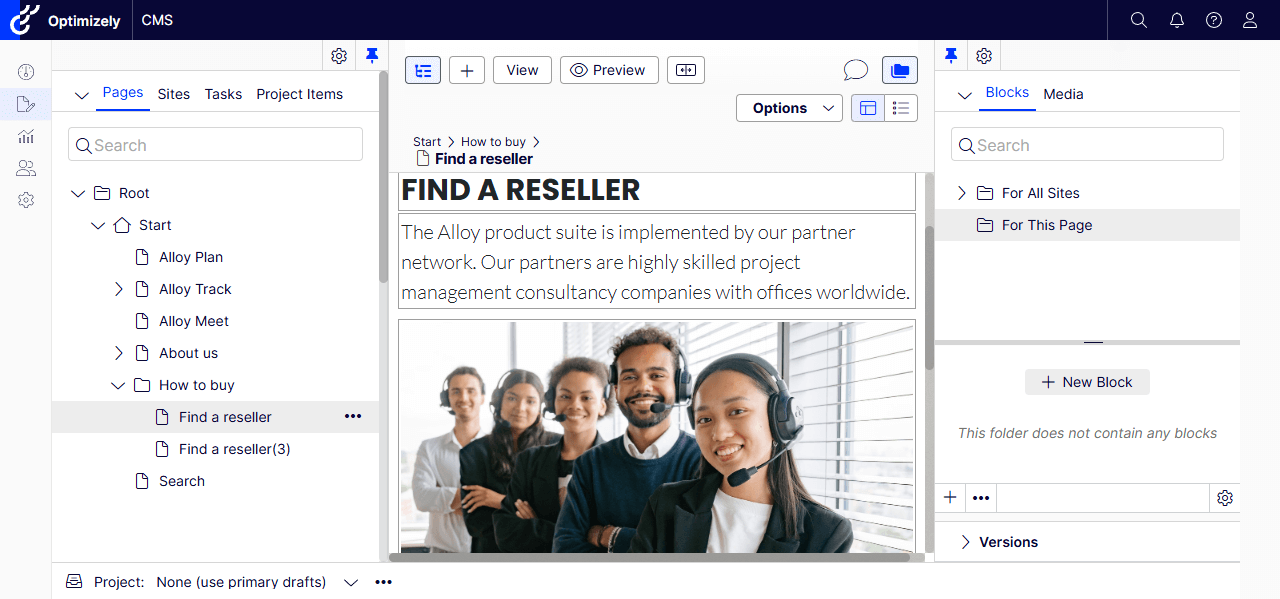
- I chose the ‘Find a Reseller’ page and, in Blocks, I am going to create a New Block for this page – you can also create one for the All Sites.
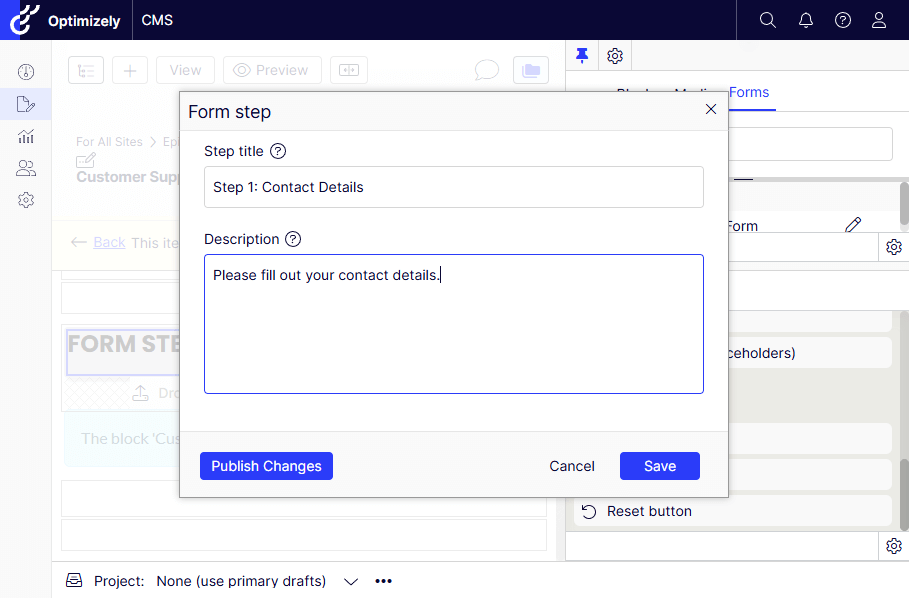
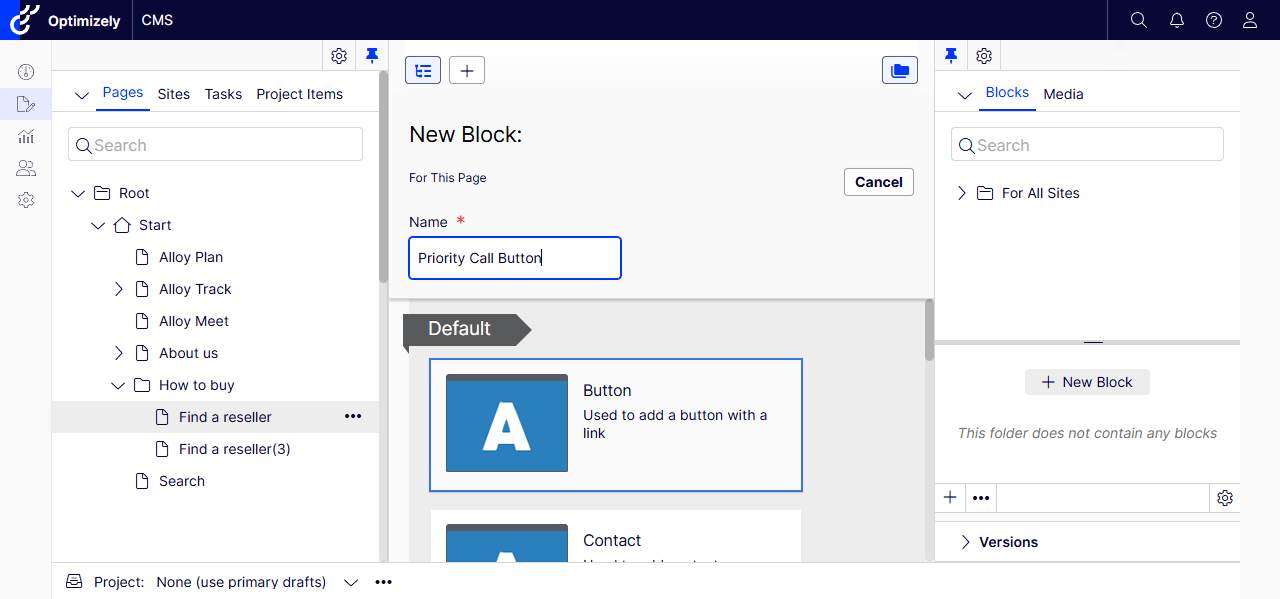
- Selected Button as the New Block and gave it a name – Priority Call Button.
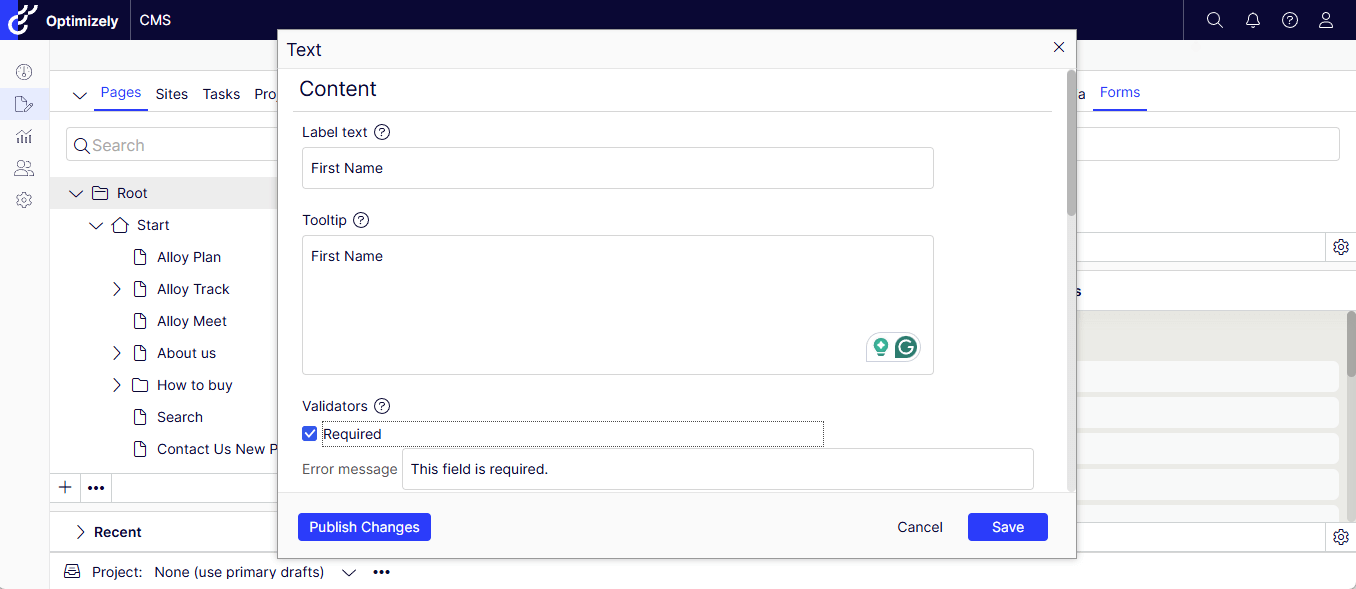
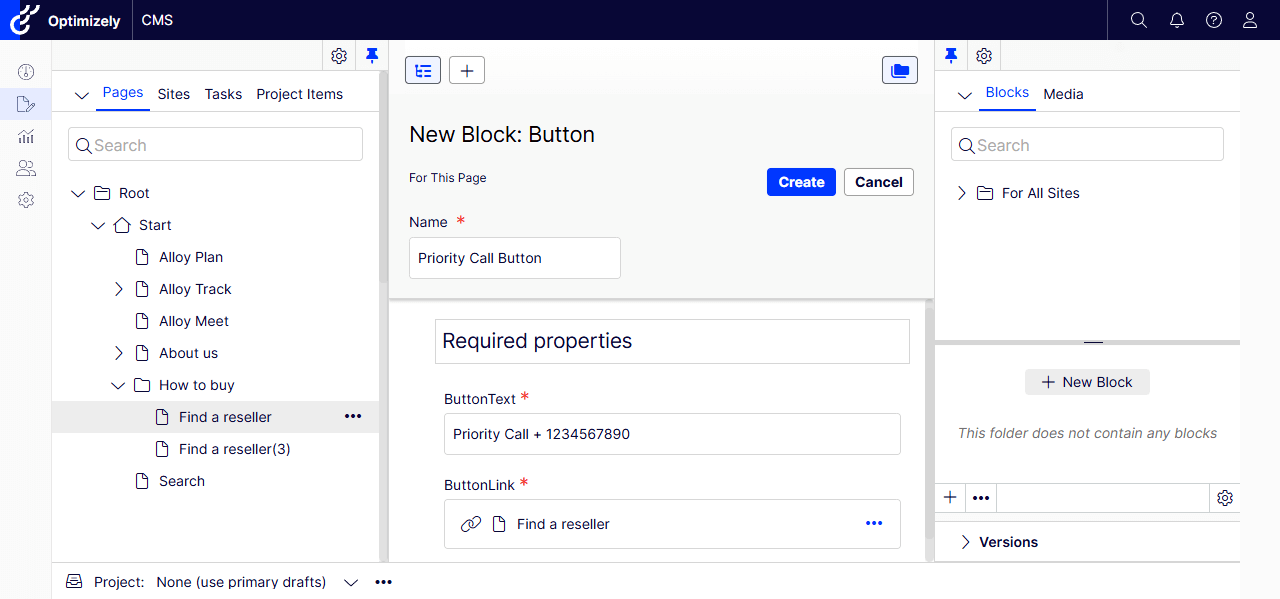
- Filled out the Button Text and Link.
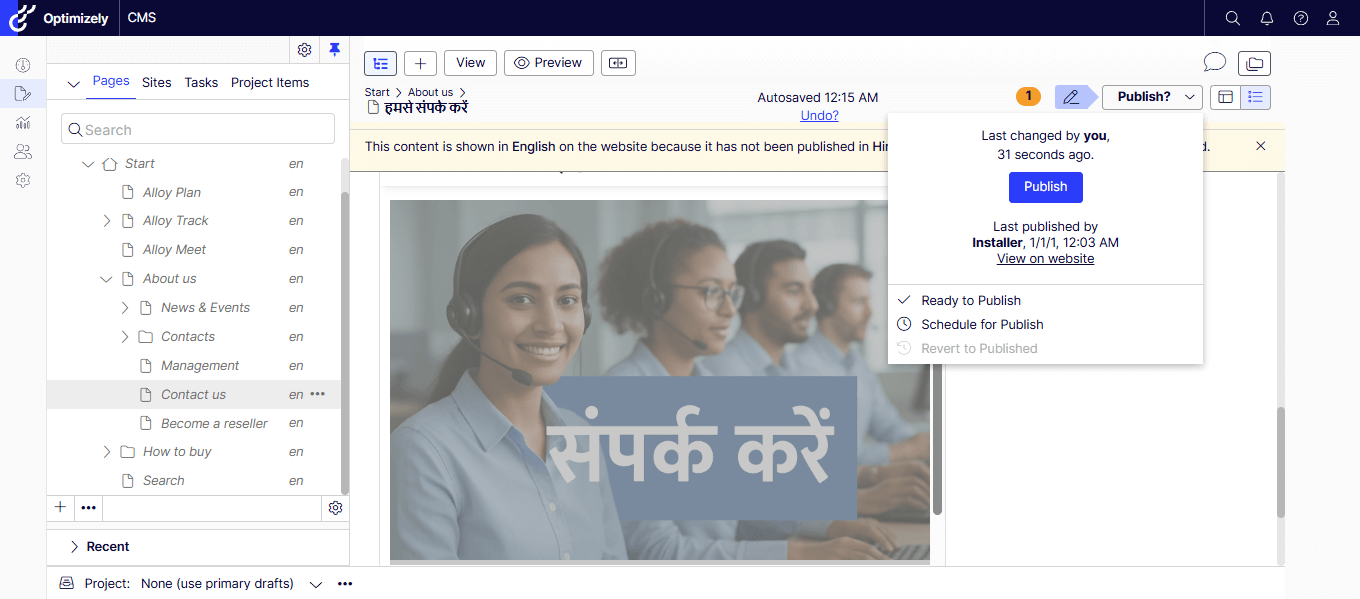
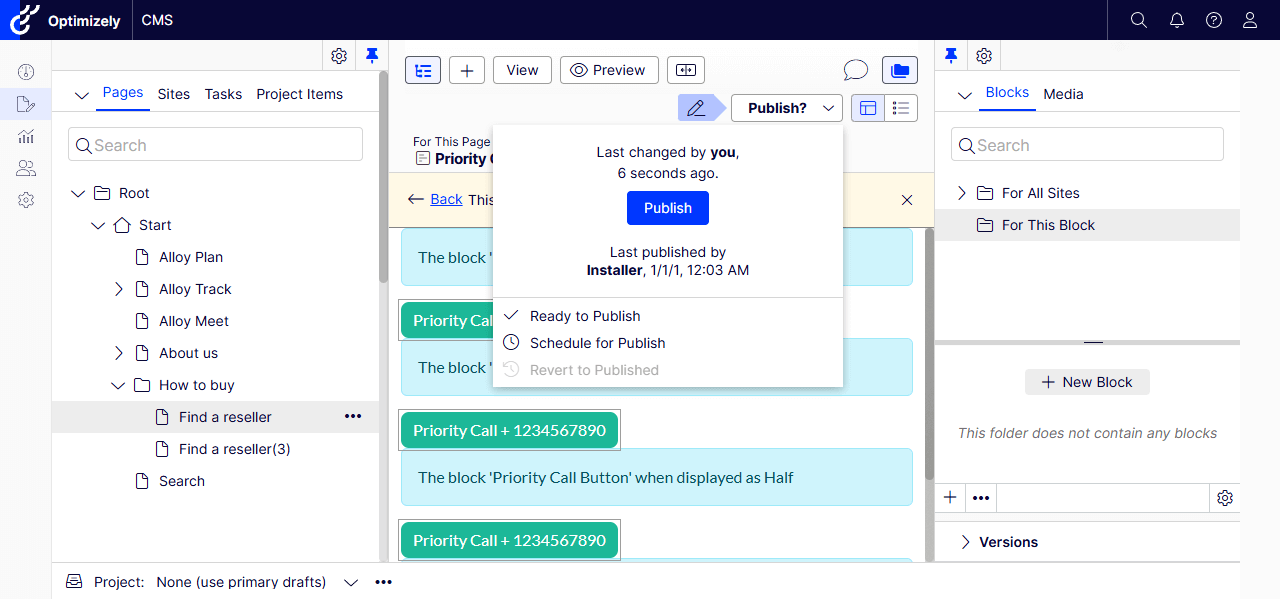
- Please make sure to Publish the Block – If not, it will not be visible on the page.
- I have made this mistake and wondered why the block isn’t appearing 🙂
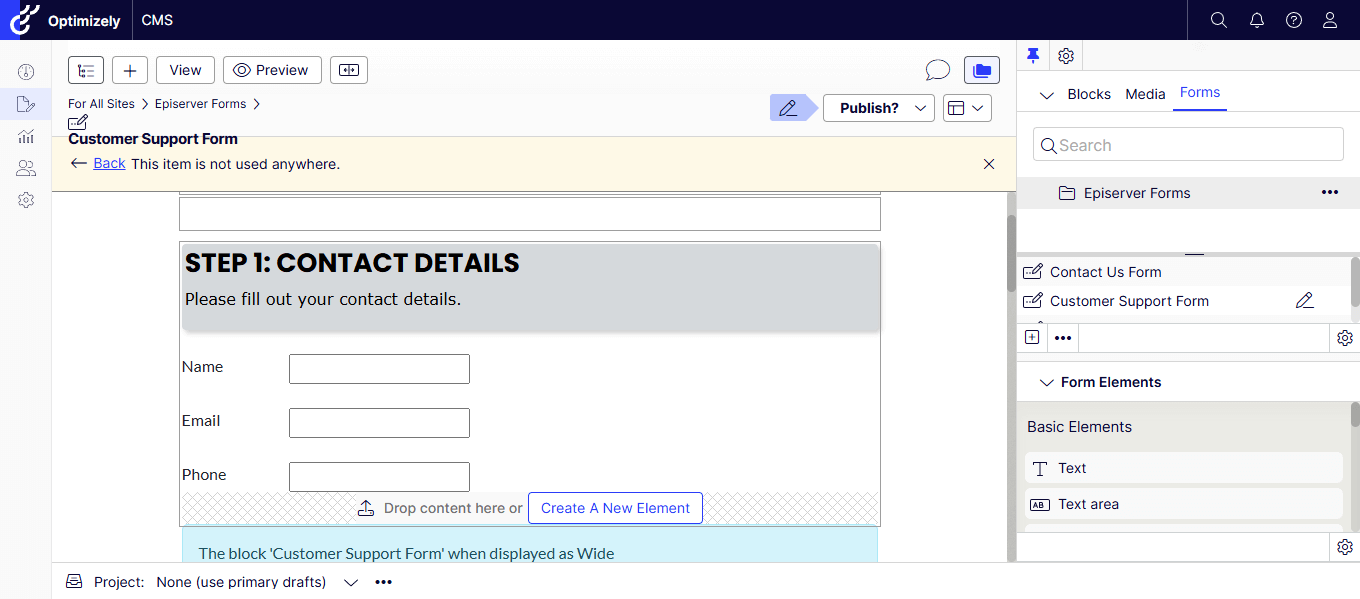
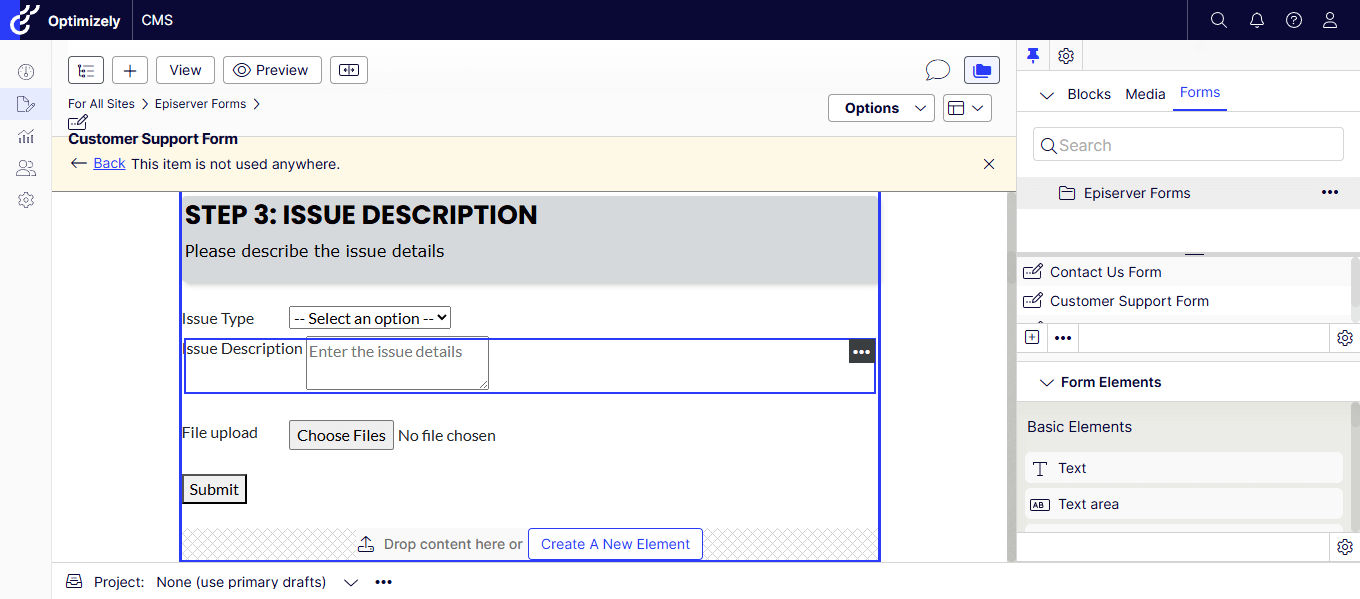
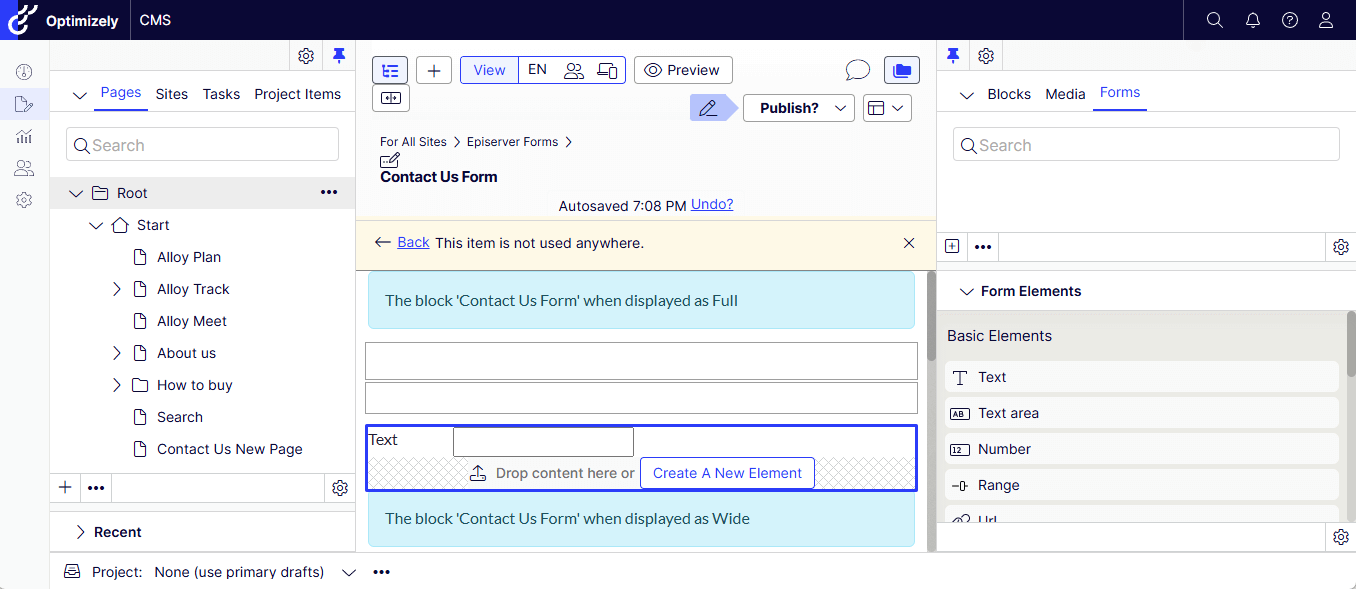
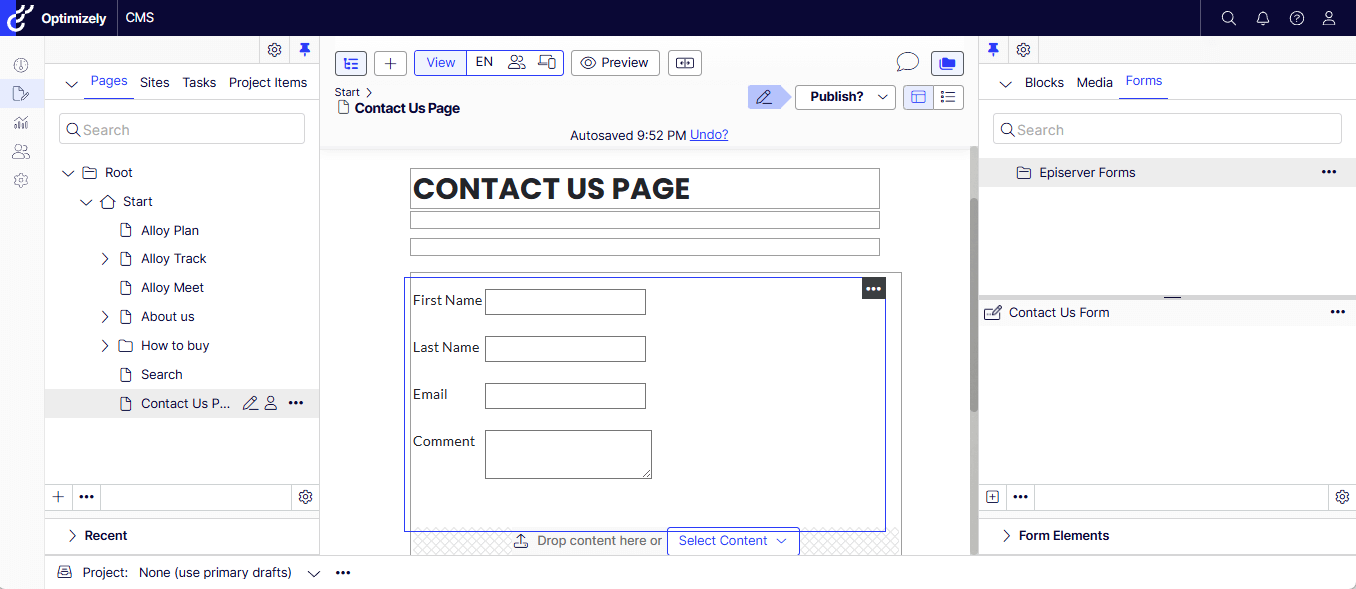
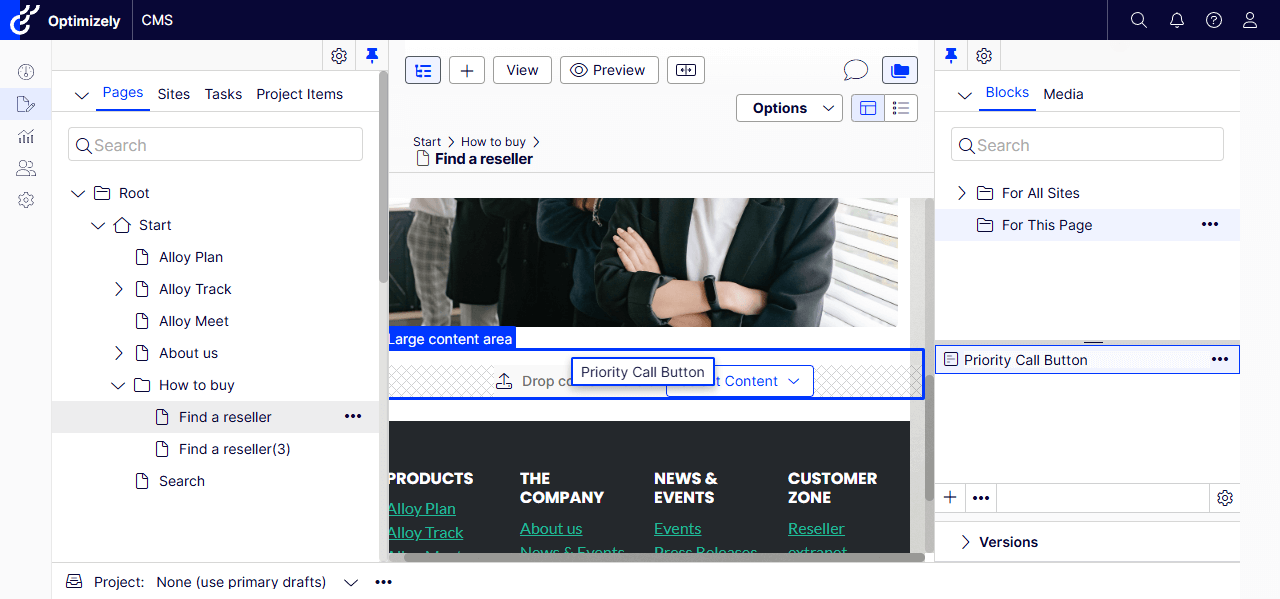
3. Add the Personalized Block to a Page
- Let’s drag and drop the Priority Call Button block into the Large Content Area or any Content Area.
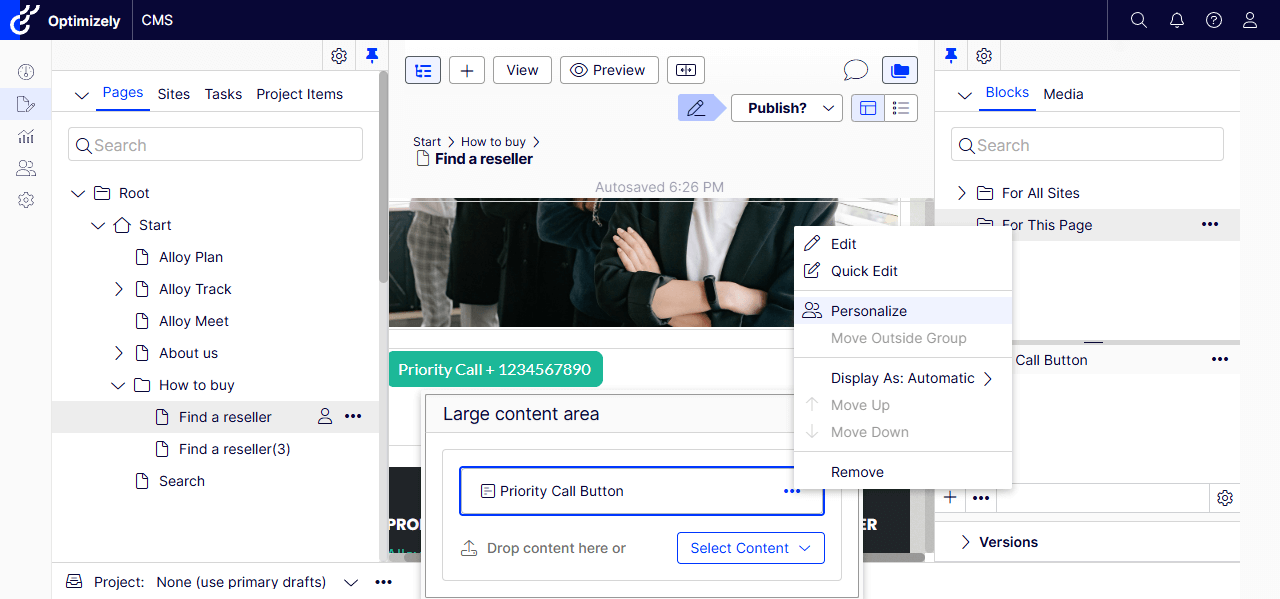
- Let’s personalize the button.
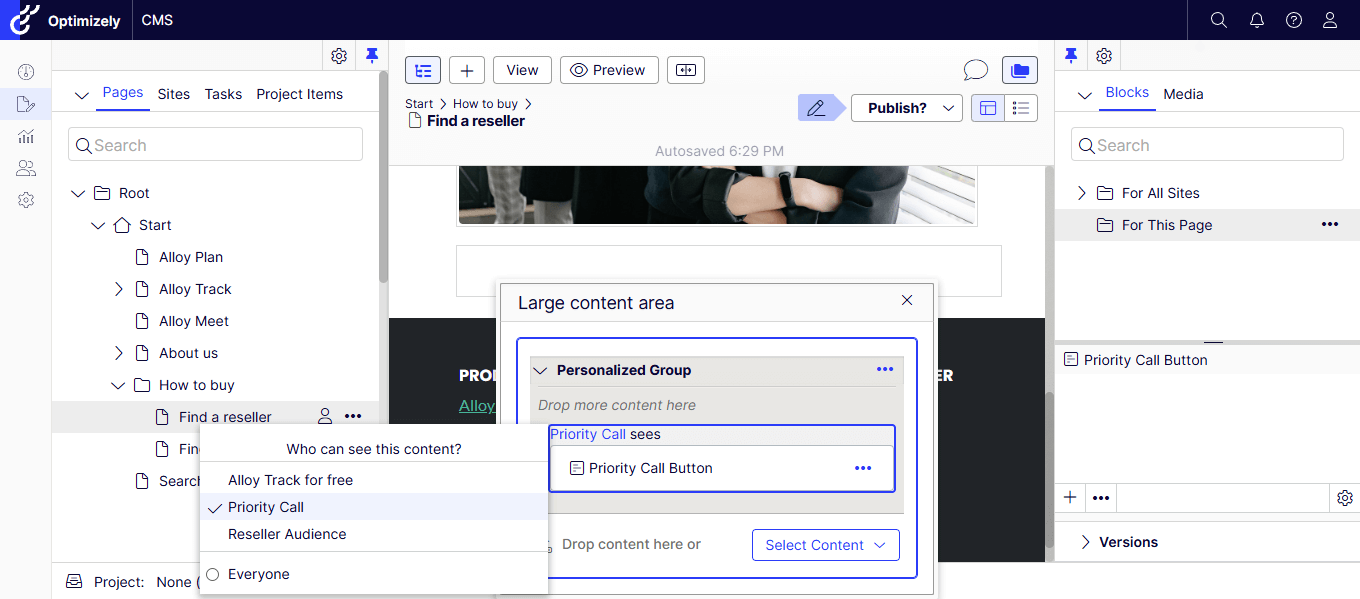
- Everyone is by default – let’s change it to our new audience Priority Call.
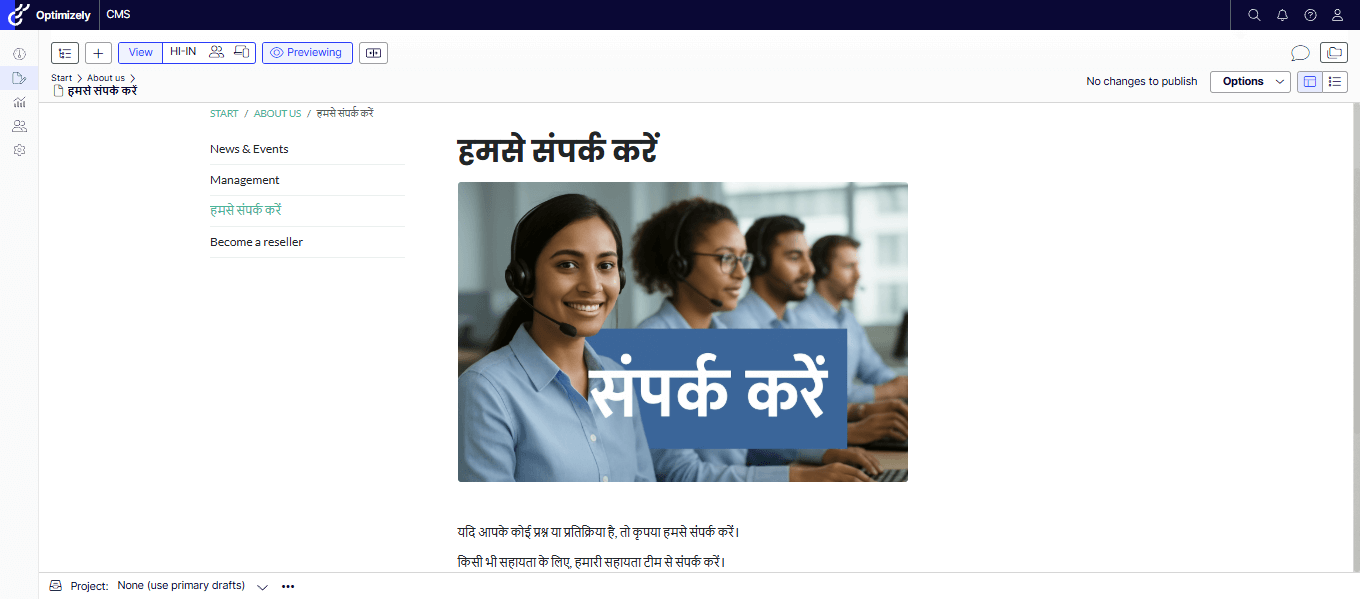
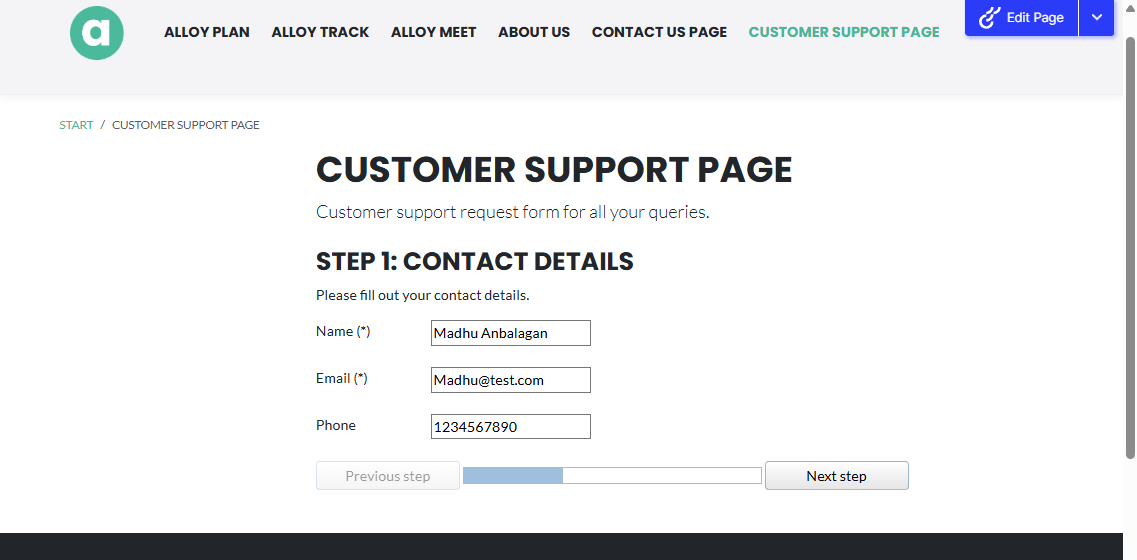
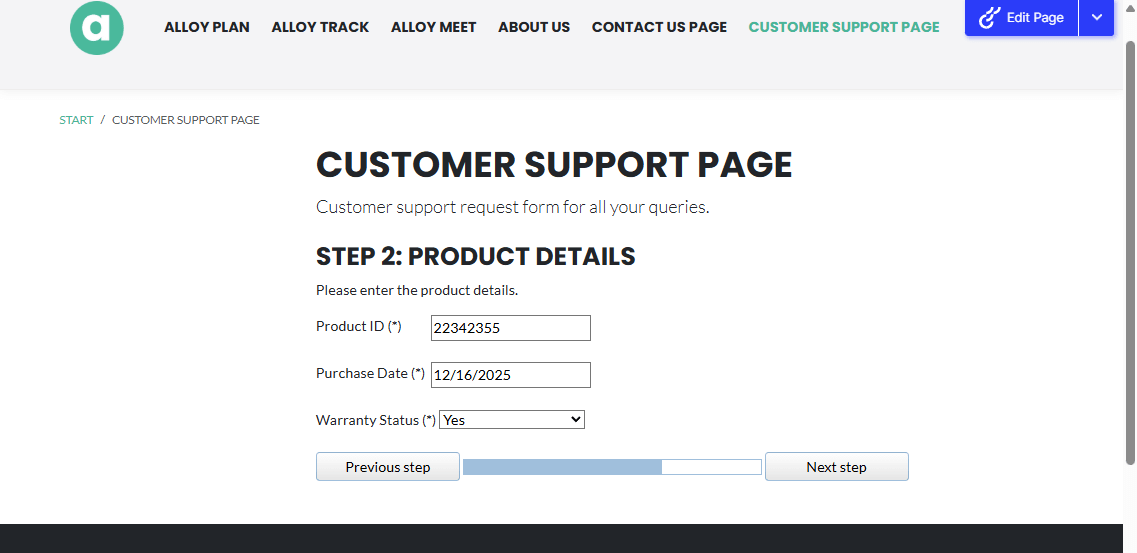
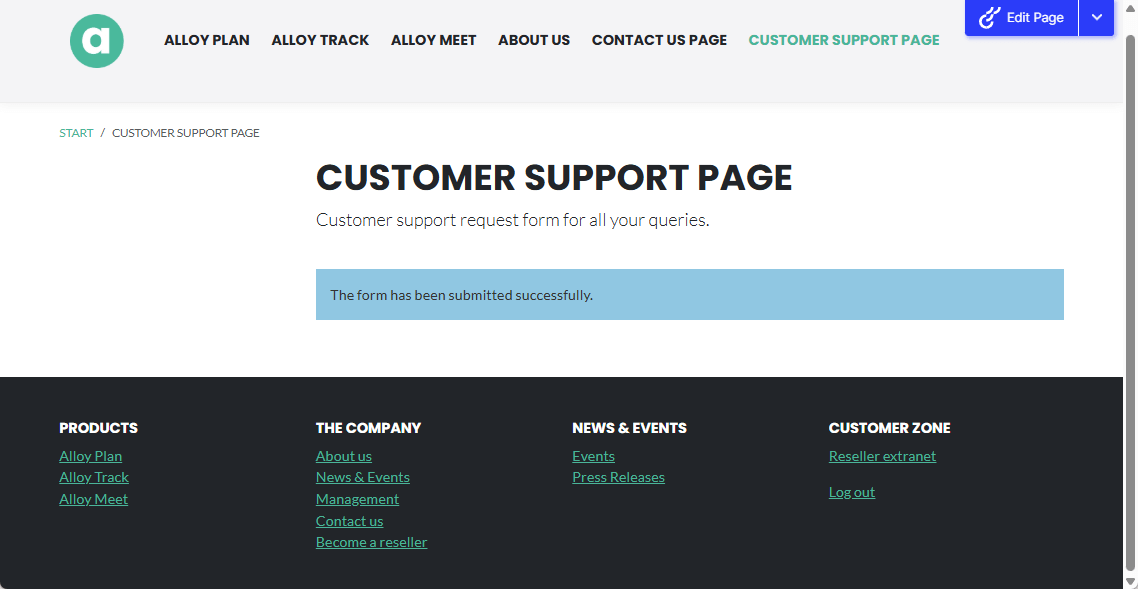
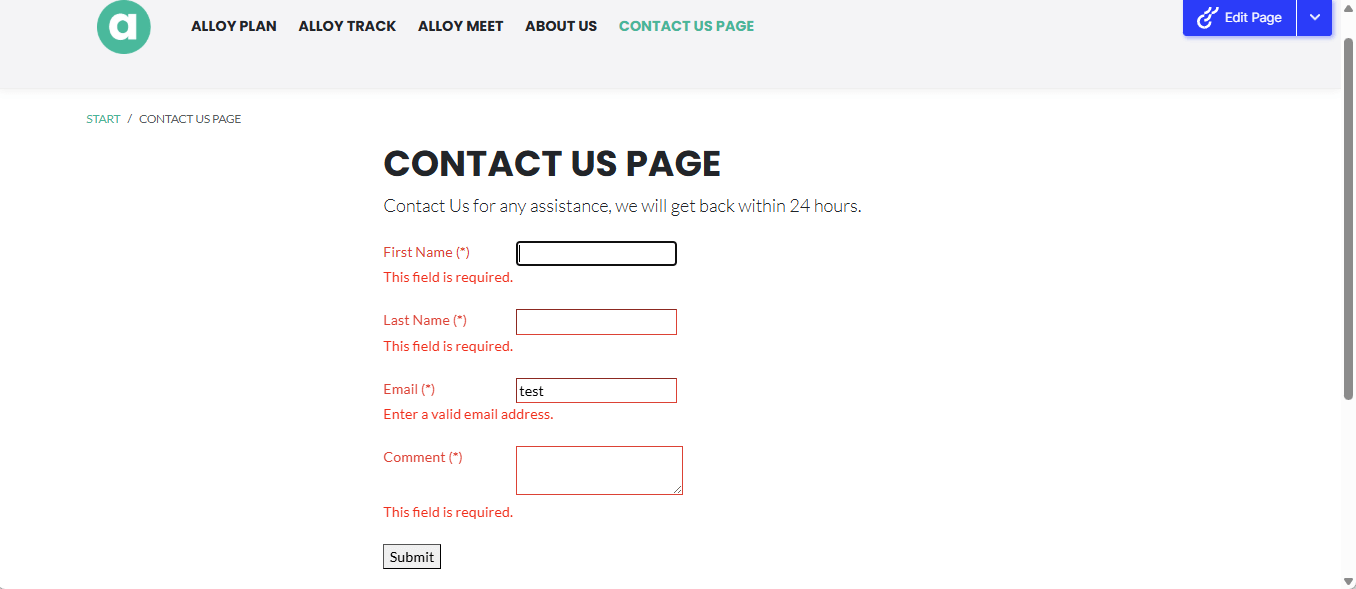
- Let’s publish the page and view it during business hours (our Audience criteria)
- Yay! We could see the Priority Call Button!

If you prefer watching a video, my quick recording –
Hope this helps.
Happy Optimizing!