I’m participating in Sitecore Hackathon for the first time this year. One of the requirement is to have sitecore 9.1(Initial version) installed on your machine. So I want to share my experience how i quickly installed Sitecore 9.1 using SIF on developer machine in 5 easy steps. This post includes the prerequisites, preparation and installation.
Prerequisites:
- OS: Windows 10, Windows Server 2016
- DB:
- Microsoft SQL Server 2017 or 2016 SP2 – Supports the XM database and is the required for the xDB
- Microsoft SQL Server 2014 Sp2 – Only supports XM databases and does not support the xDB
- MongoDB Server 3.6.6 – This is required if you are going to use MongoDB for the Collection database or as a Session State Provider
- IIS 10
- . NET
- Sitecore XP 9.1.0 requires .NET Framework 4.7.1
- Sitecore Identity server requires .NET Core Runtime 2.1.3
- You must apply any available updates to the .NET Framework on every Sitecore installation
- Search Indexing
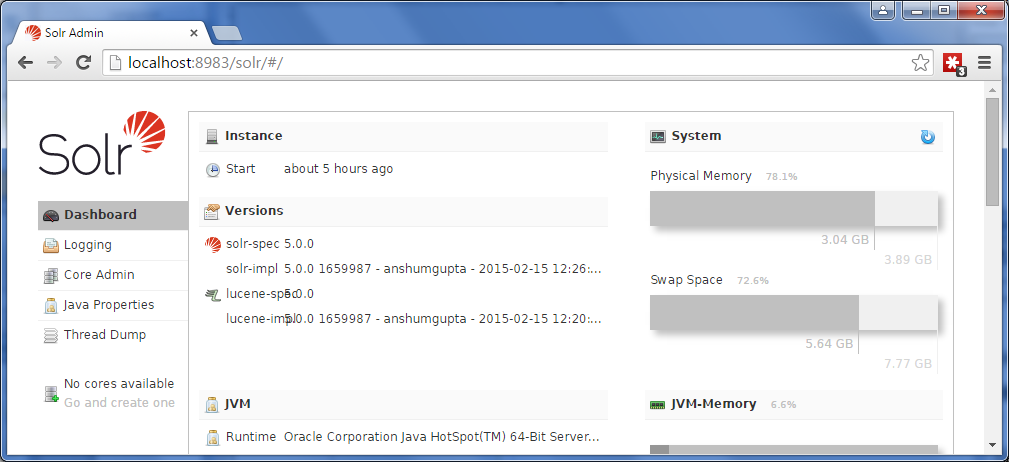
- Solr 7.2.1 – Default search provider
- Azure Search – supported and recommended for Azure Cloud PaaS deployments only
- Lucene – Only supports content search and does not support xConnect.
- Powershell 5.1 – for Installing SIF
Preparation:
- Download installation package(XP Single) from here
- Extract the zip file you just downloaded
- Again extract this file – XP0 Configuration files 9.1.0 rev. 001564.zip

- Copy your license.xml file (If you have enrolled for Hackathon, you should have received the file in email)
Now let’s begin the installation!
Step 1: Solr 7.2.1 Install
Check out Jeremy Davis’s low effort Solr installs. It’s pretty cool! https://jermdavis.wordpress.com/2017/10/30/low-effort-solr-installs/
If you want to take traditional approach(Install as service using NSSM tool), here are the steps
- Download Solr from here
- Install as service using NSSM tool

- It opens the NSSM Service Installer like below. Fill out the fields.

- Note: If you already another version of solr running, make sure to give different port name.


Step 2: Install SIF
Run the following scripts in Powershell as administrator.
Register-PSRepository -Name SitecoreGallery -SourceLocation https://sitecore.myget.org/F/sc-powershell/api/v2;
Install-Module SitecoreInstallFramework;
Install-Module SitecoreFundamentals;
Update-Module SitecoreInstallFramework;
Update-Module SitecoreFundamentals;
Import-Module SitecoreFundamentals -Force;
Import-Module SitecoreInstallFramework -Force;
Step 3: Update config files
Update the following files in the folder with the exact information – solr path, solr service name, configsets path, instance name for sitecore, SQL instance name and login credentials.
- XP0-SingleDeveloper.ps1
- XP0-SingleDeveloper.json
- xconnect-solr.json
- sitecore-solr.json
Step 4: Install prerequisites
Install-SitecoreConfiguration -Path .\Prerequisites.json

Step 5: Install Sitecore 9.1
- Execute the script ./XP0-SingleDeveloper.ps1 (takes good amount of time to execute)
- Fingers crossed!

Note: There is no ‘b’ admin password. You can get the password at the end of the script execution. Nice work Sitecore!
Notice that it installed the third site in IIS – Identity Server (New to 9.1)

Also noticed the http://[sitename]/sitecore/login now redictes to identiyserver in the URL.

Have fun exploring Sitecore 9.1!
Any questions, please leave a comment.


