
In Part 1, we saw
- Create Custom Submit Action in Sitecore
- Create a code-behind class that inherits SubmitActionBase
- Create a secure API that can create and publish an item
Now, let’s focus on
- Create a separate Authorization in the Identity Server for Forms
- Create a Controller to bridge between Custom Submit Action and API call
- Set the Custom Submit Action fields
1. Create a separate Authorization in the Identity Server for Forms
Add the FormsServerClient node and its value to the Identity Server’s Sitecore.IdentityServer.DevEx.xml file. After making the change, make sure to IIS Reset for the change to be in effect.
Note: Don’t forget to add transforms for ClientSecret!
Ideally, you can call it in Postman to verify that it’s generating a token using Form’s ClientID and ClientSecret values mentioned in the Sitecore.IdentityServer.DevEx.xml file.
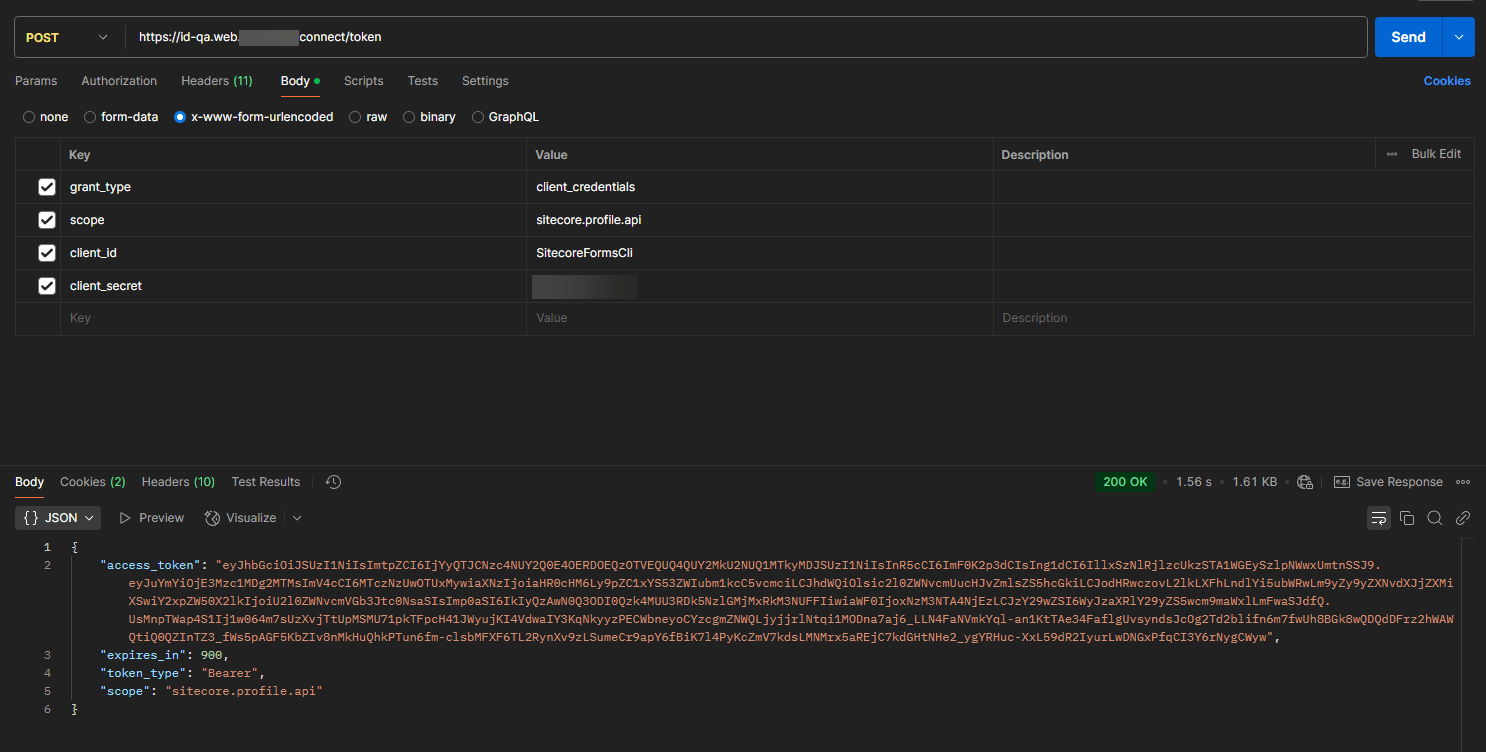
Now that the config is all set to have its own ClientID and ClientSecret, let’s set up the Authorize method with BearerToken specifically for Form’s Identity Credentials.
The SitecoreRestServices handles authenticated HTTP requests to Sitecore’s REST APIs, managing access tokens and retrying requests if authentication fails. It uses dependency injection to configure the HTTP client and obtain the necessary settings.
2. Create a Controller to bridge between Custom Submit Action and API call
Let’s bridge the Custom Submit Action and API call – The CustomController class extends SitecoreController and uses dependency injection to obtain an instance of ICreateAutoPublishService.
It defines a CreateAndPublish method – HTTP POST endpoint that processes CreateAndAutoPublishModel, calls the service to create and publish content, and returns a JSON response indicating success or failure.
The method includes error handling to return appropriate HTTP status codes and messages for different exceptions.
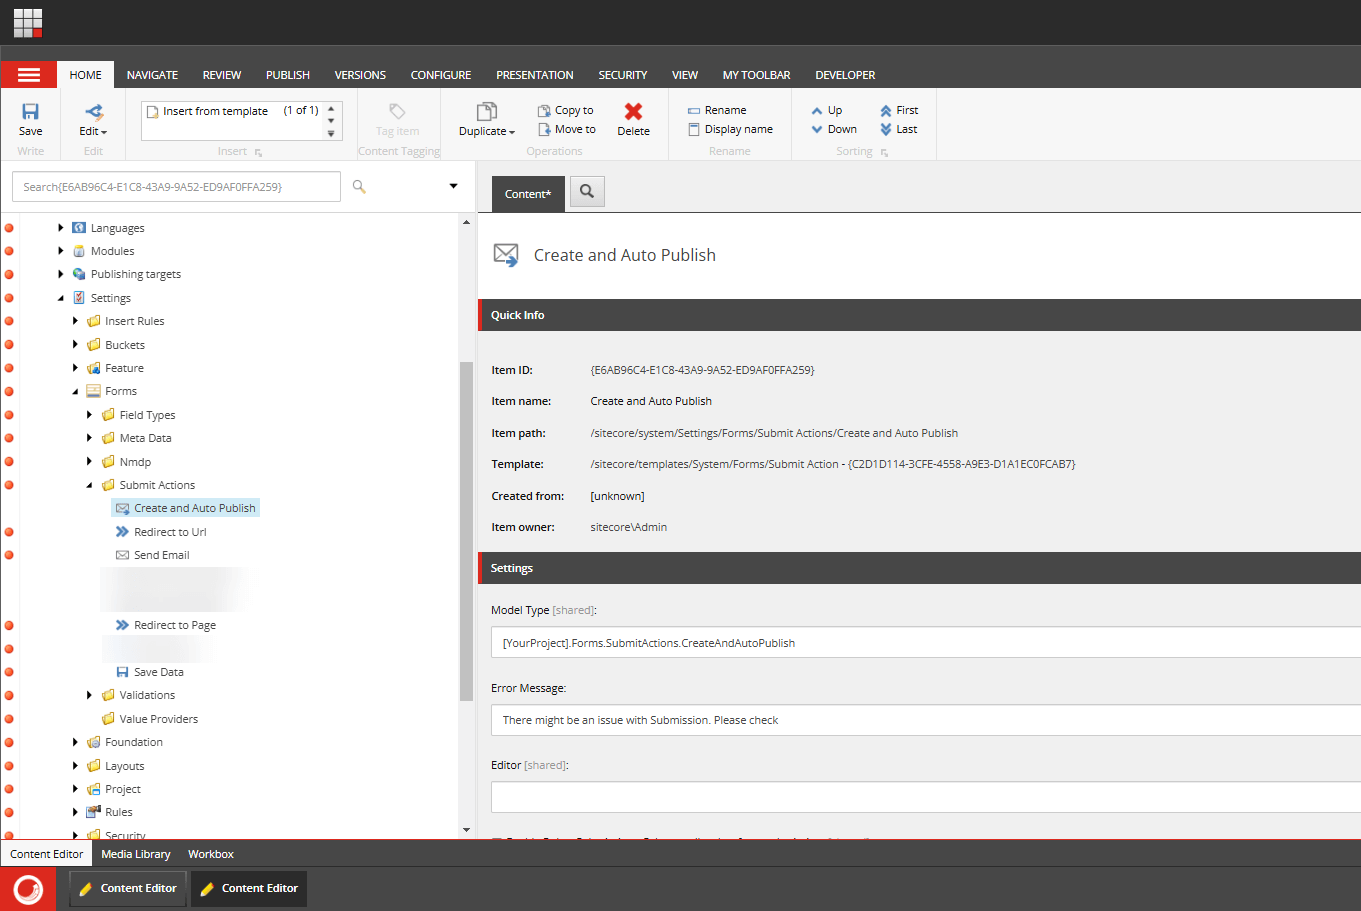
3. Set the Custom Submit Action fields
The final step – Let’s set the Model Type and Error Message based on the class we created.
Publish the form and its related items. It should be good to go!
Hope this helps.
Happy Sitecoring!


