I needed to index all text from the page content and its associated renderings, including single-line, multi-line, and rich text, into a single Coveo-computed field.
Let’s get started.
Text Extraction:
- Created a TextExtraction class that inherits BaseComputedField.
-
GetComputedFieldValue: Computes the concatenated text from the item and its renderings. -
GetRenderingSource: Retrieves the source item for a given rendering reference. -
GetDatasourceItem: Resolves and retrieves the data source item using the pipeline manager. -
GetAllReferencedText: Extracts text from fields and adds them to a result list. -
GetReferenceFieldData: Handles reference fields and extracts text from referenced items.
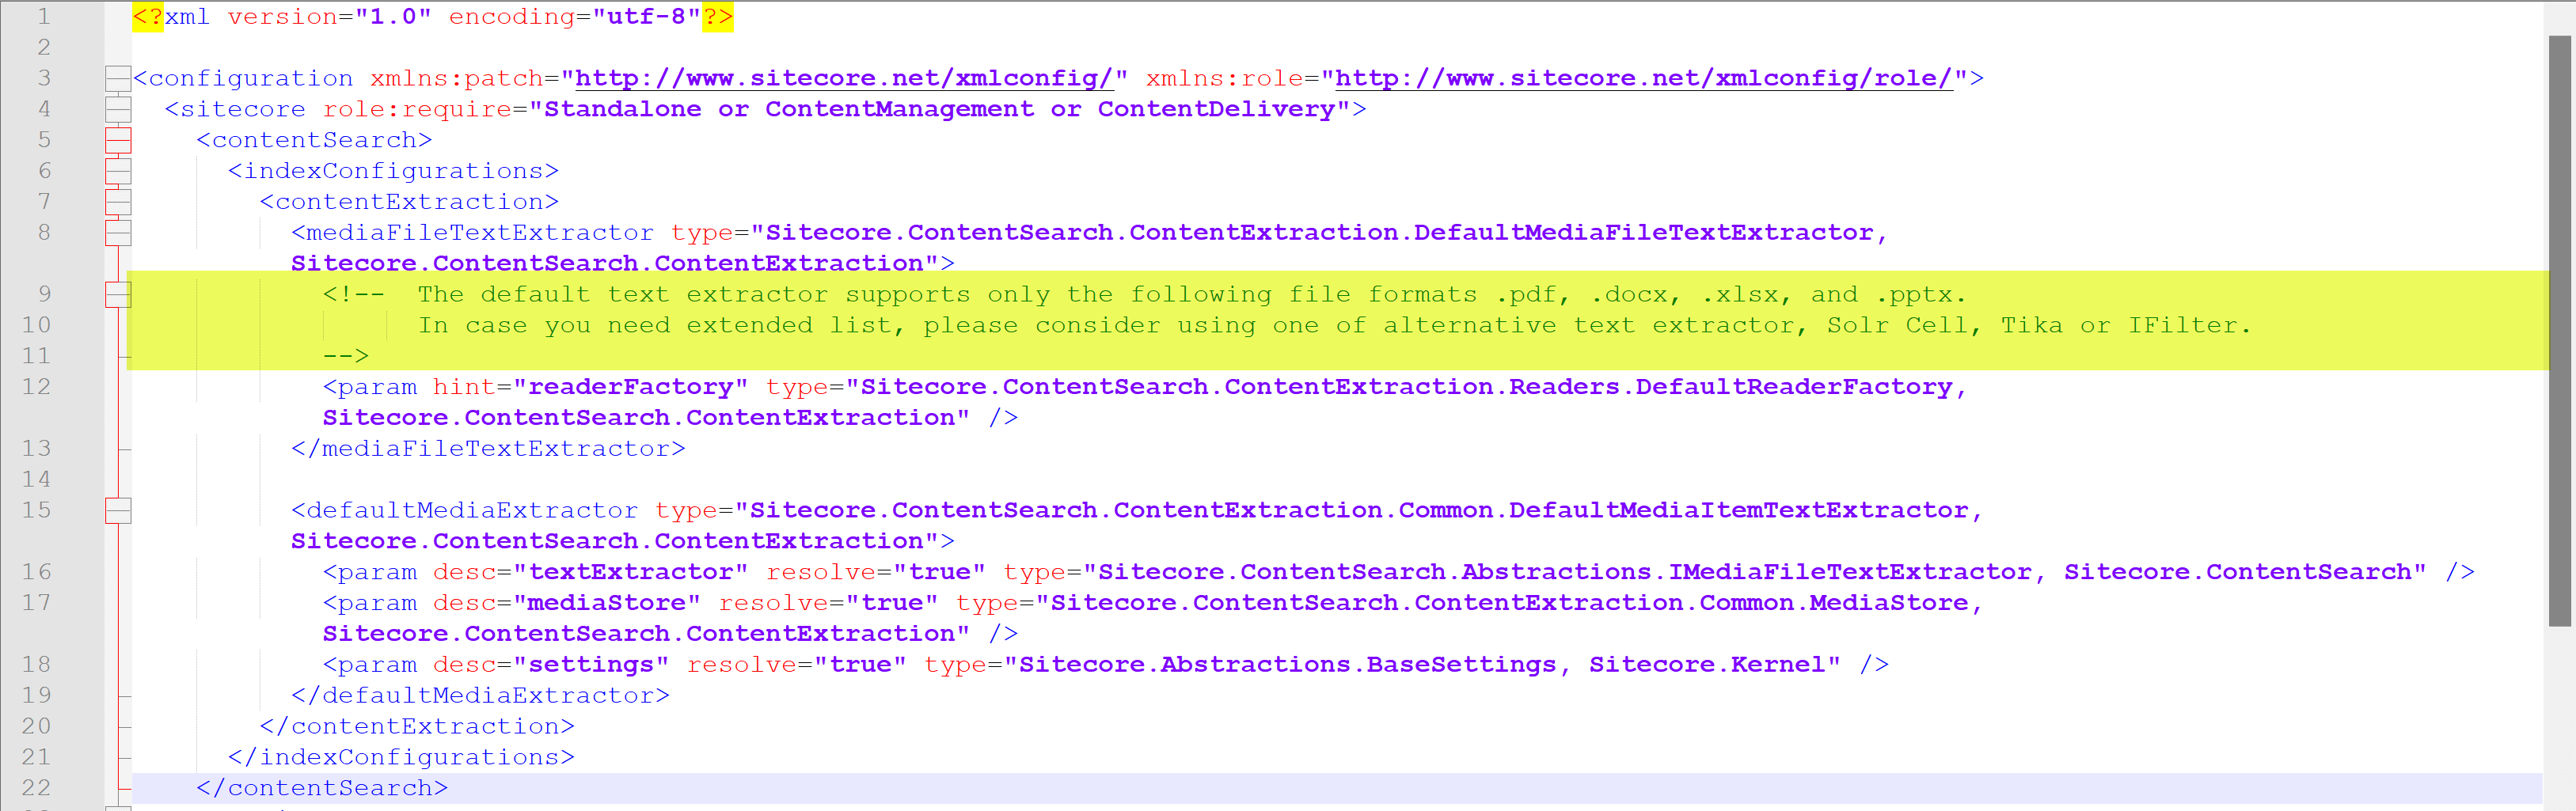
Configuration:
Let’s add the TextExtraction computed field into the config file.
I published all the files, and it’s time to check.
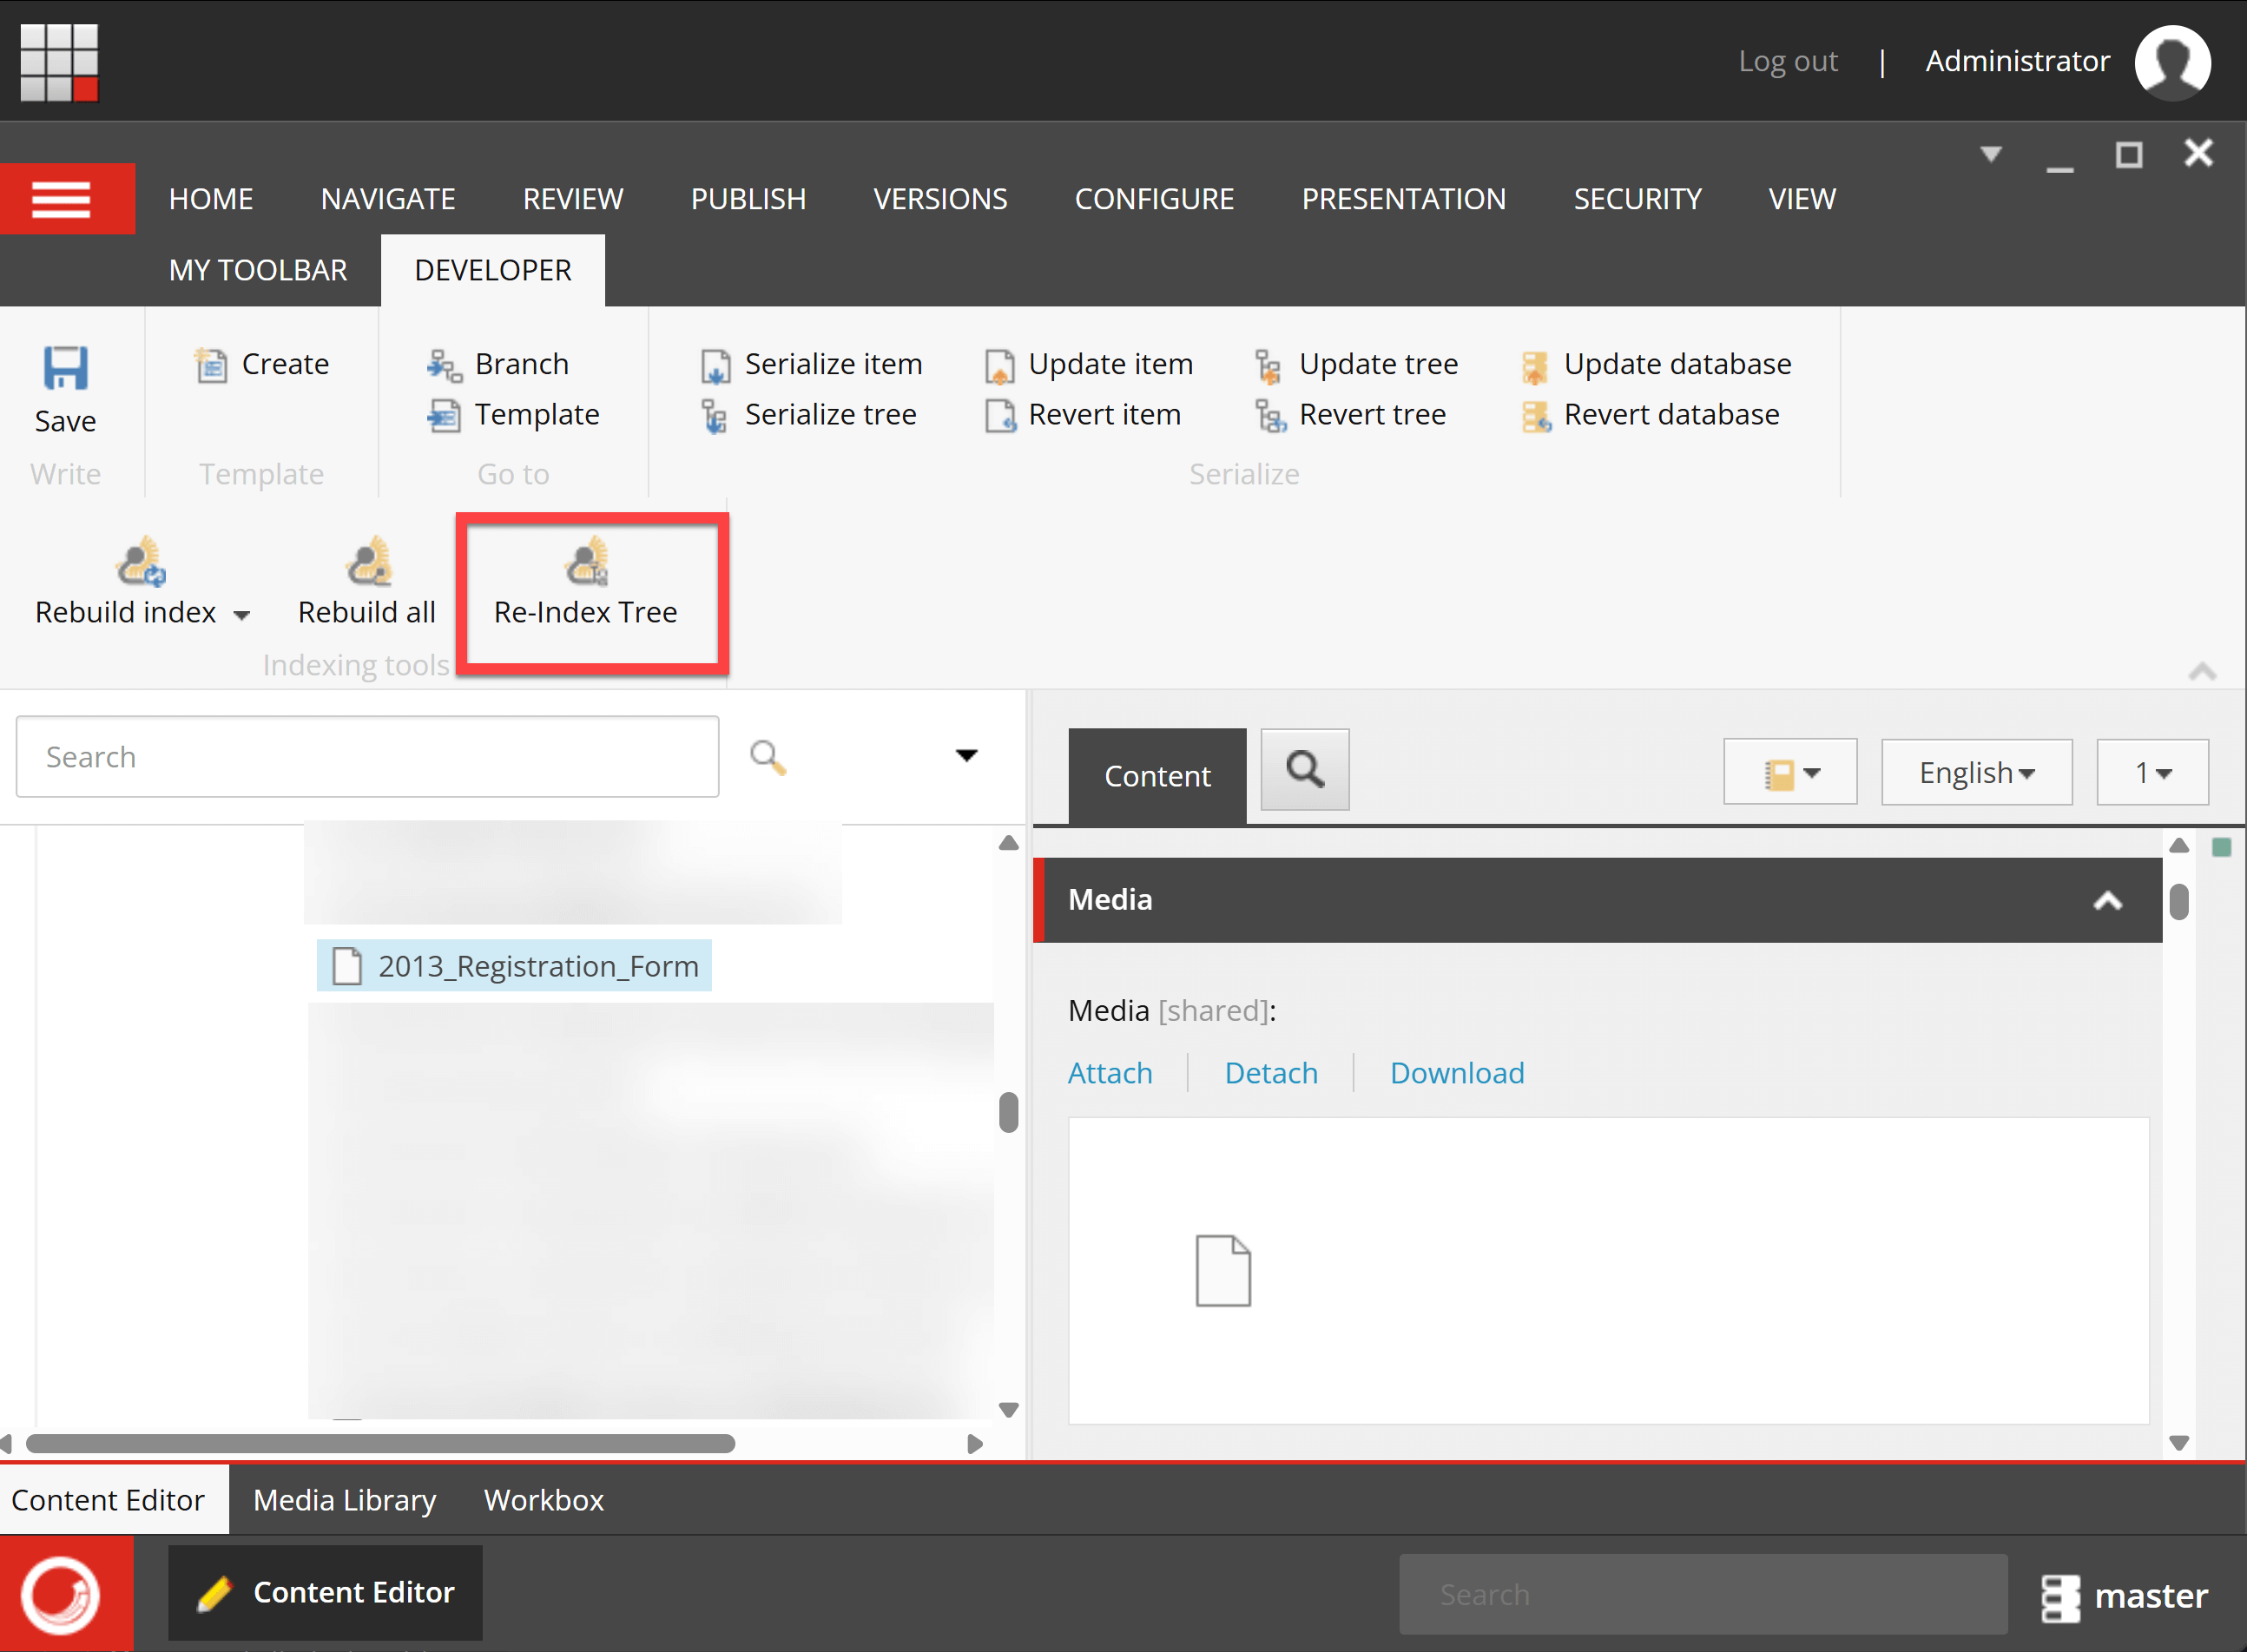
I selected the page that has many renderings and hit Rebuild Tree (I set the indexing strategy as SyncMaster. If you have intervalAsyncMaster or onPublishEndSyncSingleInstance, publish the item to see the record in Index.)
If any issues, you can put a breakpoint in Visual Studio, and Rebuild Tree will hit the breakpoint to debug.
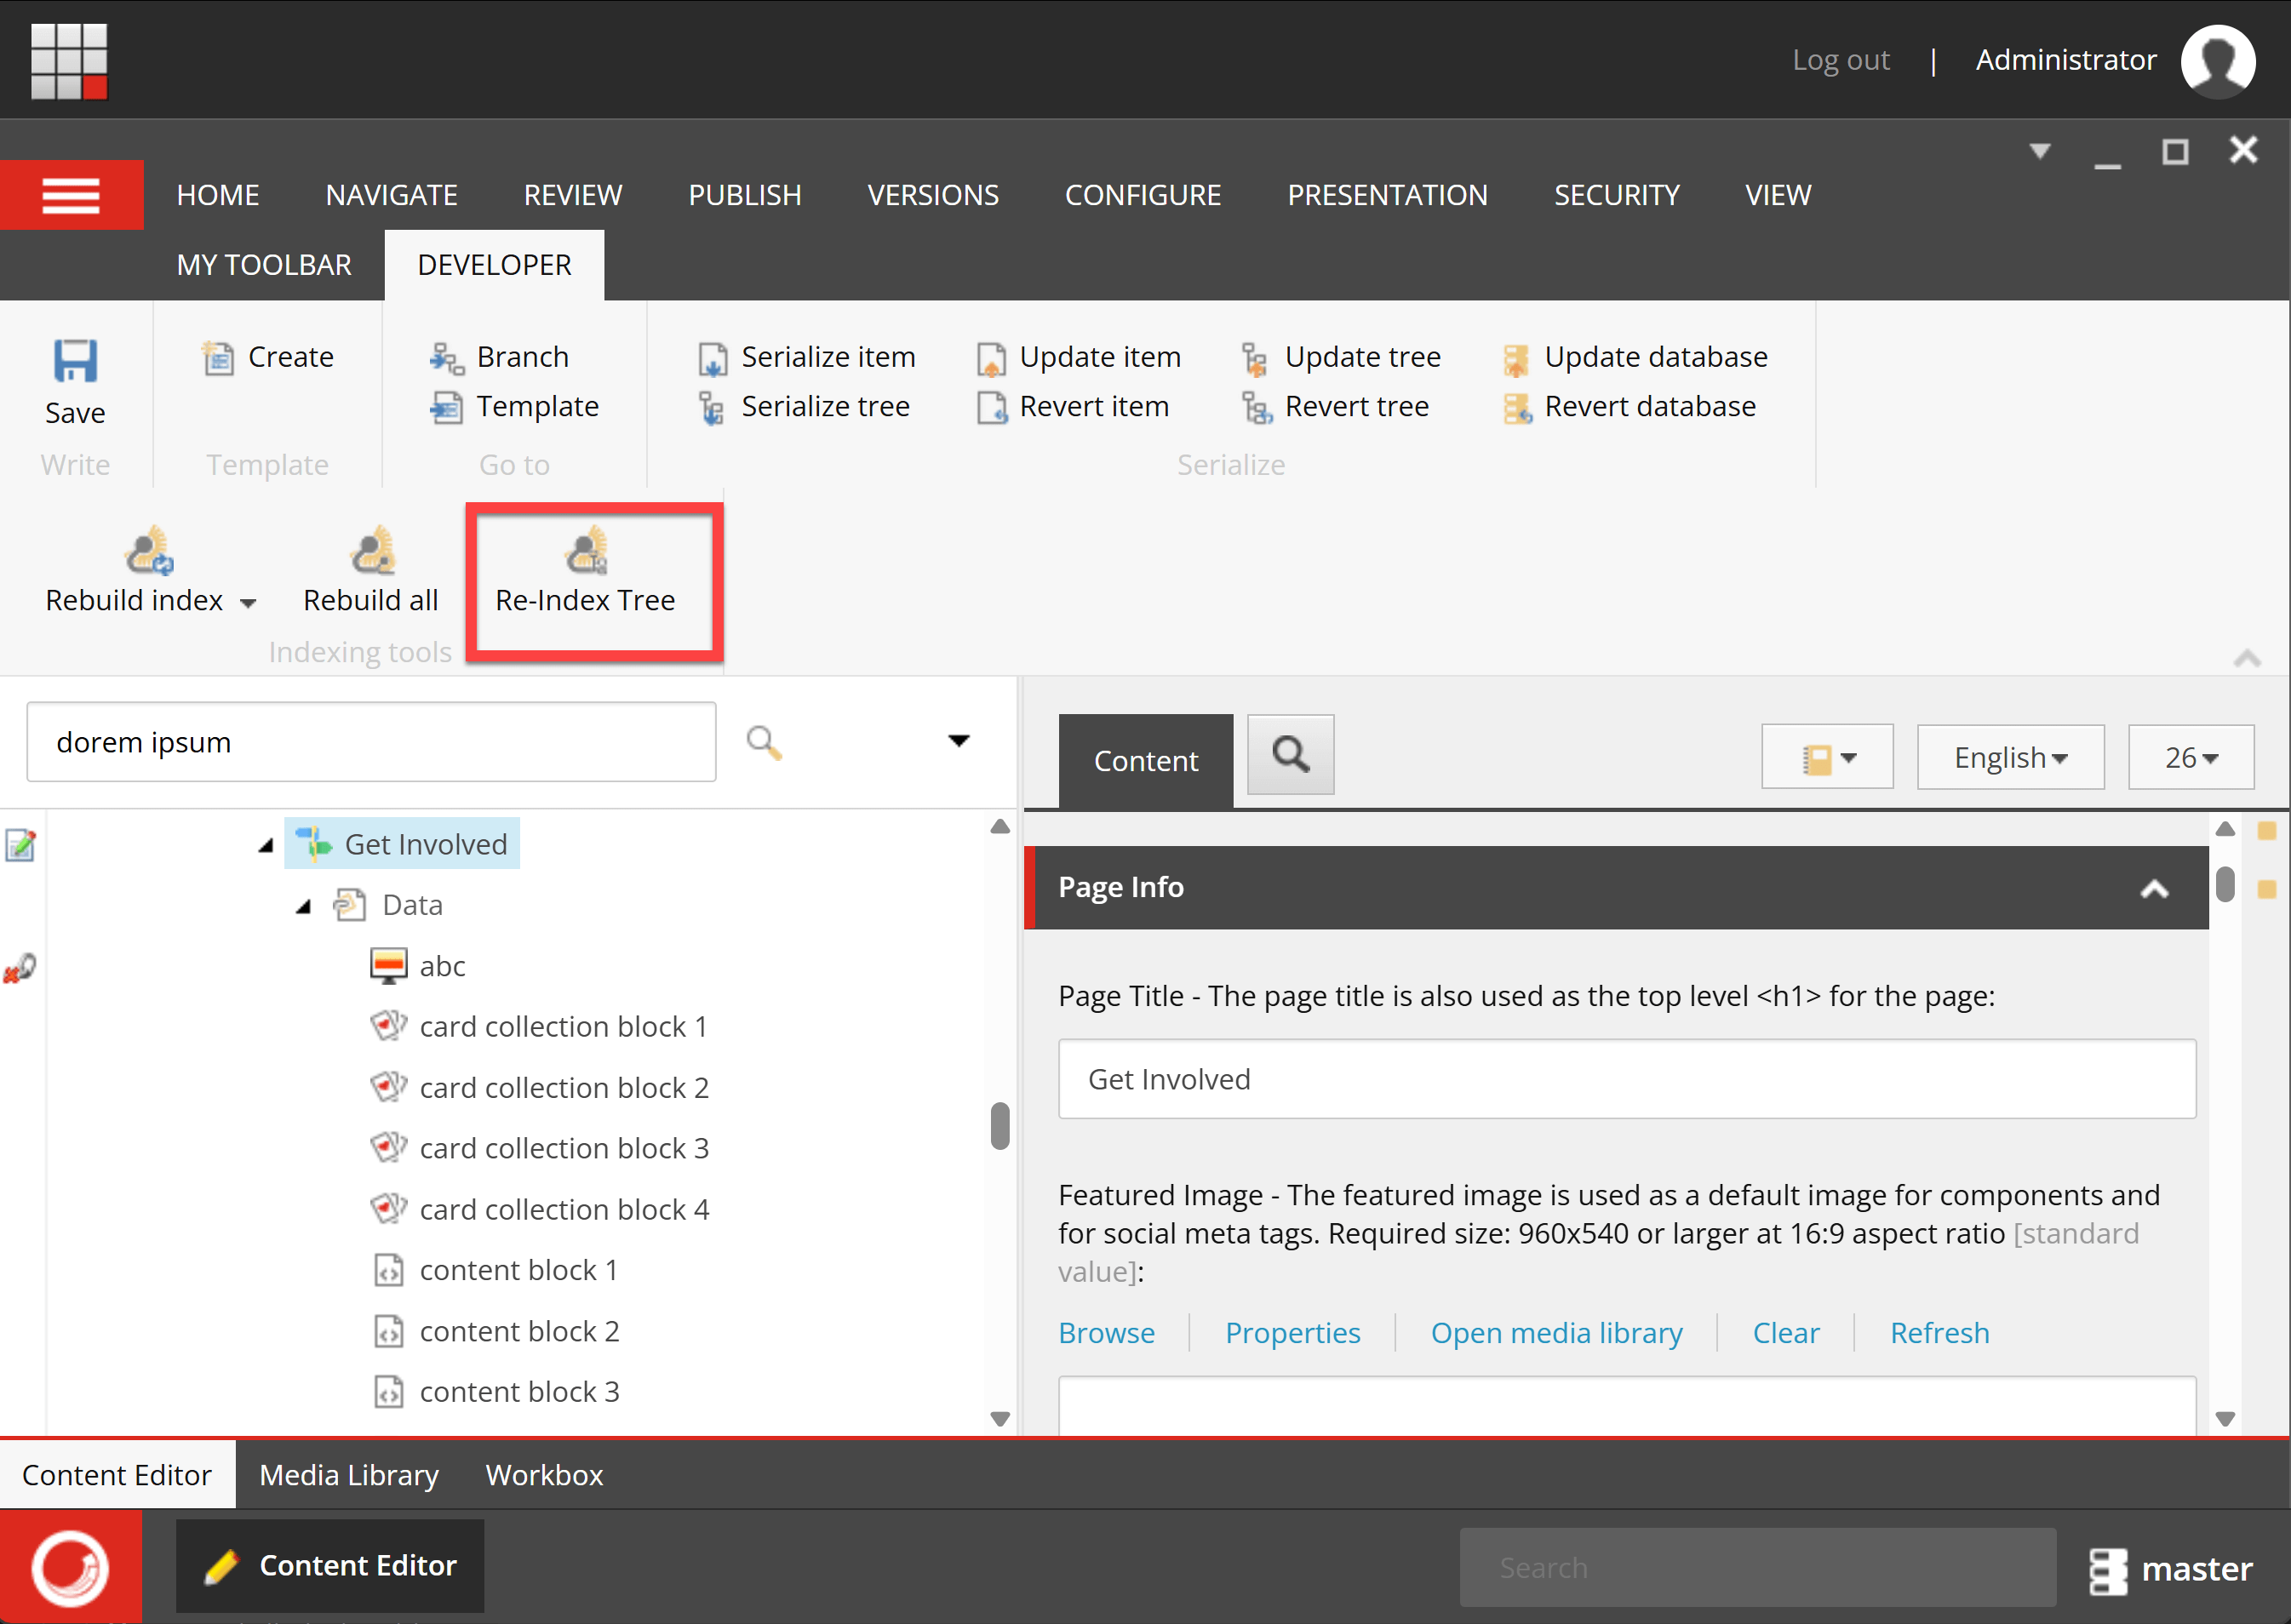
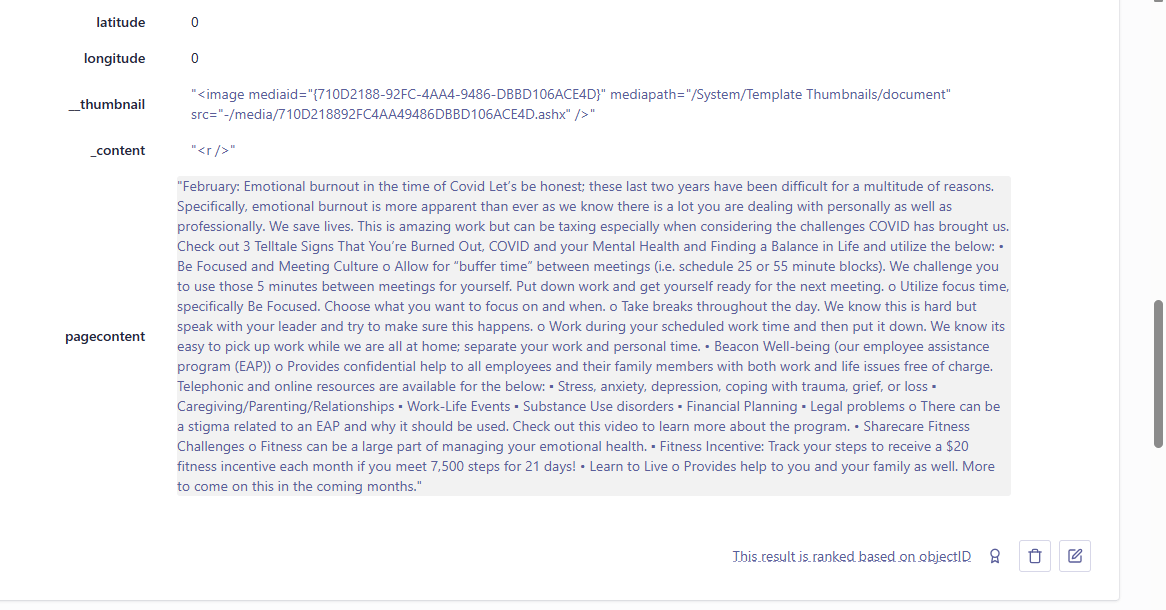
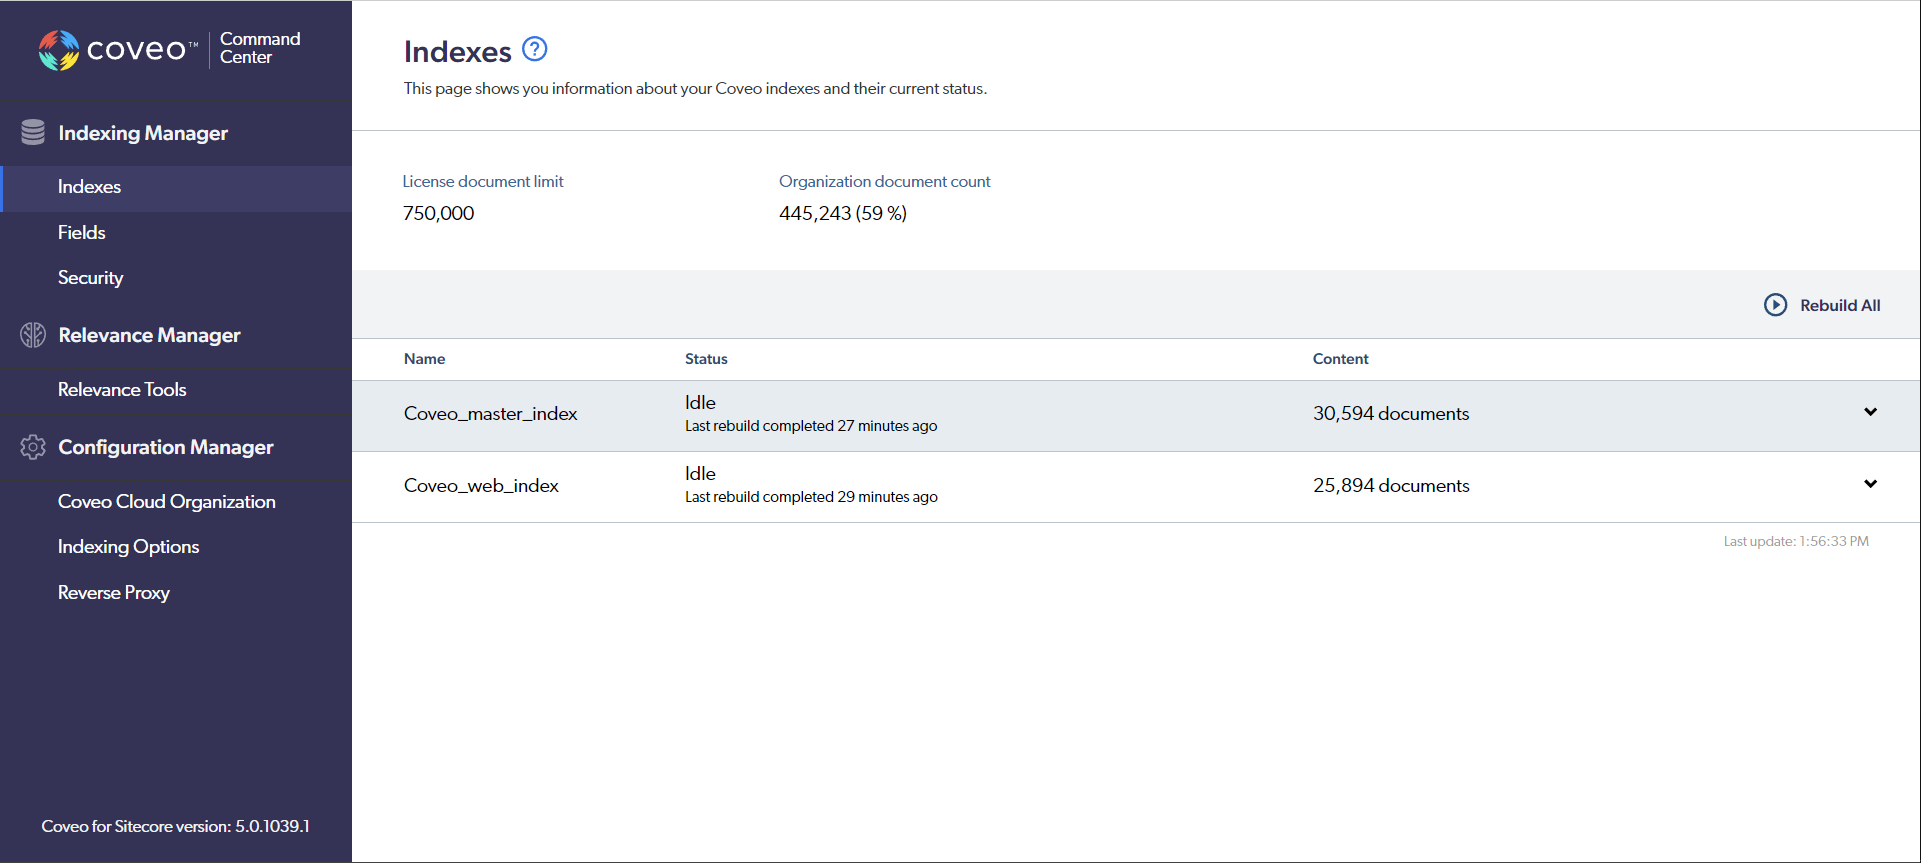
Let’s check the Coveo index – Yay! Its page content and its associated rendering content were extracted successfully.

Hope this helps.
Happy Sitecoring!