The Algolia Search Provider for Sitecore is a powerful integration combining robust content management capabilities with Algolia’s lightning-fast, full-text search engine.
This provider enables Sitecore-driven websites and applications to deliver instant, relevant, and highly customizable search experiences to end-users, ensuring faster content discovery and improved user engagement.
While exploring, I found that Dmitry Harnitski and Peter Procházka have implemented the Algolia Search Provider for Sitecore 9.1 and previous versions. Thank you so much!
https://github.com/dharnitski/Sitecore.Algolia
https://github.com/chorpo/Sitecore.Algolia/tree/sitecore91
Upgrading to Sitecore 10.2.1
The following are the steps taken for upgrading Sitecore 10.2.1 –
- I forked from Peter Procházka’s Sitecore 9.1 branch
https://github.com/chorpo/Sitecore.Algolia/tree/sitecore91
- Upgraded the Sitecore NuGet packages to 10.2.1.
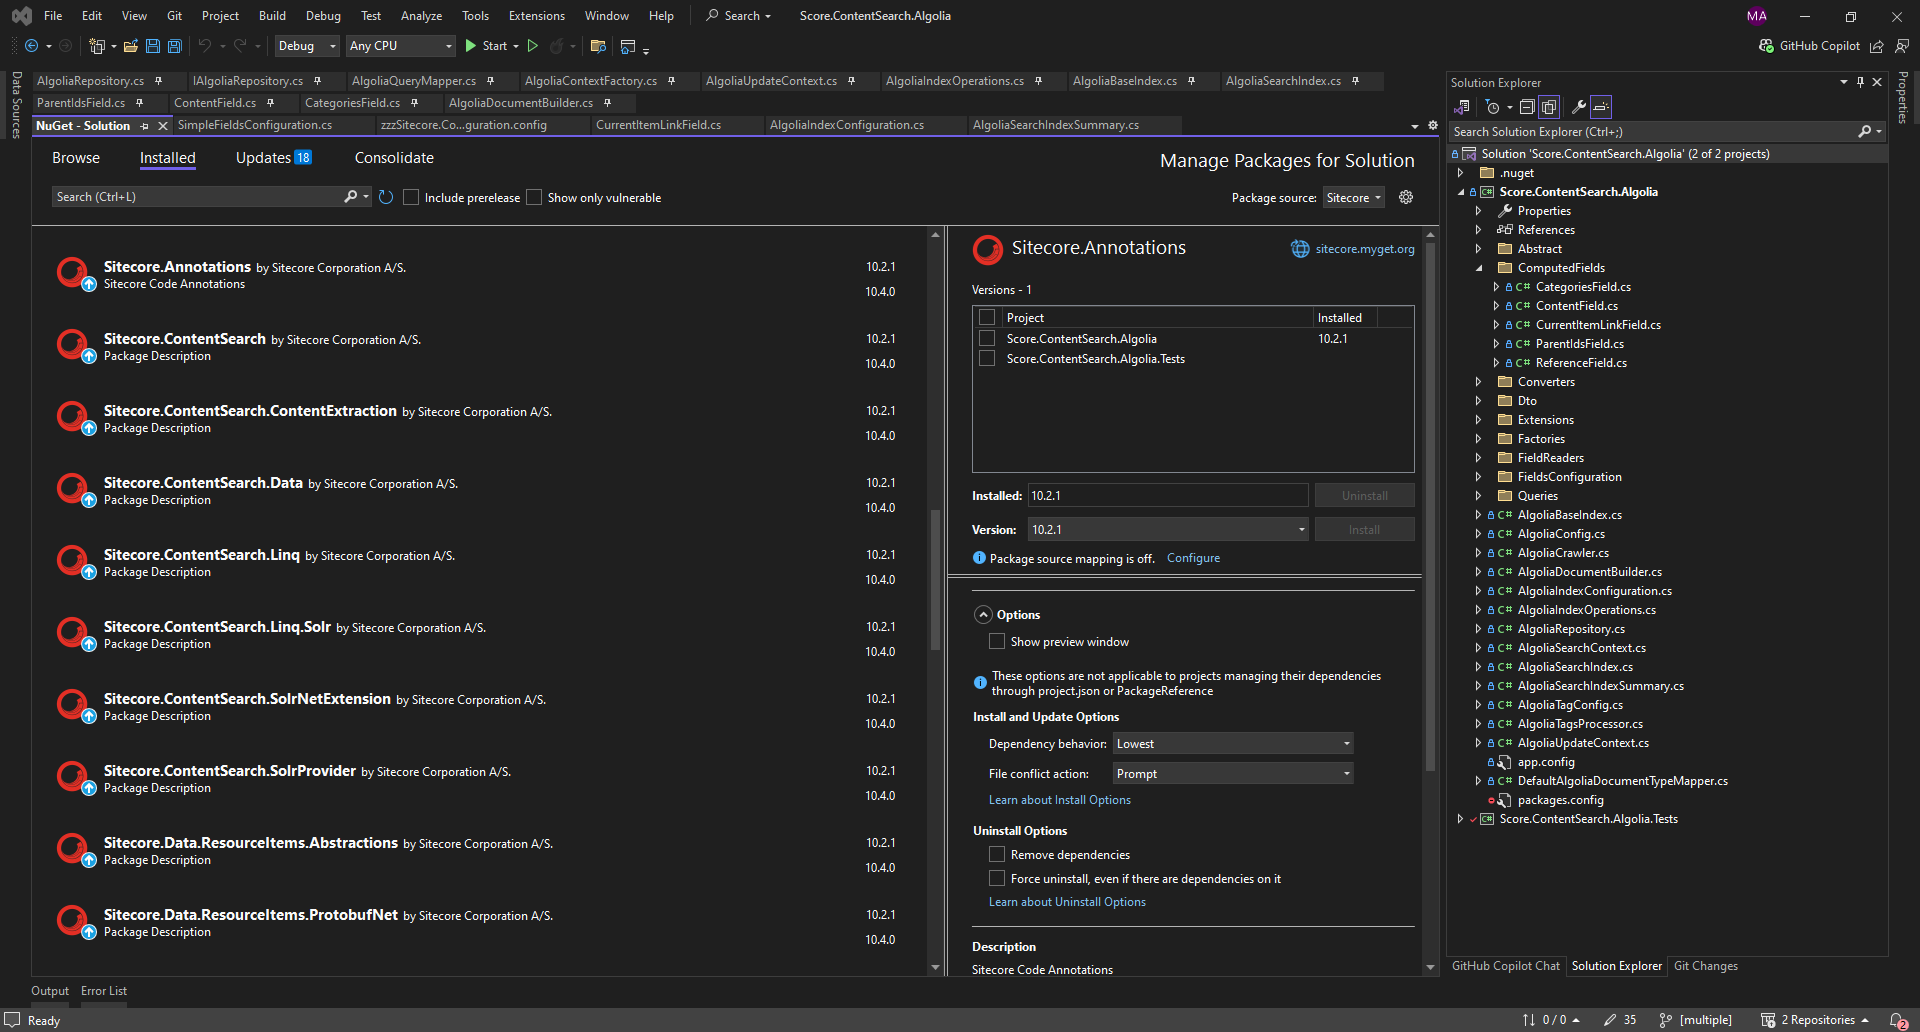
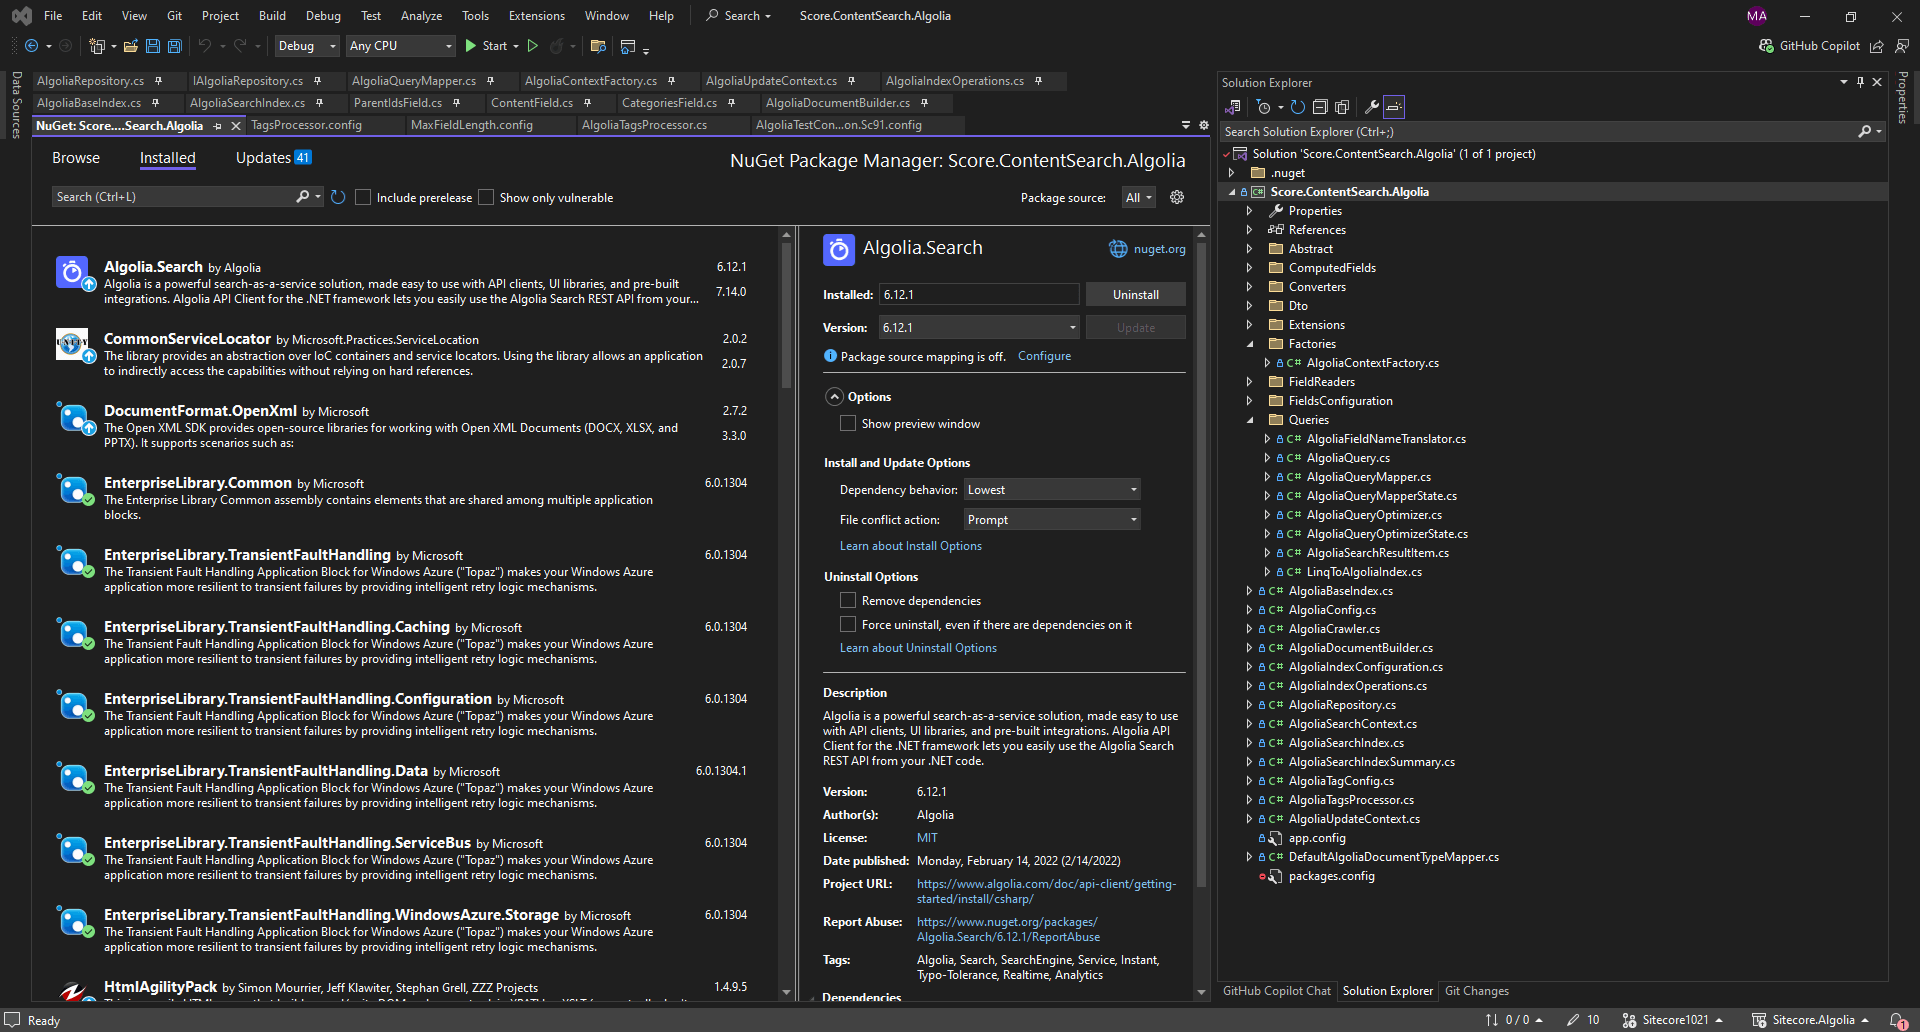
- Algolia.Search NuGet package upgraded 6.12.1
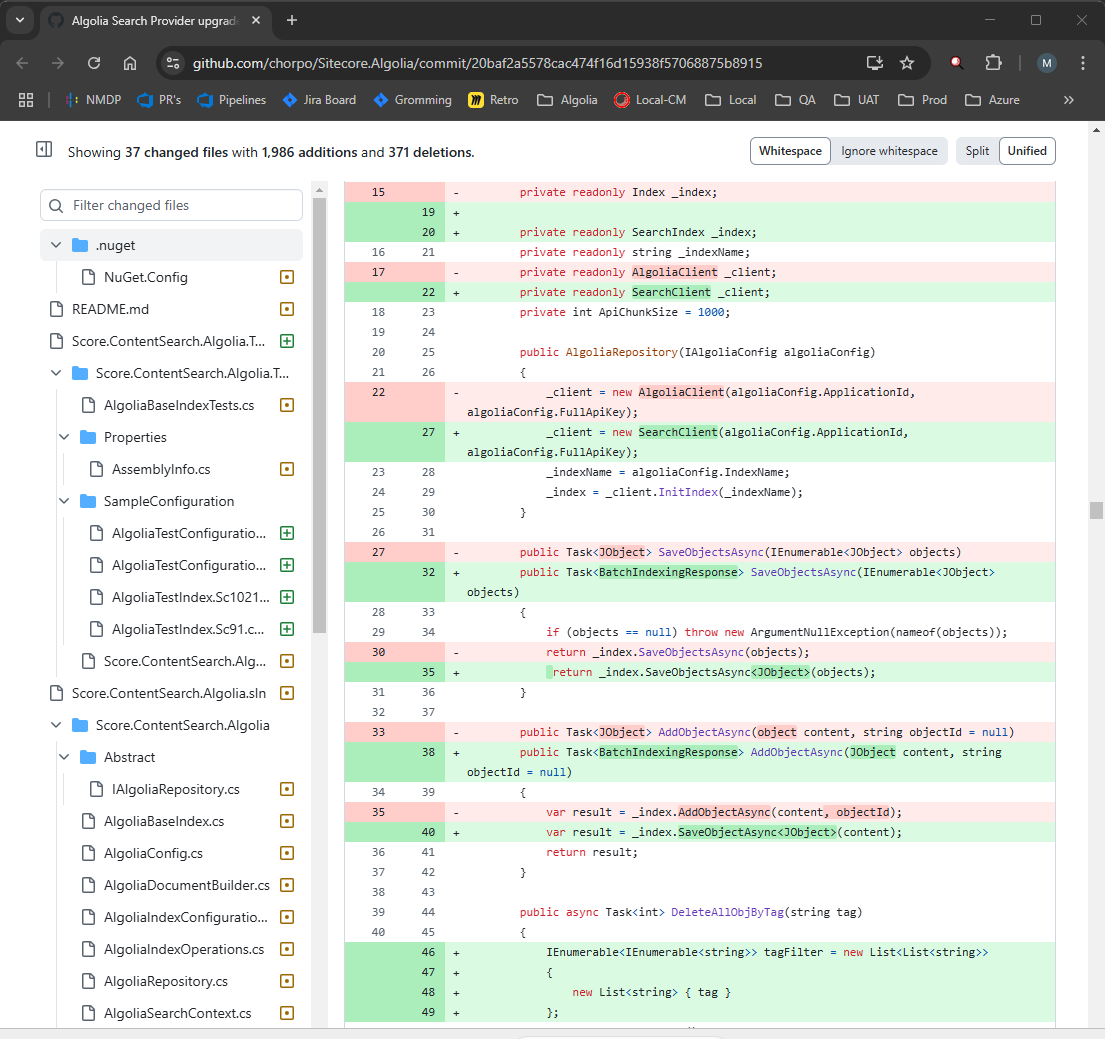
- Started resolving build issues – many interfaces changed, and tons of changes on the following commit. https://github.com/chorpo/Sitecore.Algolia/commit/20baf2a5578cac474f16d15938f57068875b8915
- Finally, able to build the solution successfully.
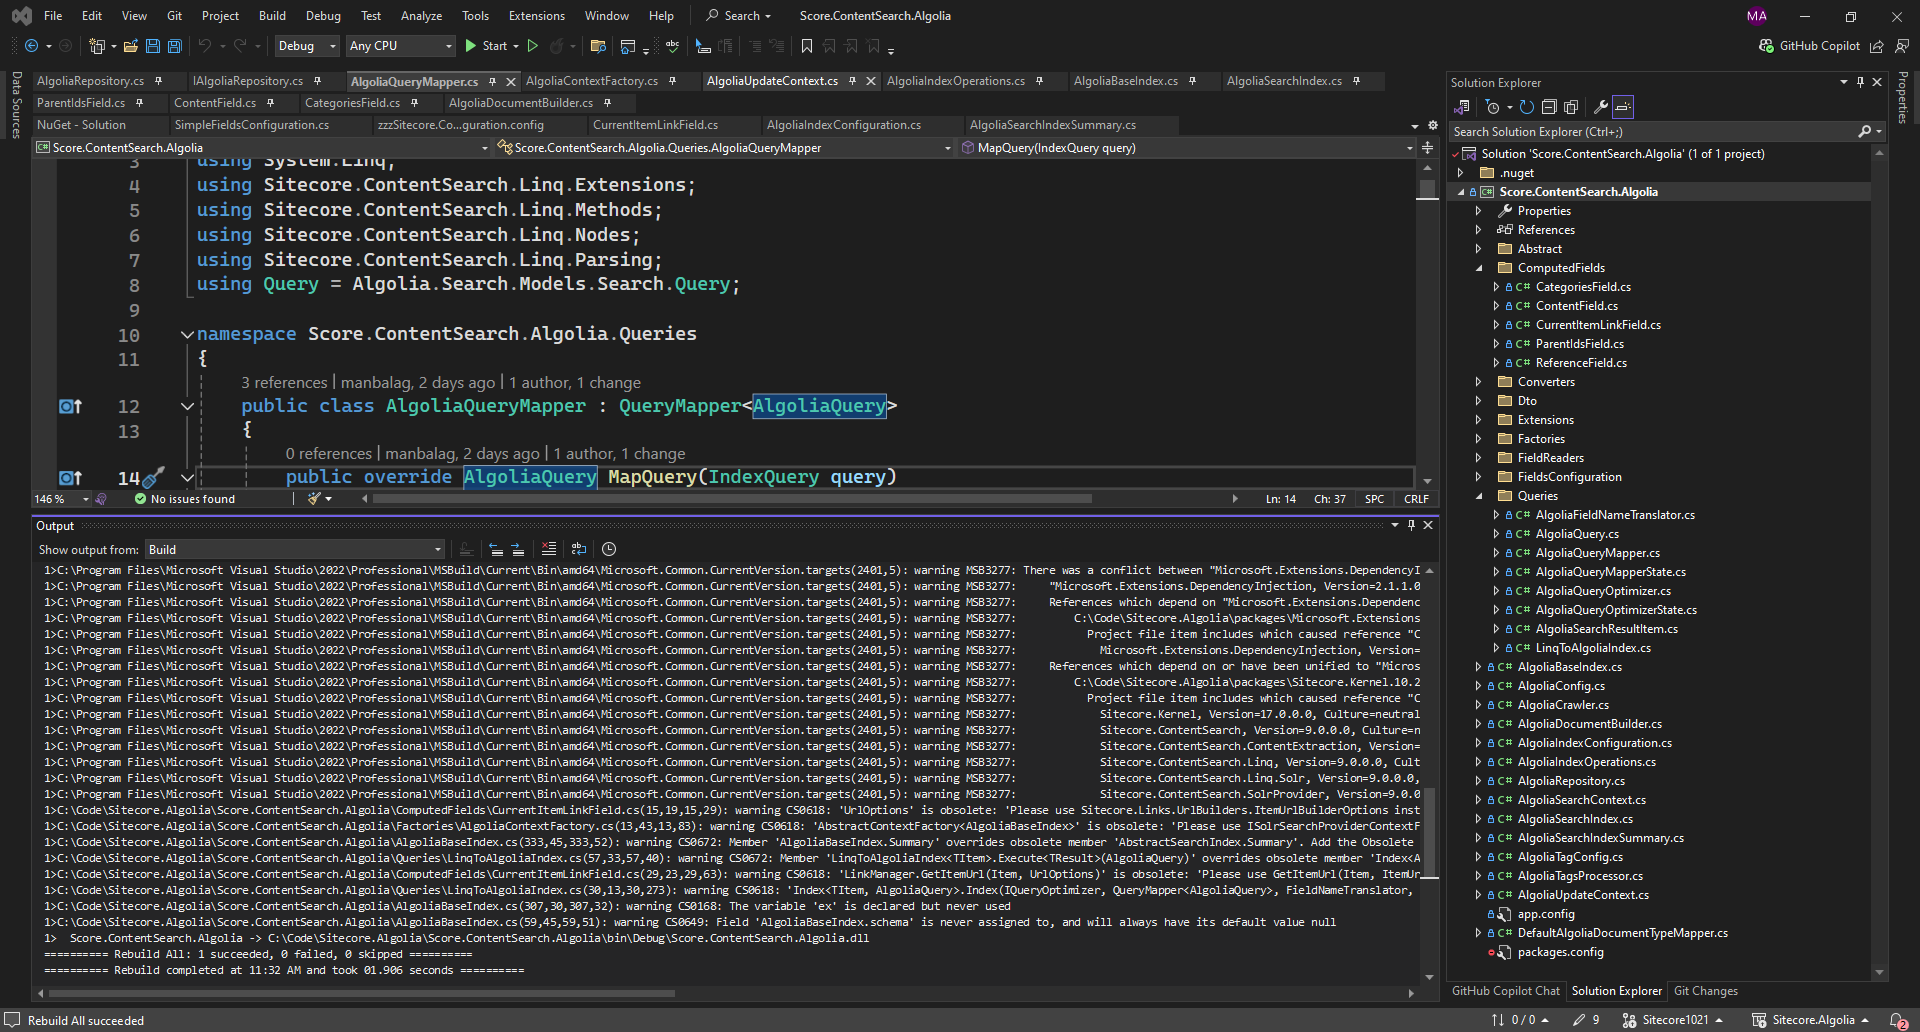
- After the build was successful, I shifted the module to the existing solution.
- I didn’t get a chance to upgrade the unit test project. If you have upgraded, please let me know.
The module is checked into the following repository.
https://github.com/Madhumidha/Sitecore.Algolia/tree/Sitecore1021
The repo has all the instructions on how to set up and configuration details.
Hope this helps.
Happy Sitecoring!