Tagged: Identity Server

Sitecore Forms : Custom Submit Action to Create and Publish Content Item (Part 2)

In Part 1, we saw

  • Create Custom Submit Action in Sitecore
  • Create a code-behind class that inherits SubmitActionBase
  • Create a secure API that can create and publish an item

https://madhuanbalagan.com/sitecore-forms-custom-submit-action-to-create-and-publish-item-from-form-data-part-1

Now, let’s focus on 

  • Create a separate Authorization in the Identity Server for Forms 
  • Create a Controller to bridge between Custom Submit Action and API call
  • Set the Custom Submit Action fields

1. Create a separate Authorization in the Identity Server for Forms 

Add the FormsServerClient node and its value to the Identity Server’s Sitecore.IdentityServer.DevEx.xml file. After making the change, make sure to IIS Reset for the change to be in effect. 

Note: Don’t forget to add transforms for ClientSecret!


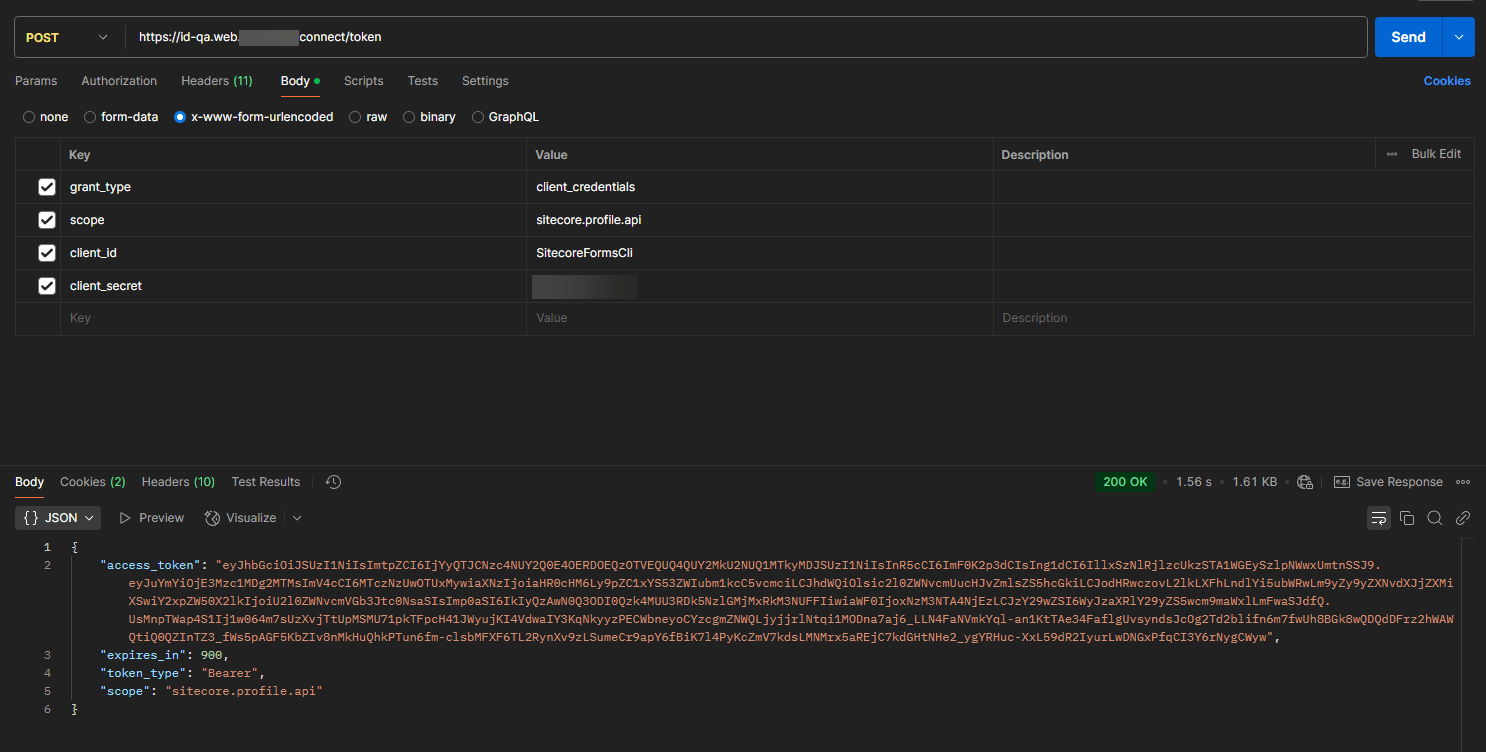
Ideally, you can call it in Postman to verify that it’s generating a token using Form’s ClientID and ClientSecret values mentioned in the Sitecore.IdentityServer.DevEx.xml file.
Now that the config is all set to have its own ClientID and ClientSecret, let’s set up the Authorize method with BearerToken specifically for Form’s Identity Credentials.

The SitecoreRestServices handles authenticated HTTP requests to Sitecore’s REST APIs, managing access tokens and retrying requests if authentication fails. It uses dependency injection to configure the HTTP client and obtain the necessary settings.

2. Create a Controller to bridge between Custom Submit Action and API call

Let’s bridge the Custom Submit Action and API call – The CustomController class extends SitecoreController and uses dependency injection to obtain an instance of ICreateAutoPublishService.

It defines a CreateAndPublish method – HTTP POST endpoint that processes CreateAndAutoPublishModel, calls the service to create and publish content, and returns a JSON response indicating success or failure.

The method includes error handling to return appropriate HTTP status codes and messages for different exceptions.

3. Set the Custom Submit Action fields

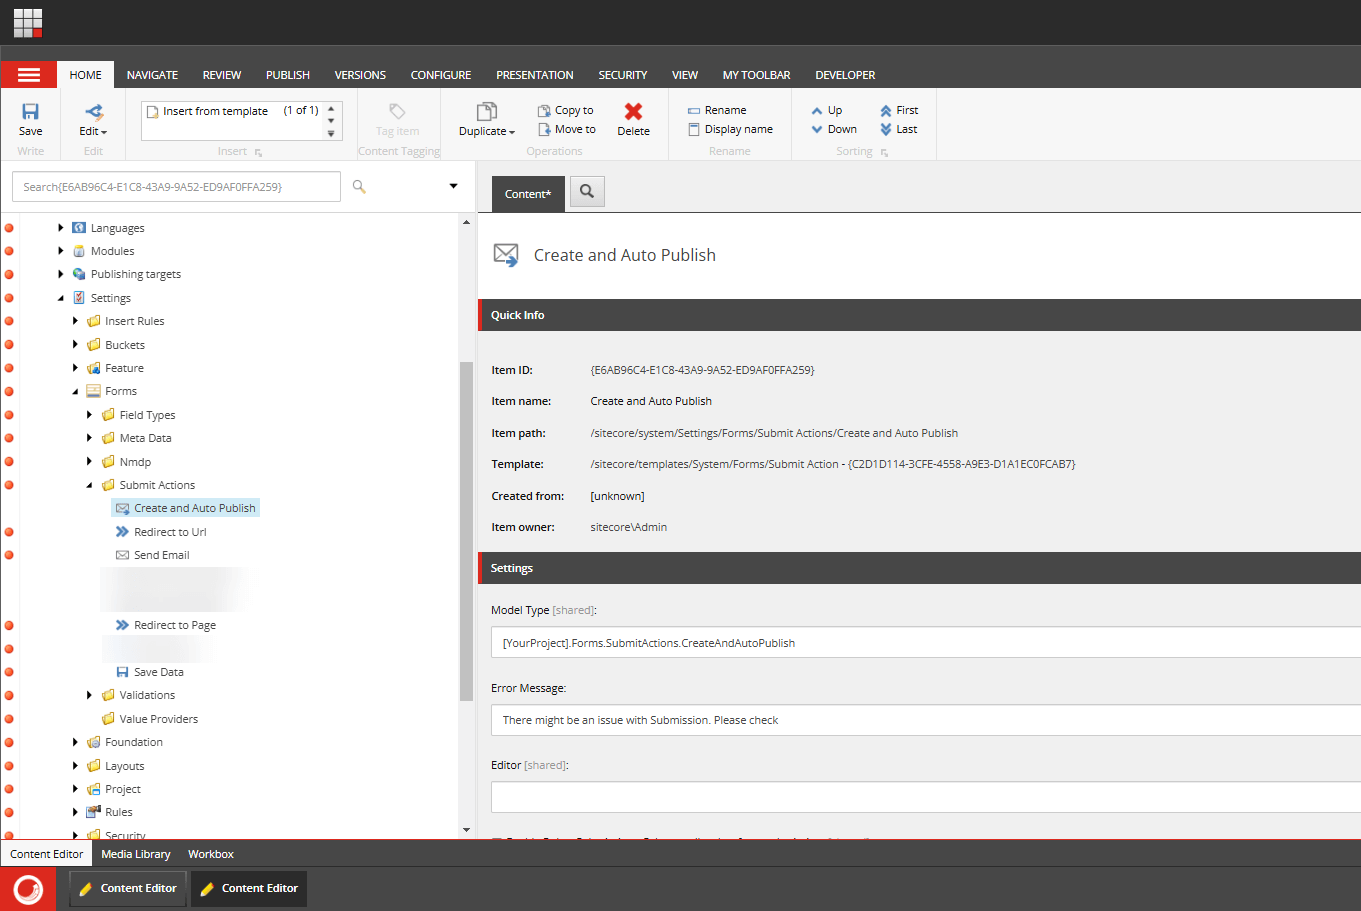
The final step – Let’s set the Model Type and Error Message based on the class we created. 

Publish the form and its related items. It should be good to go!
Hope this helps.

Happy Sitecoring!

0

Sitecore Forms : Custom Submit Action to Create and Publish Content Item(Part 1)


Problem

I encountered a situation that the website was internally facing, which needed a form that would not save the data in the Experience Forms database. Also the data needs to be saved as an Item in the master database so it could be published and consumed in a listing page.

At first, I considered creating a Custom Submit Action to create and publish an item. However, I later realized that the CD server lacked access to the CM server, preventing it from directly generating an item in the master database. So, I came up with the idea of creating a custom API service and combining it with a custom submit action.

Solution

To implement this followed this process

  • Create Custom Submit Action in Sitecore
  • Create a code-behind class that inherits SubmitActionBase
  • Create a secure API that can create and publish an item
  • Create an API authorization user in the identity server 
  • Create a Controller to proxy between Custom Submit Action and API calls
  • Set the Custom Submit Action fields


1. Custom Submit Action in Sitecore

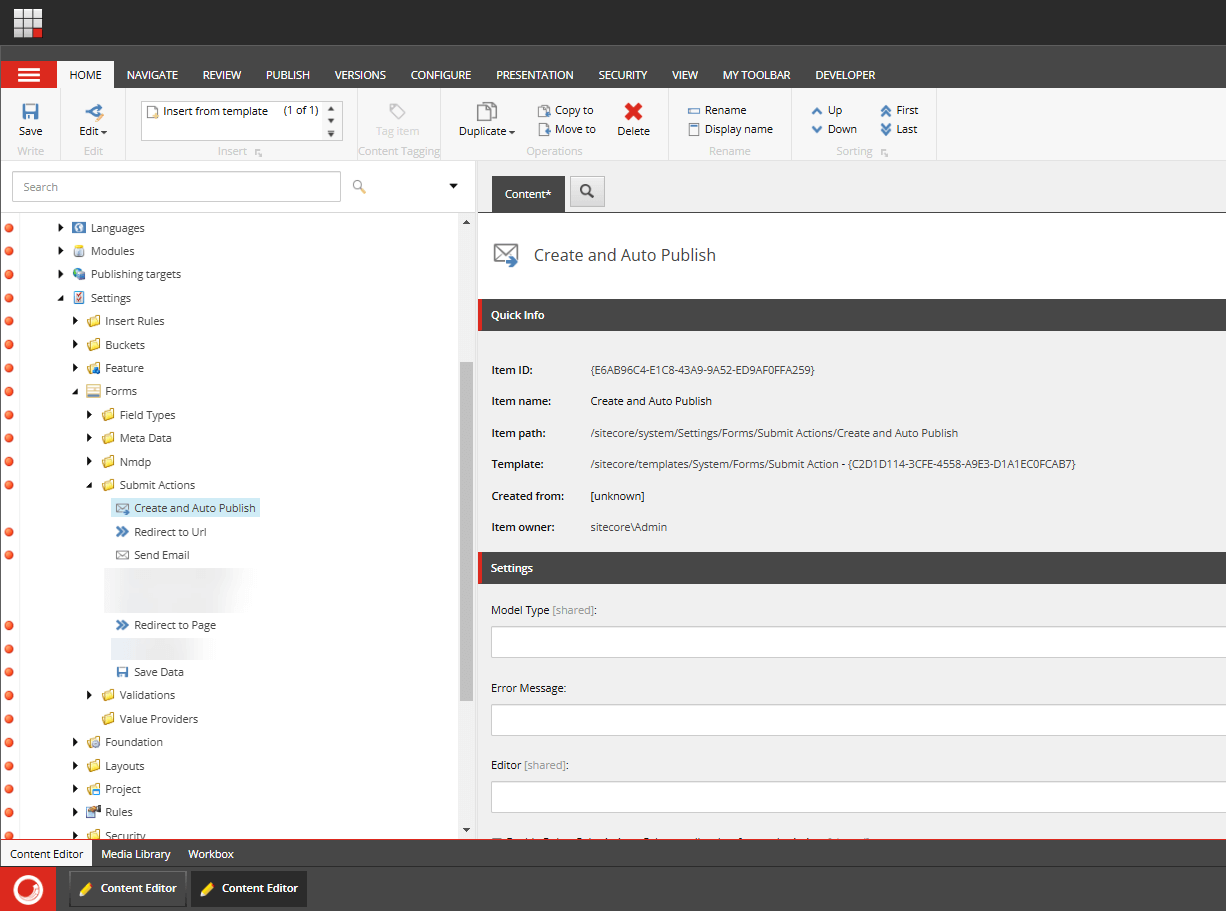
Create the custom submit action in the following path /sitecore/system/Settings/Forms/Submit Actions.

Sitecore_Forms_1.png


2. Create a code-behind class that inherits SubmitActionBase

Create a class that inherits the SubmitActionBase class and overrides the Execute method which calls the API asynchronously to create and publish an item.

The CreateAndAutoPublish class extends SubmitActionBase<string> and is designed to handle form submissions in Sitecore, creating and auto-publishing content items.

It uses dependency injection to obtain instances of IHttpClientFactoryBaseSettings, and ISitecoreRestServices, which are lazily initialized. The ExecuteAction method validates the form submission context and parameters, then calls the Execute method to prepare a model from form fields, serialize it to JSON, and send it to a Sitecore API endpoint using an HTTP POST request.

The class includes helper methods to extract values from form fields and handles errors by logging them and adding them to the form submission context’s error collection.


3. Create an API call that creates and publishes the item  

The API call does the following things – 

  1. Creates an item under a specified folder
  2. Move and Sync the item into a bucket
  3. Publish the item
  4. Clear the Sitecore cache
  5. Ensure the published item is indexed or force index the item
  6. Clear the Vercel Cache for frontend

In Part 2, we will see how to

  • Create an API authorization user in the identity server 
  • Create a Controller to proxy between Custom Submit Action and API calls
  • Set the Custom Submit Action fields

Hope this helps.

Happy Sitecoring!

1