I wanted to set up a daily Sitecore content synchronization to lower environments to ensure they are updated with the latest content from Production every morning.
The Sitecore Sidekick PowerShell module came to the rescue – Thank you Jeff Darchuk for the excellent module! One of its key advantages is that it eliminates the need to pass usernames or passwords for higher environments.
P.S. I hope you have the Sidekick module installed, it needs a SharedSecret to communicate to the higher environments.
Content Sync:
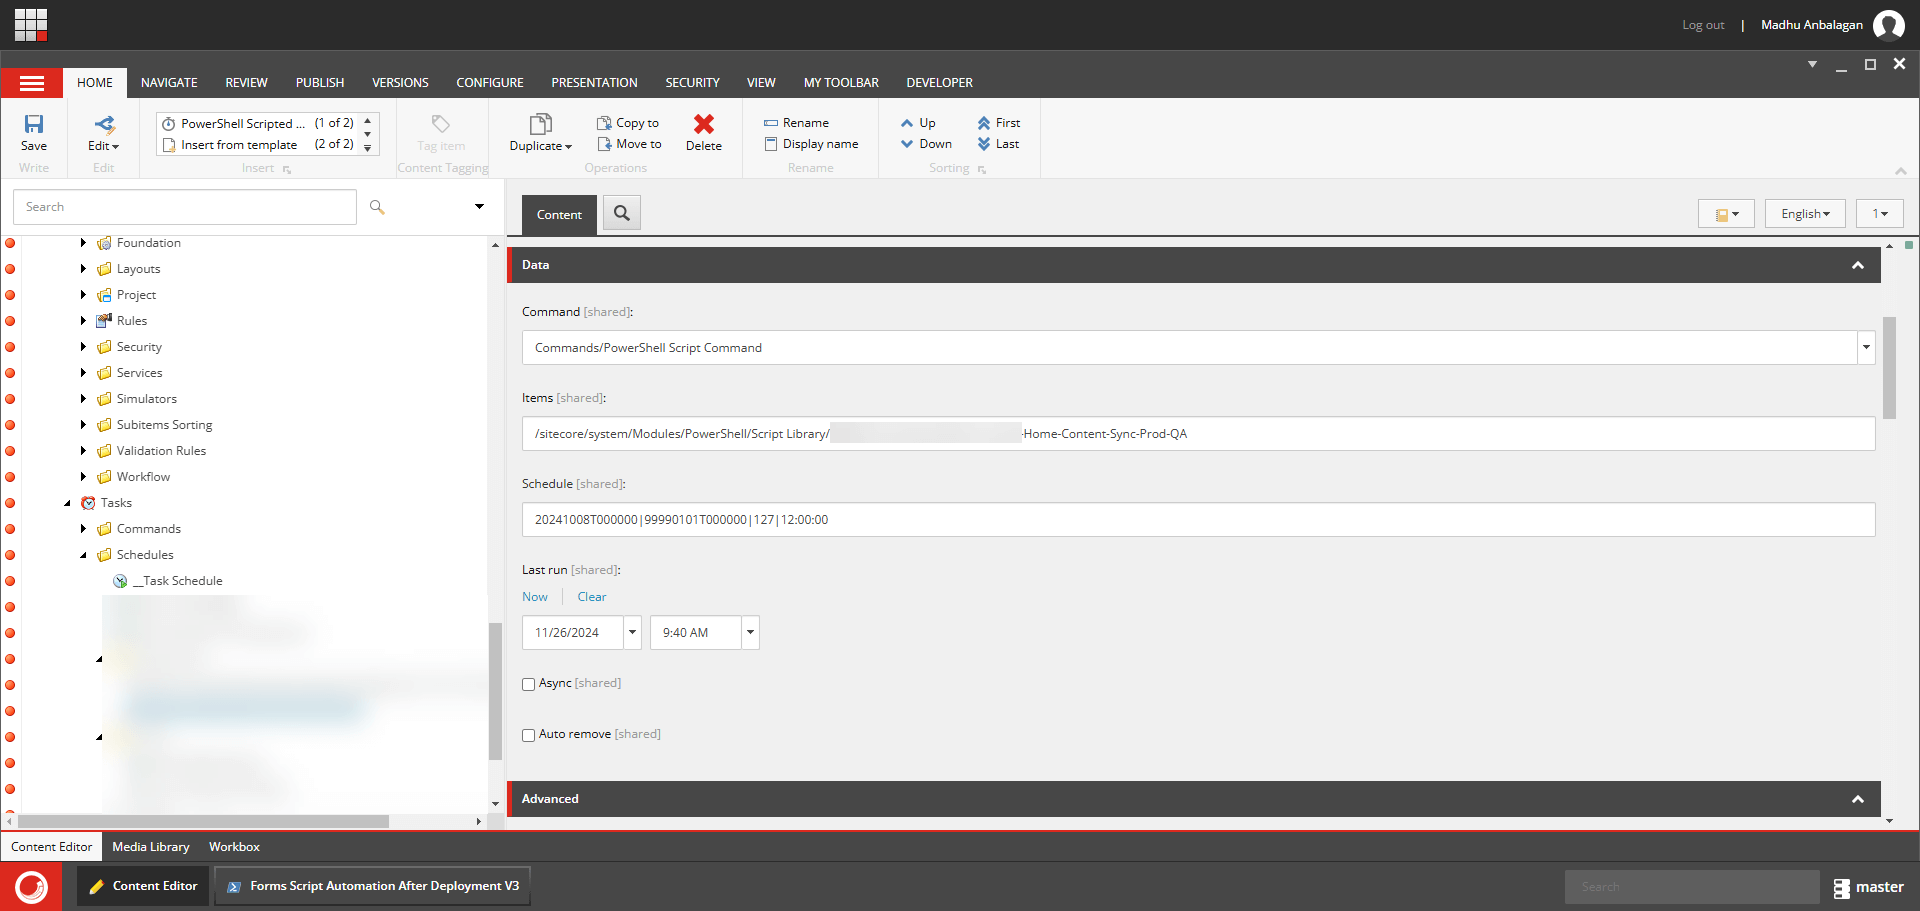
After successfully installing the Sidekick PowerShell module, I created the following script to sync the Home page and its children from the Production environment to the QA environment.
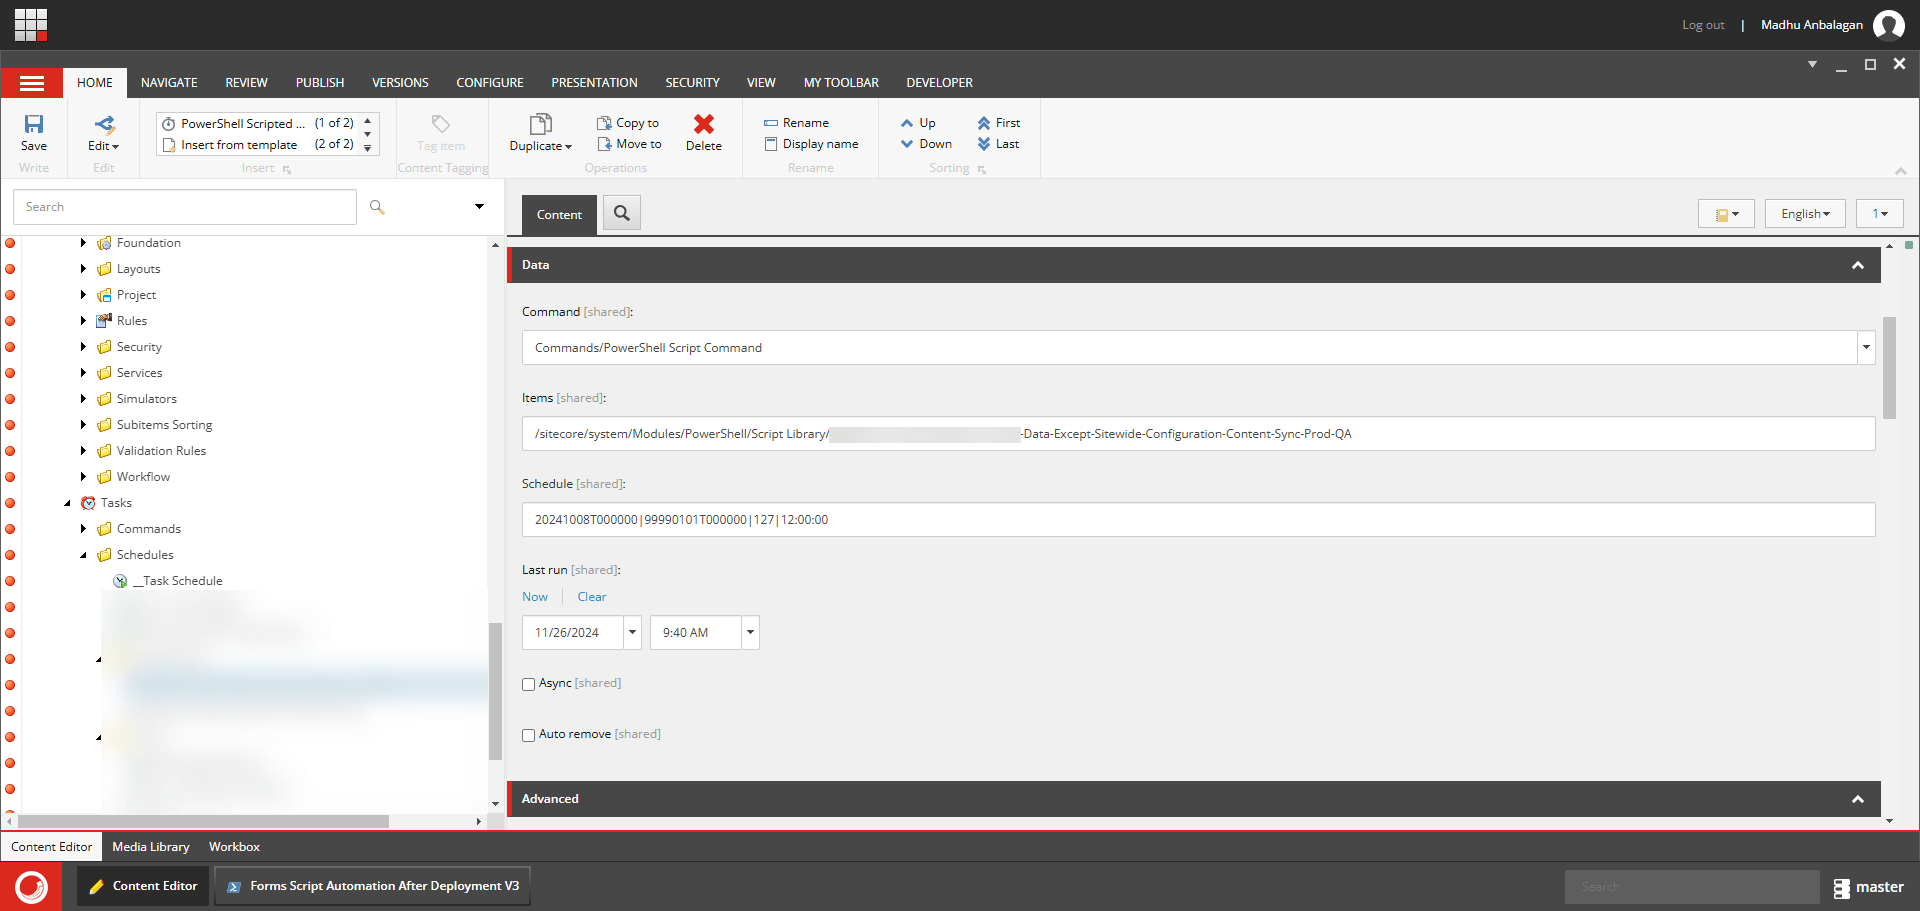
Similarly, I created the following script for the Data folder on the SXA site, excluding the Sitewide Configuration item.
Scheduling:
With the scripts ready, I have scheduled both using Powershell Scripts Command to run every 12 hours to fetch items.
The Sitecore Command Line Interface (CLI) is a developer tool that provides a command-line interface to interact with Sitecore instances for serializing templates, layouts, and renderings.
Let’s explore the installation and Configuration on Sitecore 10.x.
To initialize a new project, run the below command.
dotnet sitecore init
Note: Starting from 4.1.0, the sitecore init command takes care of installing default plugins (Sitecore.DevEx.Extensibility.Serialization, Sitecore.DevEx.Extensibility.Publishing, Sitecore.DevEx.Extensibility.Indexing, and Sitecore.DevEx.Extensibility.ResourcePackage).
Skip the below step if you are installing Sitecore CLI 4.1.0 or above.
Download the Configuration files for upgrade <Sitecore 10.3.0 rev. 008463 (upgrade files).zip>
Extract the Sitecore 10.3.0 rev. 008463 (upgrade files).zip file
Scripts Mapping
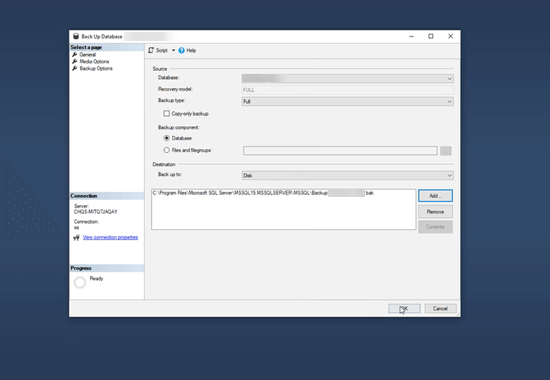
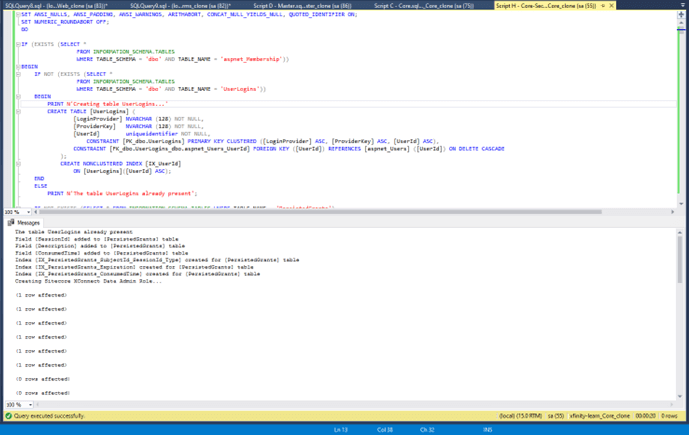
Now we bunch of files in the extracted folder. We don’t need to run all scripts, Sitecore has given a chart for each Sitecore version upgrade with a list of scripts to run. I’m upgrading from Sitecore 9.3, below is the list of scripts I need to run against clone databases.
Script A – CMS_core_master_web8x.sql
Script B – CMS_core_master_web9x.sql
Script C – CMS_core.sql
Script D – CMS_master.sql
Script E – CMS_web.sql
Script F – SXP_experienceforms_storage.sql
Script H – CMS_security.sql
Core DB:
Run the Scripts C (CMS_Core.sql) for [Your_Project]_Core_Clone DB
<<CMS_core.sql>>
Run the Script H(CMS_Security.sql) against [Your_Project]_Core_Clone DB since I have a separate Security DB connection string.
<<CMS_security.sql>>
Master DB
Run the Scripts D (CMS_Master.sql) for [Your_Project]_Master_Clone DB
<<CMS_master.sql>>
Web DB
Run the Scripts E (CMS_Web.sql) for [Your_Project]_Web_Clone DB
<<CMS_web.sql>>
Experience Forms DB
Run the Script F (SXP_experienceforms_storage.sql) for [Your_Project]_ExperienceForms_Clone DB
<< SXP_experienceforms_storage.sql s>>
Now we ran all the upgrade scripts, let’s update the connection string of vanilla Sitecore 10.3 XM to Cloned databases.
Update the ConnectionString of Sitecore 10.3 XM Instance:
<<ConnectionStrings.config>>
Let’s point to the Clone Databases by updating Initial Catalog and Password.
Use this tool only if you are upgrading to 10.1.0 or later
The default items have been moved into resource files, the tool will remove them from your databases. (if they have not been modified) from the Core, Master, and Web databases.
If you have modified any of the default items, they are not removed and the tool adds a list of these items to its log file.
Sitecore recommends that you review this list and decide if you still need the modifications, and re-apply your customizations to the new items after you have deleted the old ones.
If you decide that you don’t need the modifications, delete these items from SQL databases.
That default content would come from the actual items resource file which will be placed in App_Data\Items.
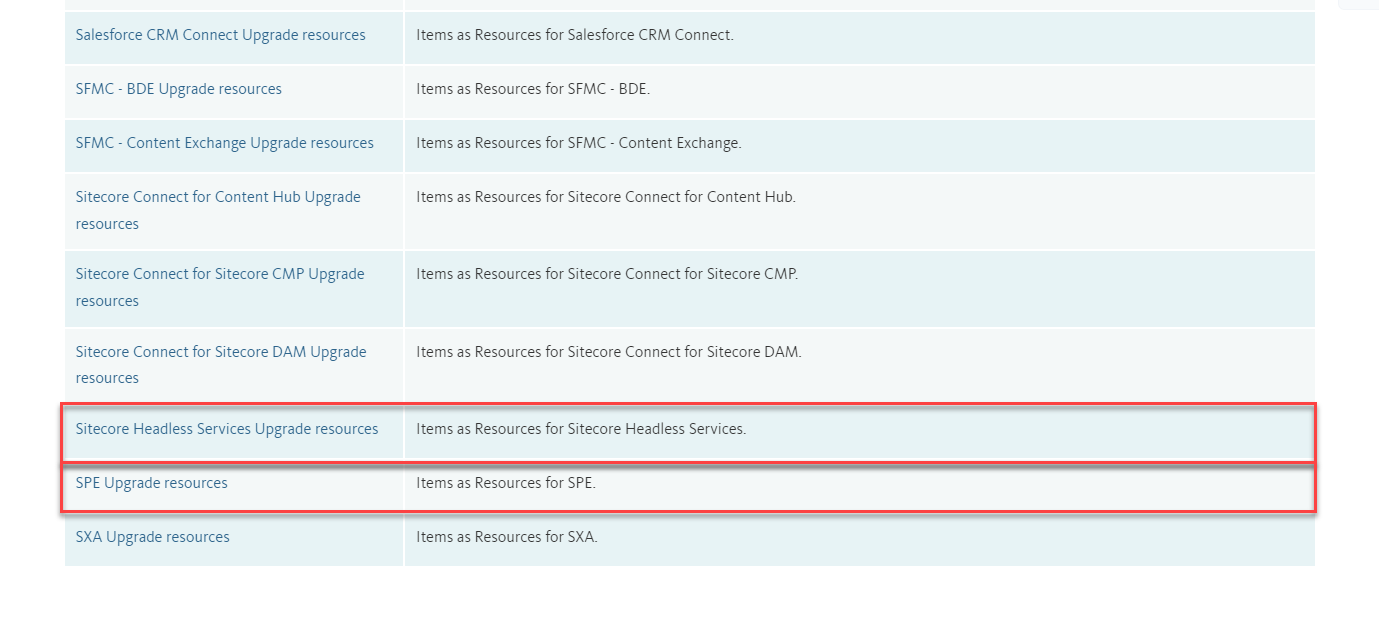
If your solution contains any modules or connectors, you should use this tool to upgrade them.
Database Clean-up:
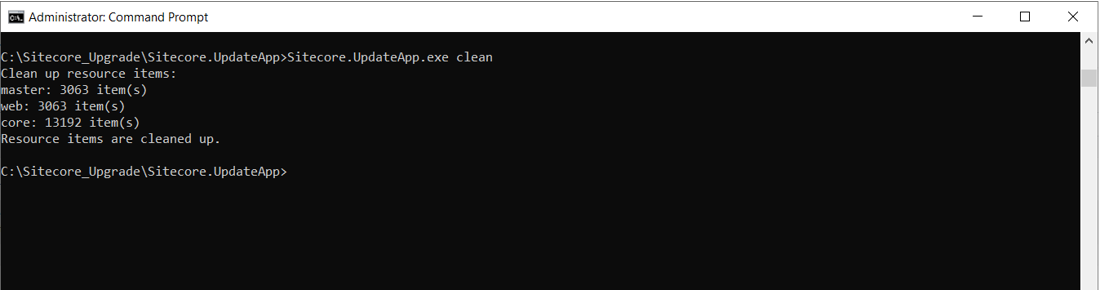
It is a one-time operation, run before running the Sitecore UpdateApp tool
To clean up the content databases:
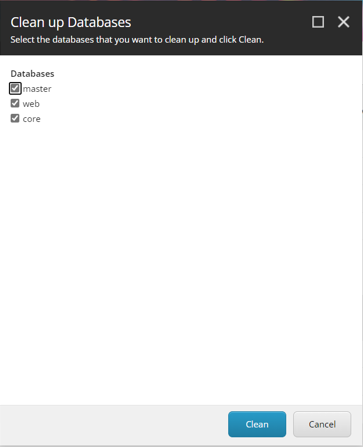
On the Sitecore Launchpad, open the Control Panel, click Clean up databases, select all the databases, and then click Clean.
It will take some time. Once it succeeds, let’s move to the next step.
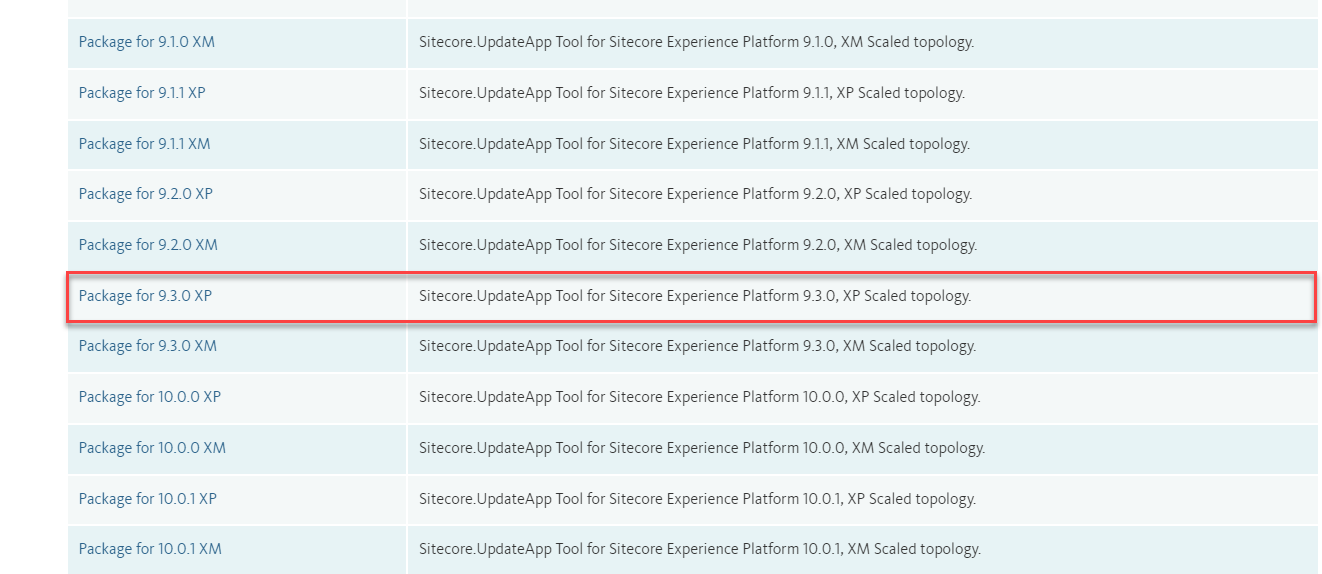
I navigated to Sitecore.UpdateApp 1.3.1 page since I’m upgrading it to Sitecore 10.3. The following chart shows which version of the tool you should utilize.
Inside the tool page, you must download the package for the version of Sitecore that you are upgrading from. This file contains the clean-up tool.
Since I’m upgrading from 9.3, I choose Sitecore 9.3 XP.
Download the Sitecore.UpdateApp 1.3.1 for Sitecore 9.3.0 rev. 003498 (XP).zip
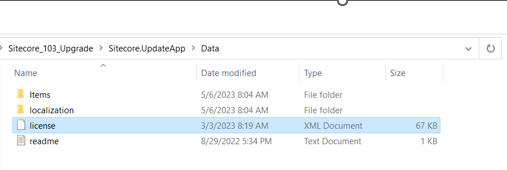
Extracted the content to C:\Sitecore_103_Upgrade\Sitecore.UpdateApp
Copy the license file to the Data folder of the tool
The latest version Sitecore 10.3, is packed with new features and enhancements that make it easier than ever to manage your digital content and deliver personalized experiences to your customers.
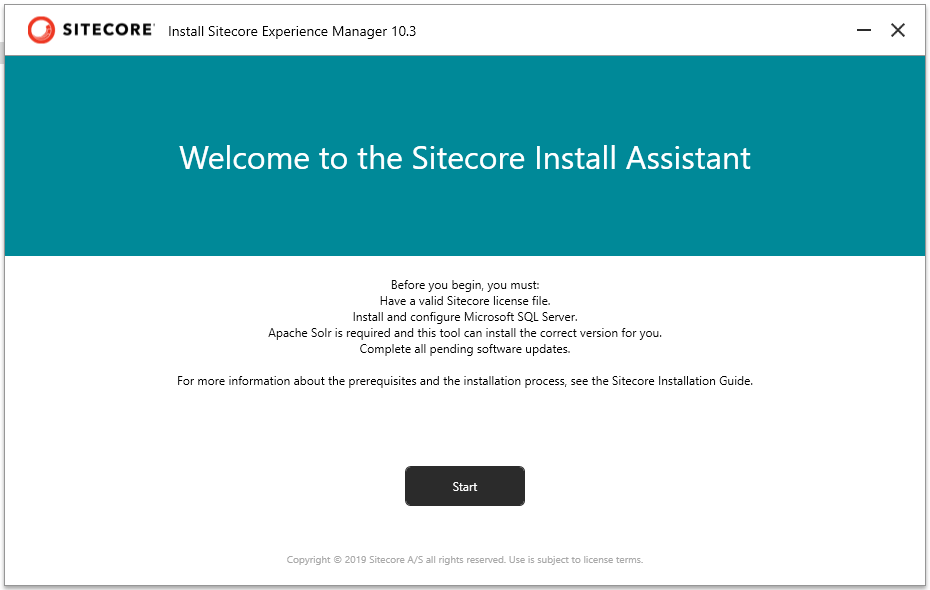
If you’re looking to install Sitecore 10.3 XM, one of the easiest ways to do it is by using the Sitecore Install Assistant (SIA). In this blog post, let’s walk through the steps to install Sitecore 10.3
Prerequisites:
A Windows machine with a minimum of 16GB of RAM
Microsoft SQL Server 2017 or later
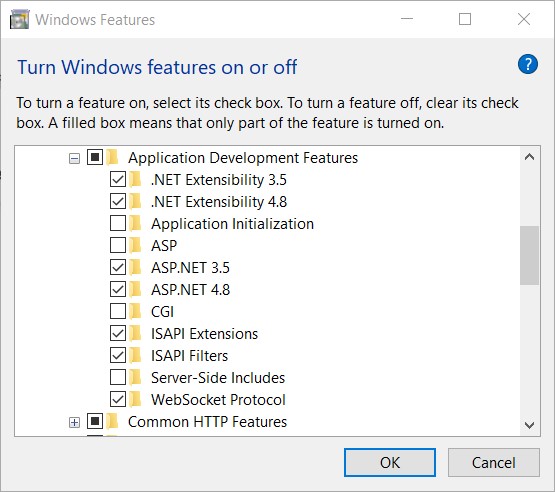
IIS 10 or later
.NET Framework 4.8 or later
Microsoft PowerShell 5.1 or later
Preparation:
Download the installation package (Graphical setup package XM scaled) from here.
Installation:
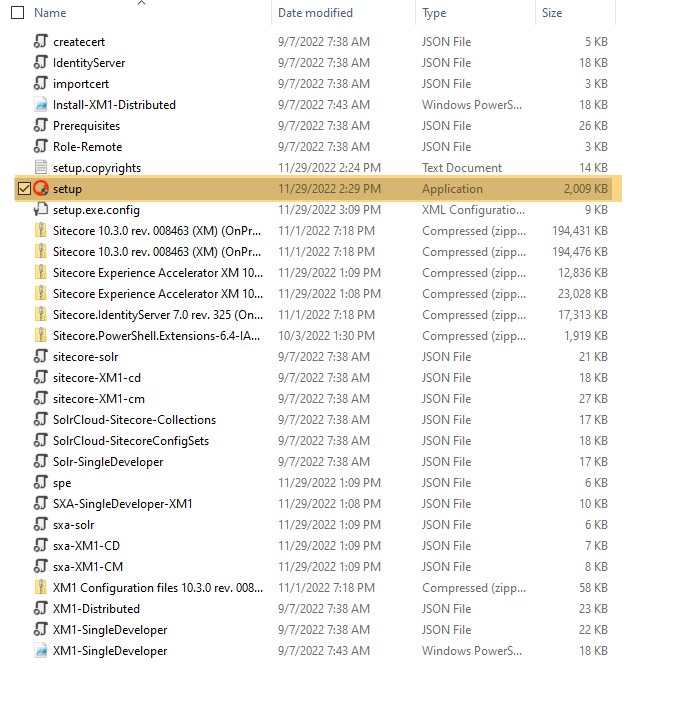
Extract the downloaded zip file
Right-click on the Setup.exe and execute in Administrator mode
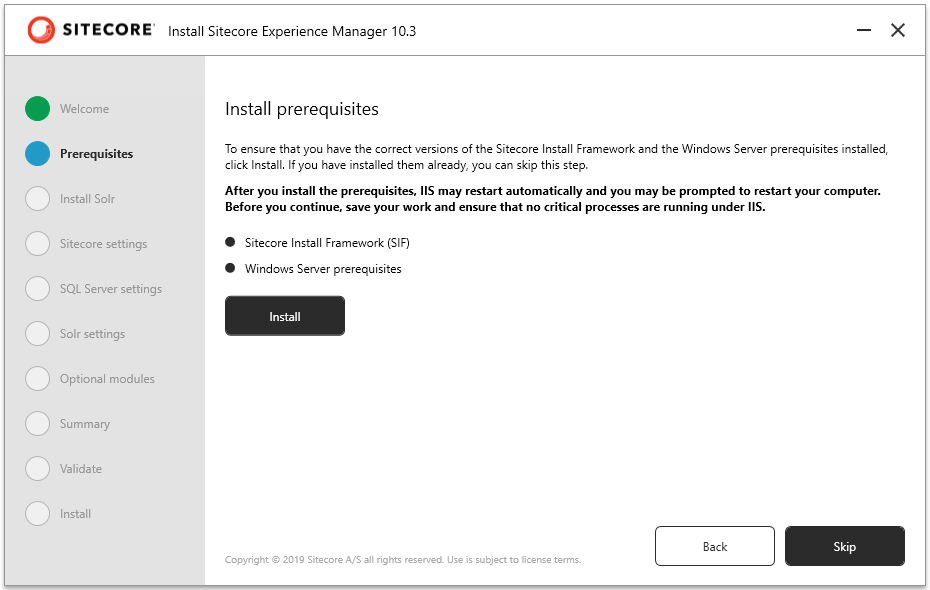
Install the prerequisites
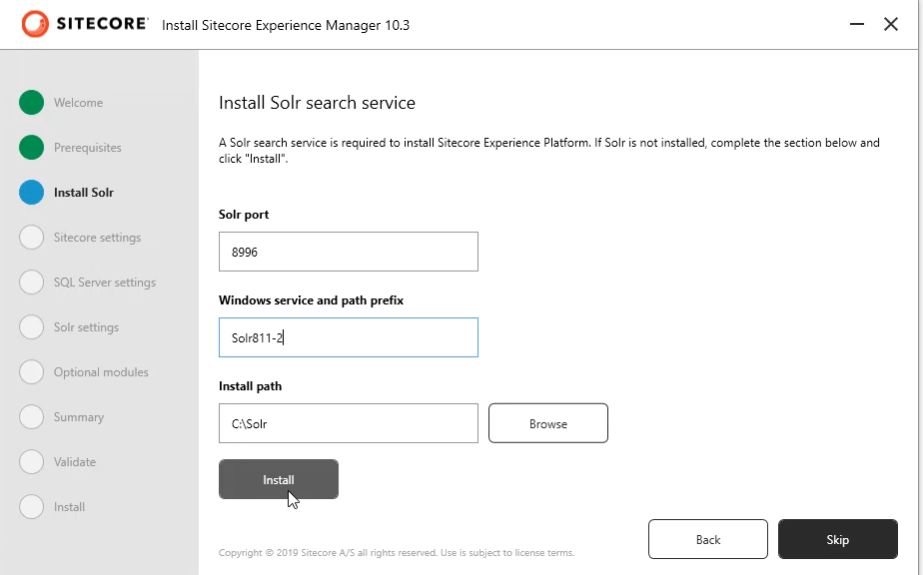
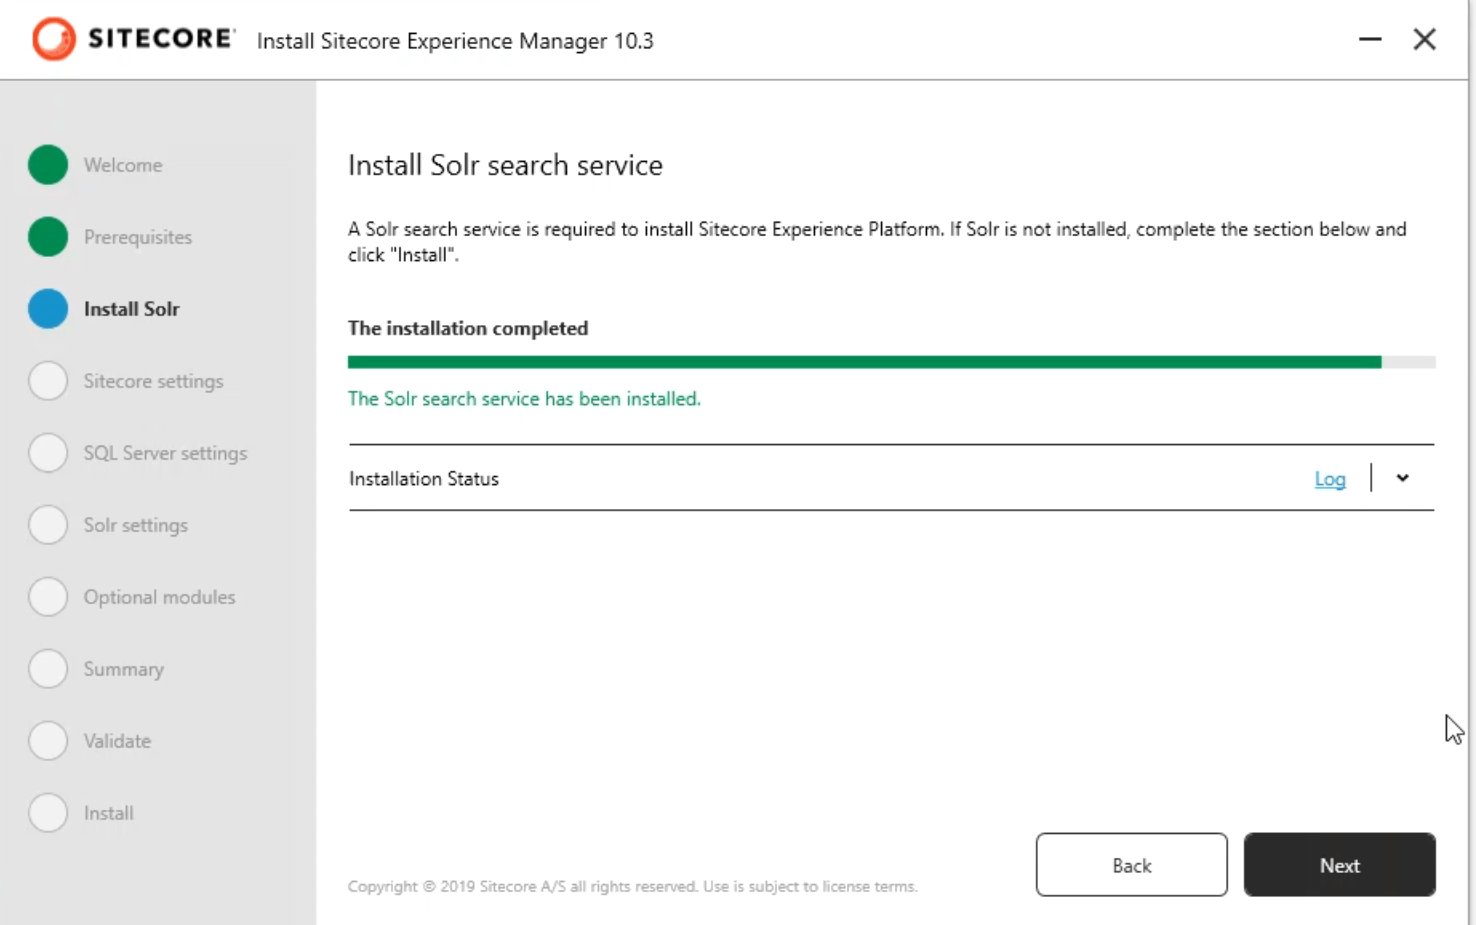
Install Solr 8.11.2 by entering the Port, Windows service path prefix, and Install path
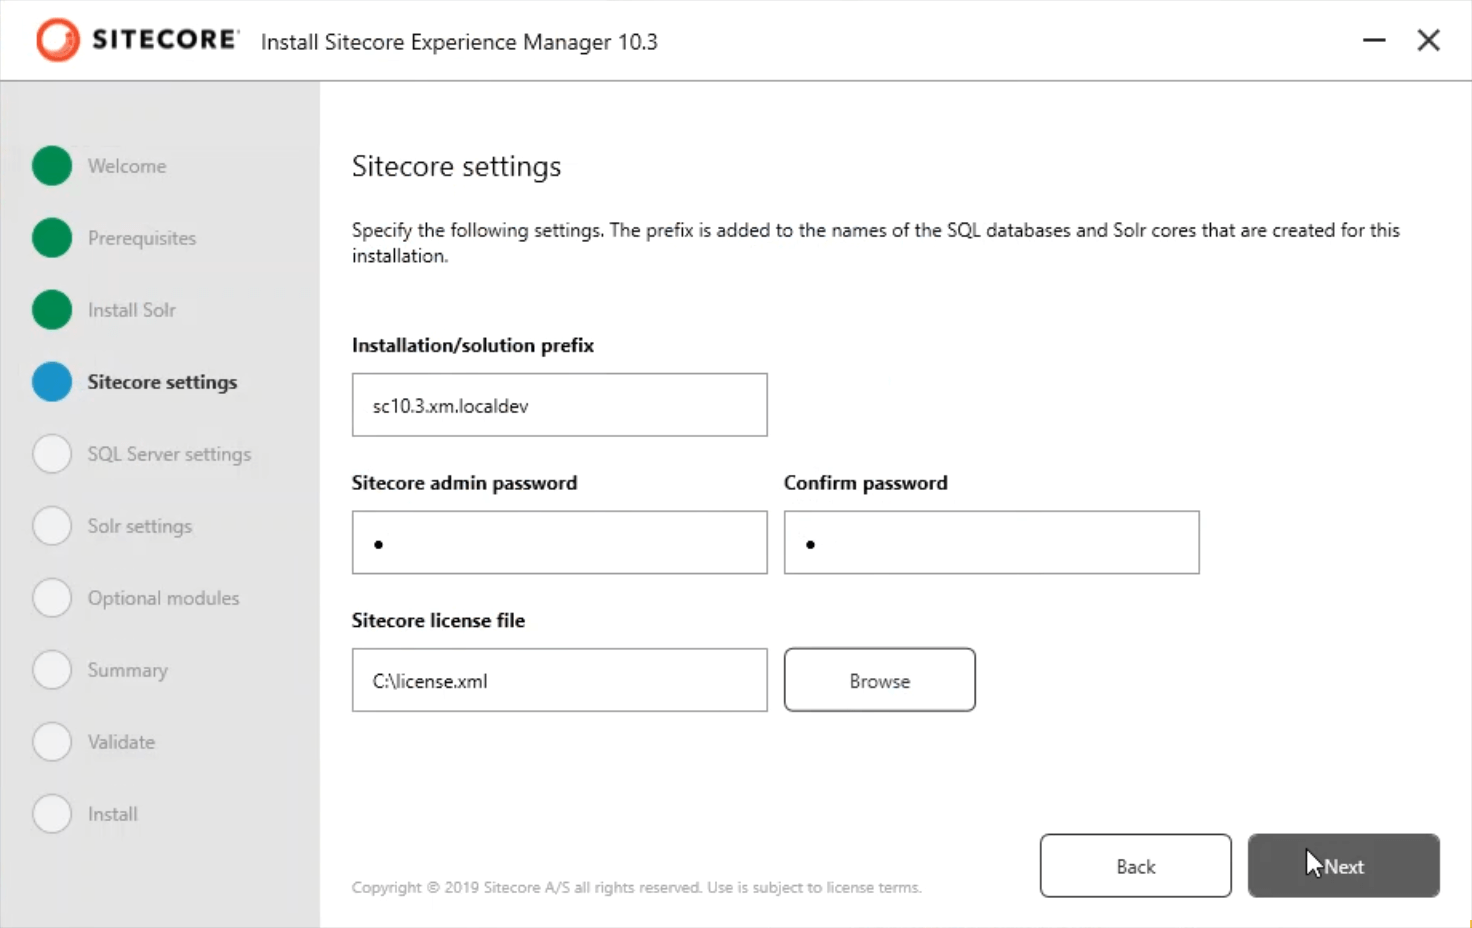
Fill out the Siteprefix, admin password(going with b, so easy to remember), and choose the Sitecore license file
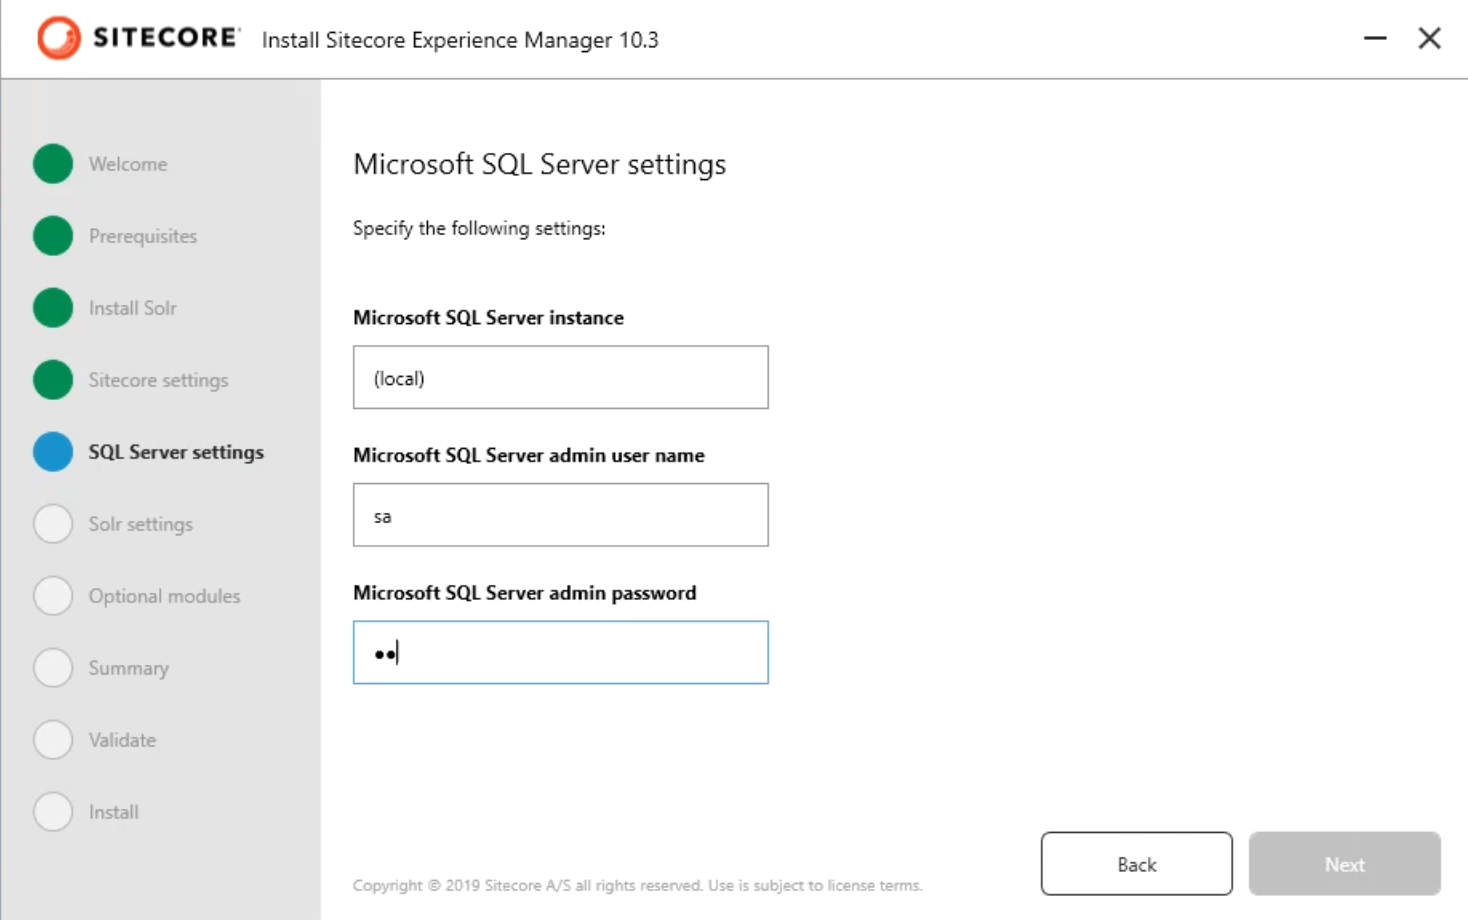
Fill out the SQL server Instancename, admin username, and password.
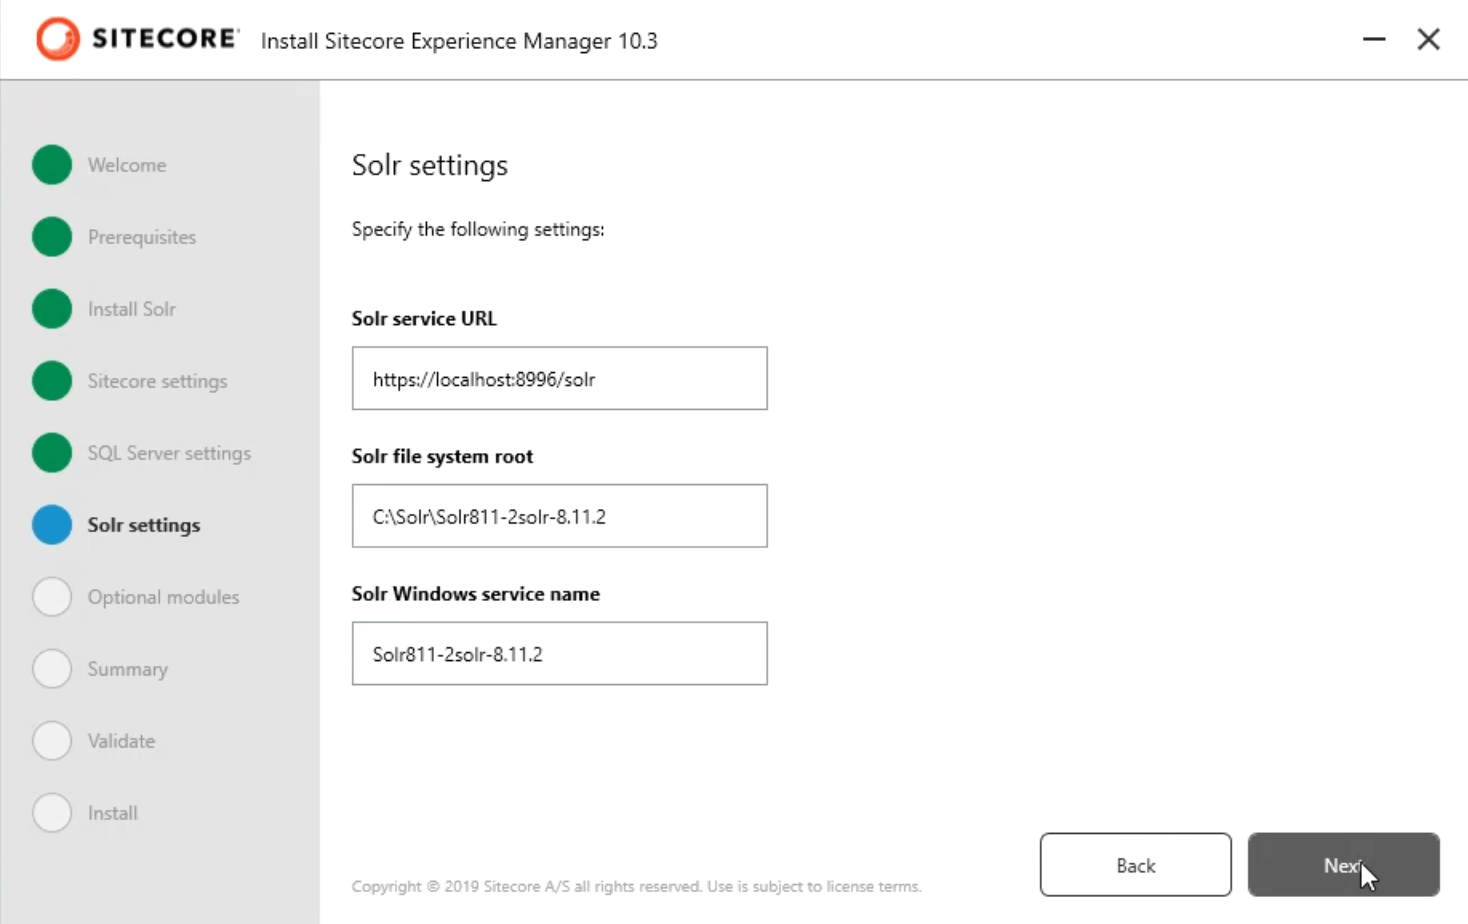
It auto-fills Solr URL, System root, and Windows service name
Note:Navigate to Solr URL and ensure it’s running as expected
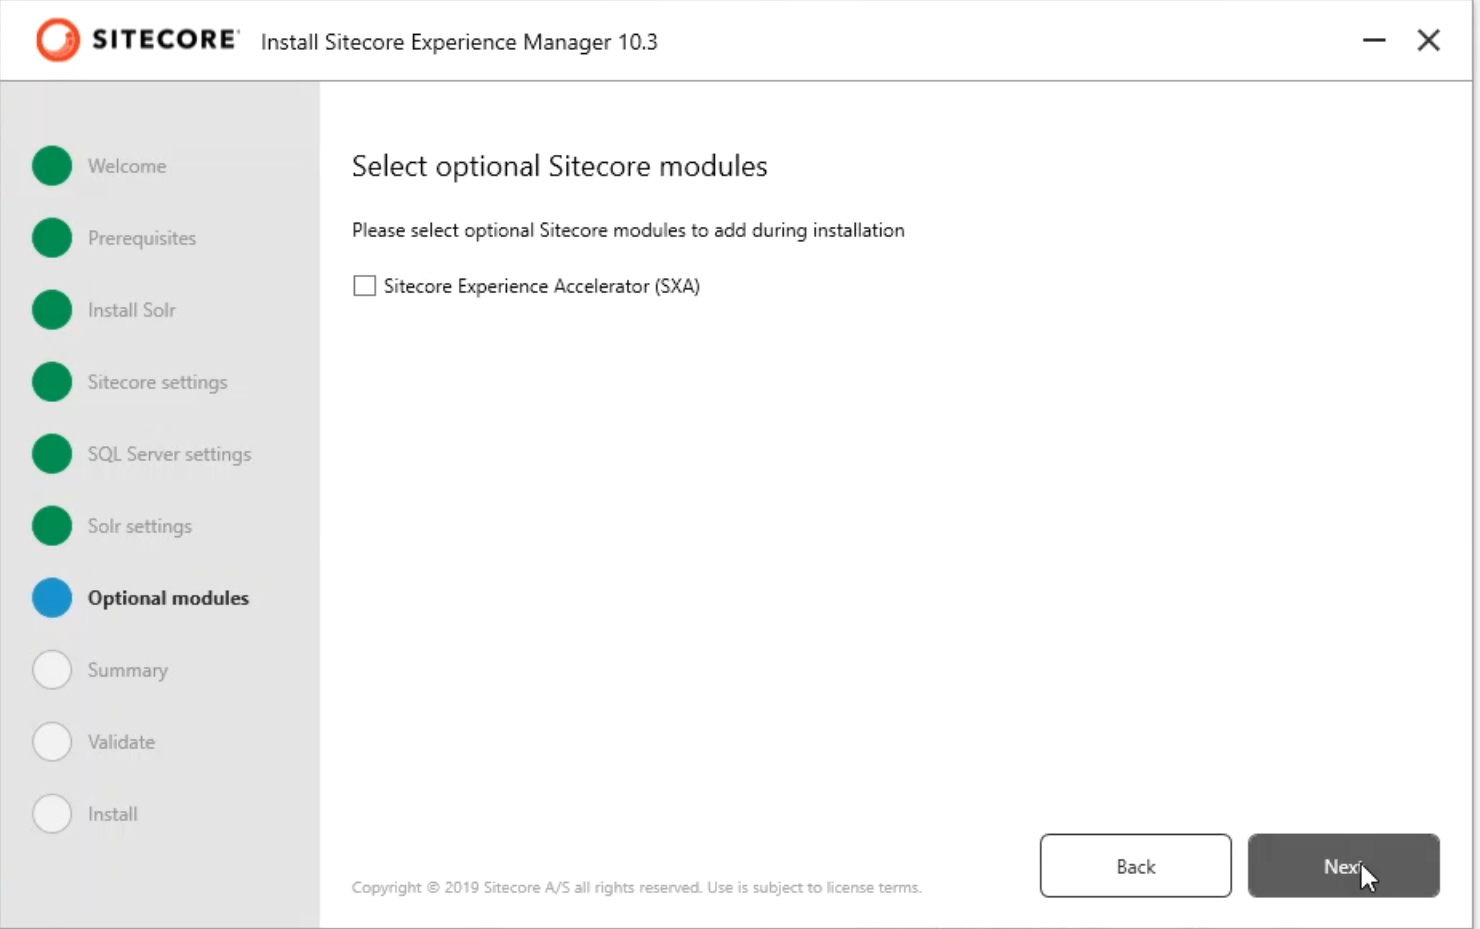
Select the optional module if you plan to create a Headless SXA site
Review the summary to make sure the settings are correct
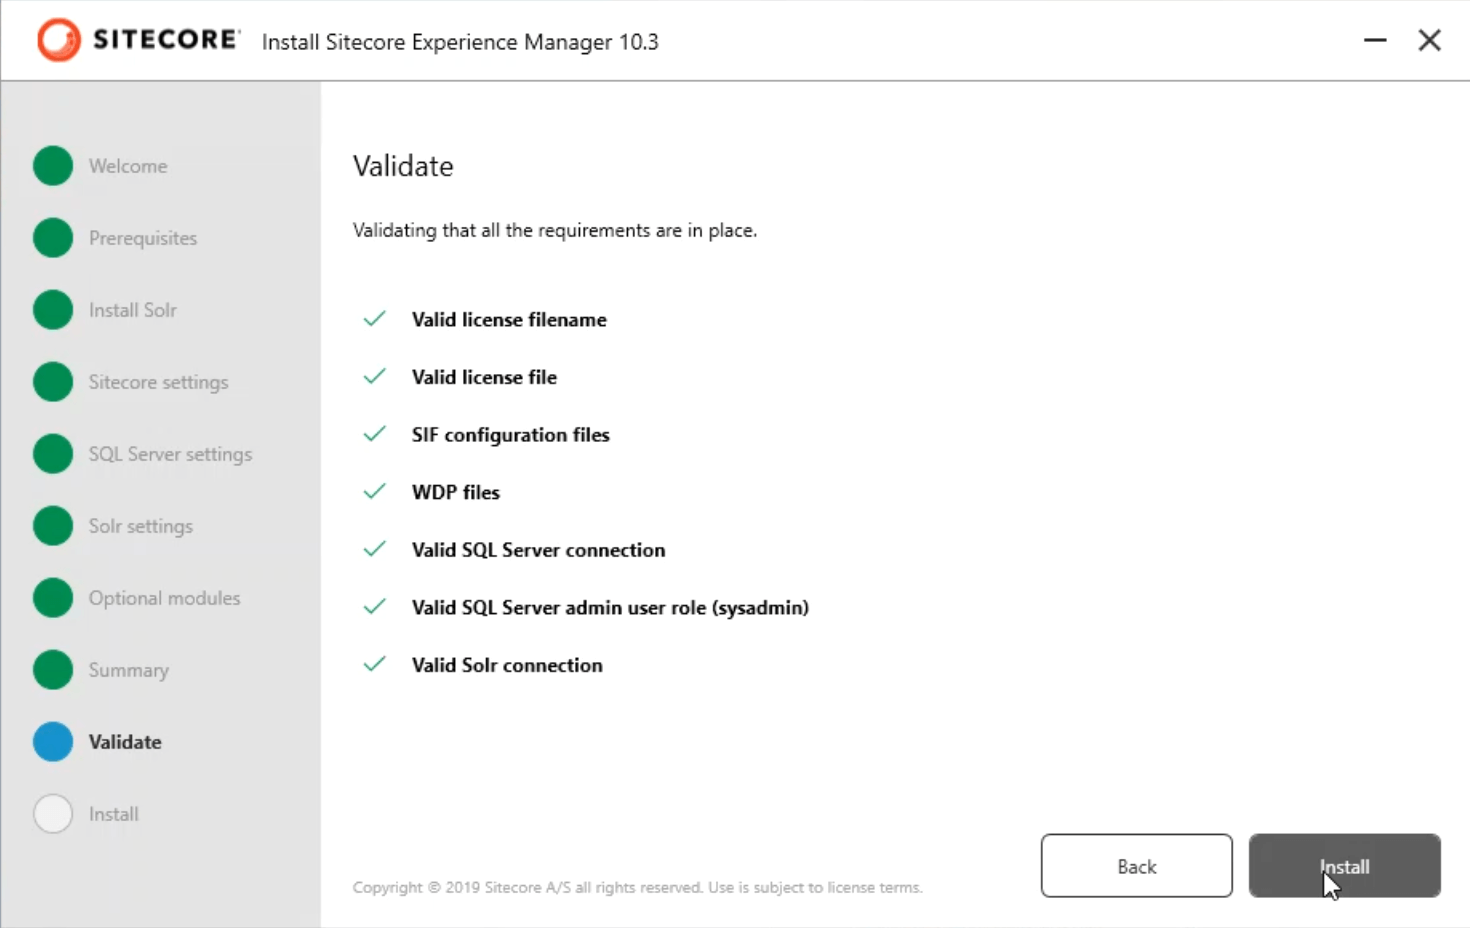
The Installation wizard in SIA validates all the settings before starting the install
Installation takes around 10-15 minutes (you can get a coffee!). If it errors out, check out the log.
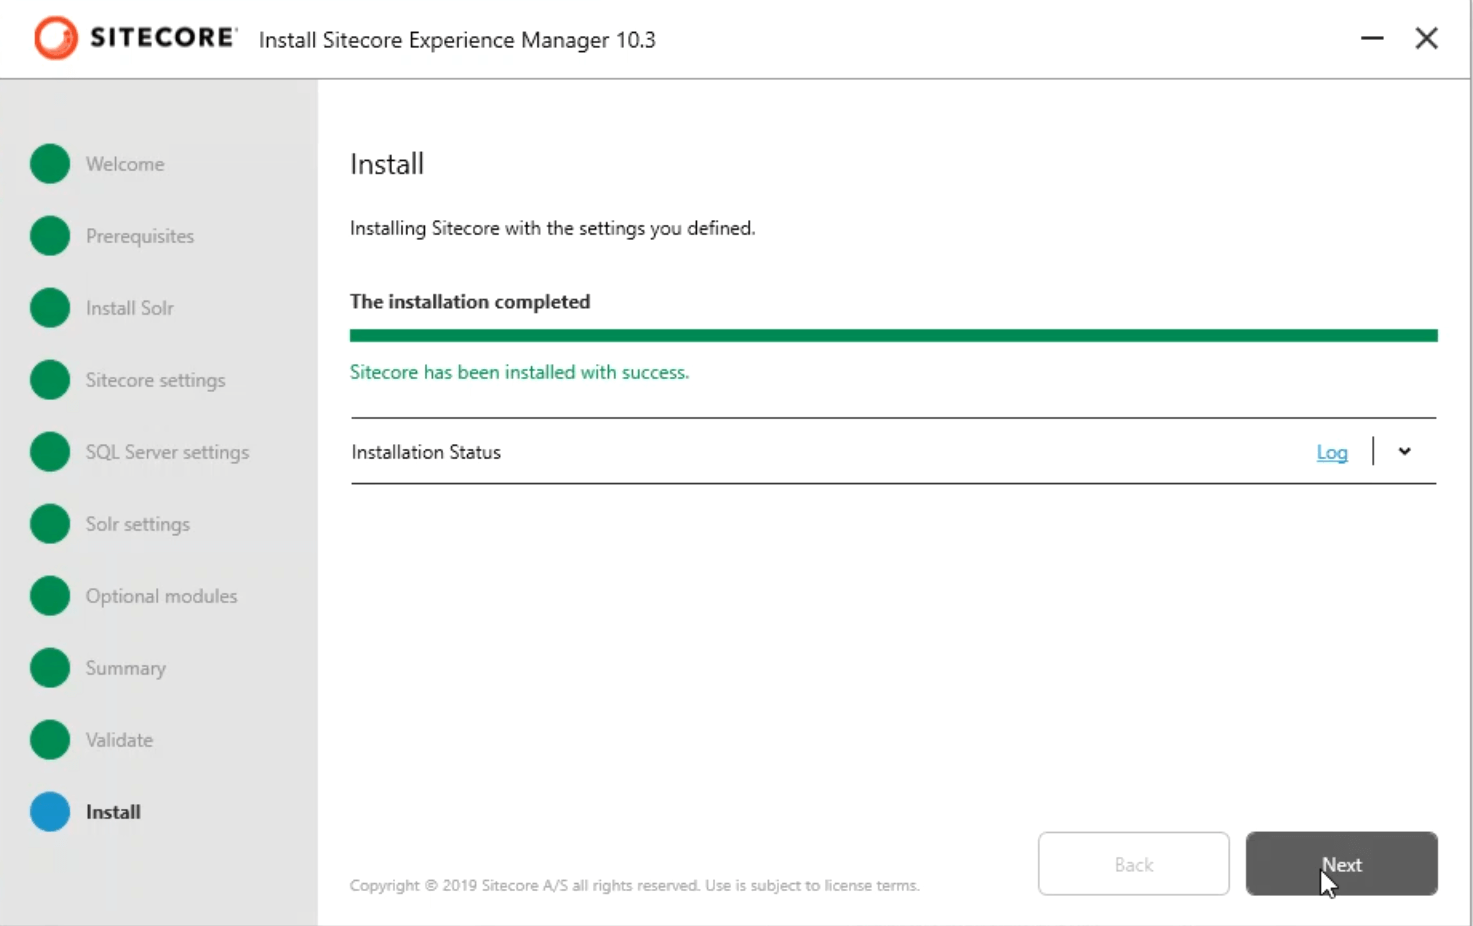
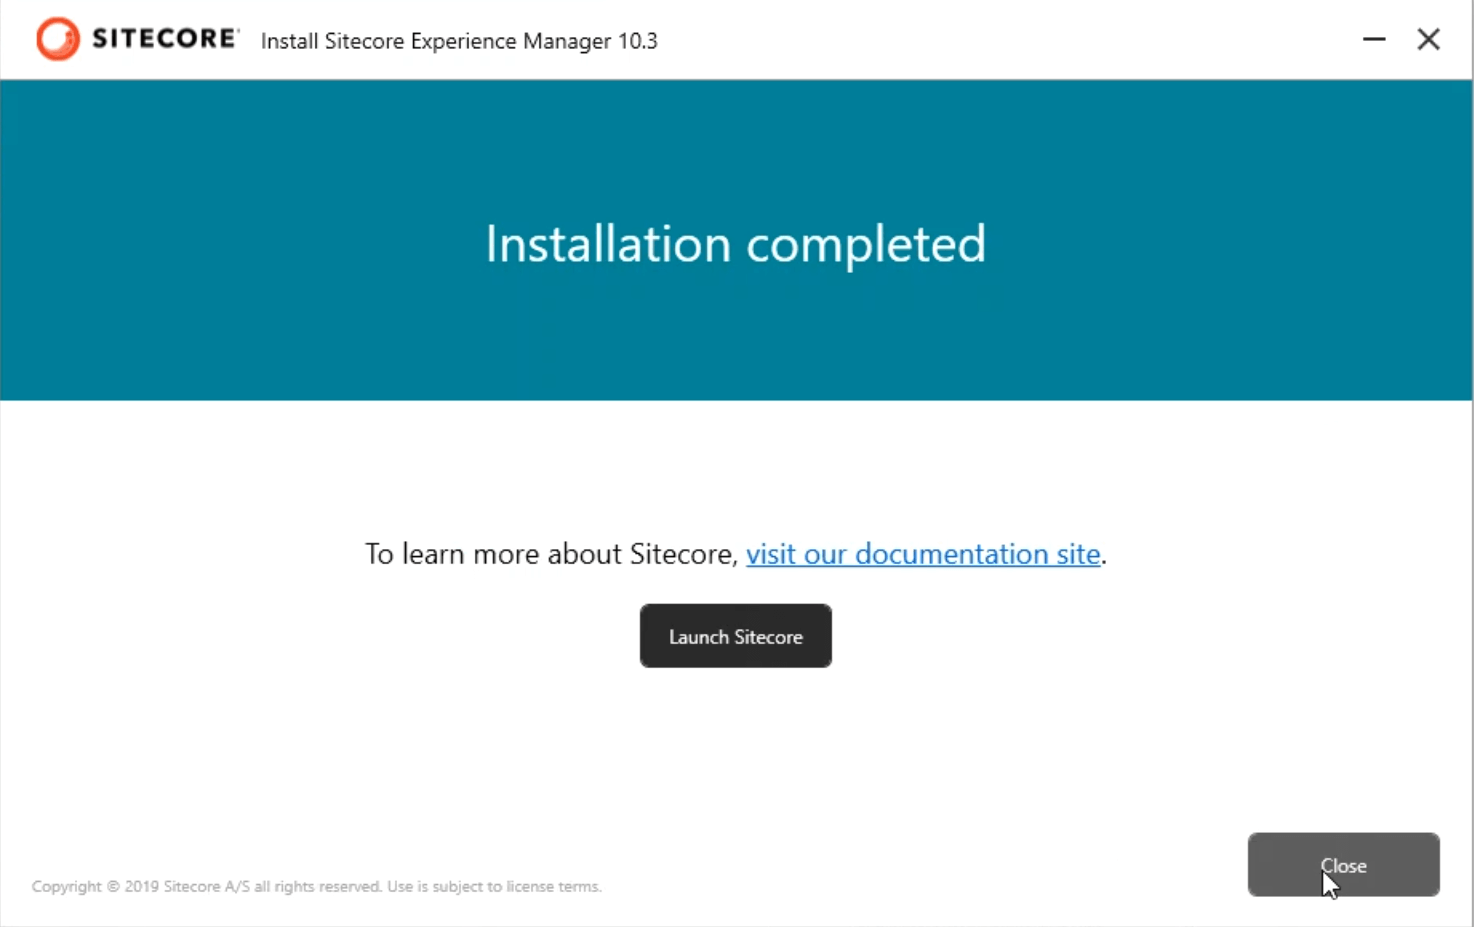
Yayy! It’s successfully installed. Is it easy to install with SIA? It’s indeed a great tool!
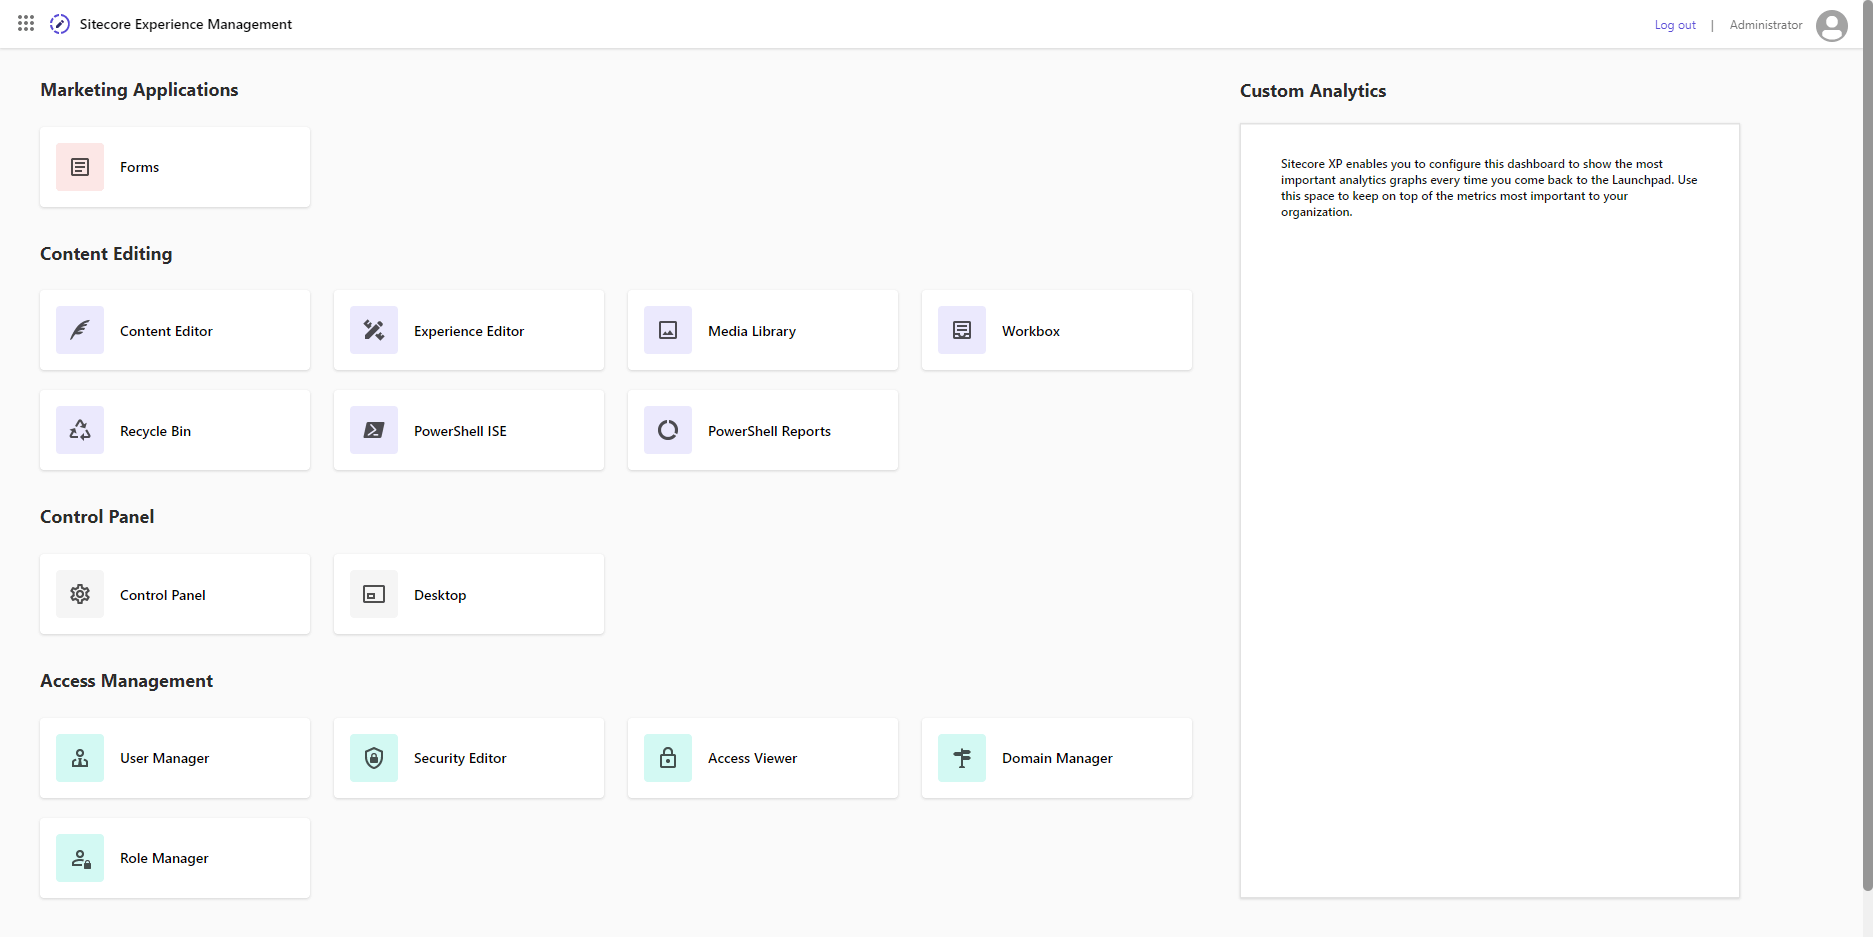
Let’s log in and explore!
Roadblocks:
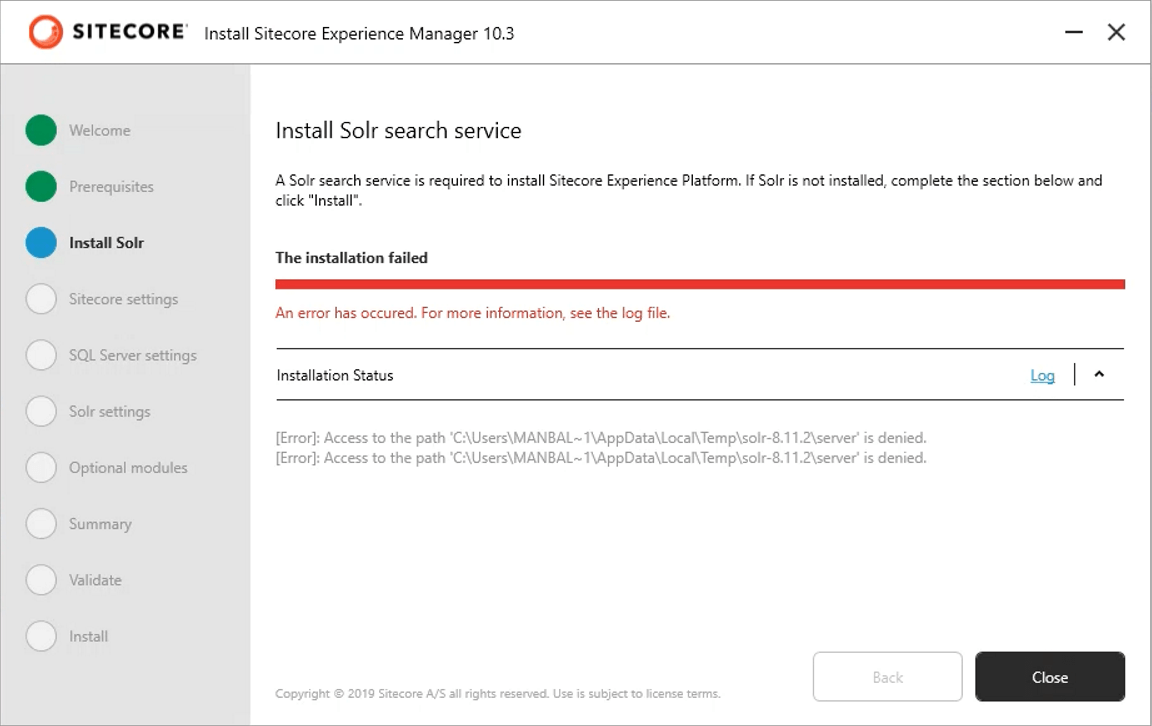
Error # 1: Solr access to the path denied
Solr installation failed with error – Access to the path ‘C:\Users\MANBAL~1\AppData\Local\Temp\solr-8.11.2\server’ is denied.
Resolution:
I wasn’t running at the setup.exe in Admin mode. Ran in Admin mode (restarted the machine just in case) fixed the issue.
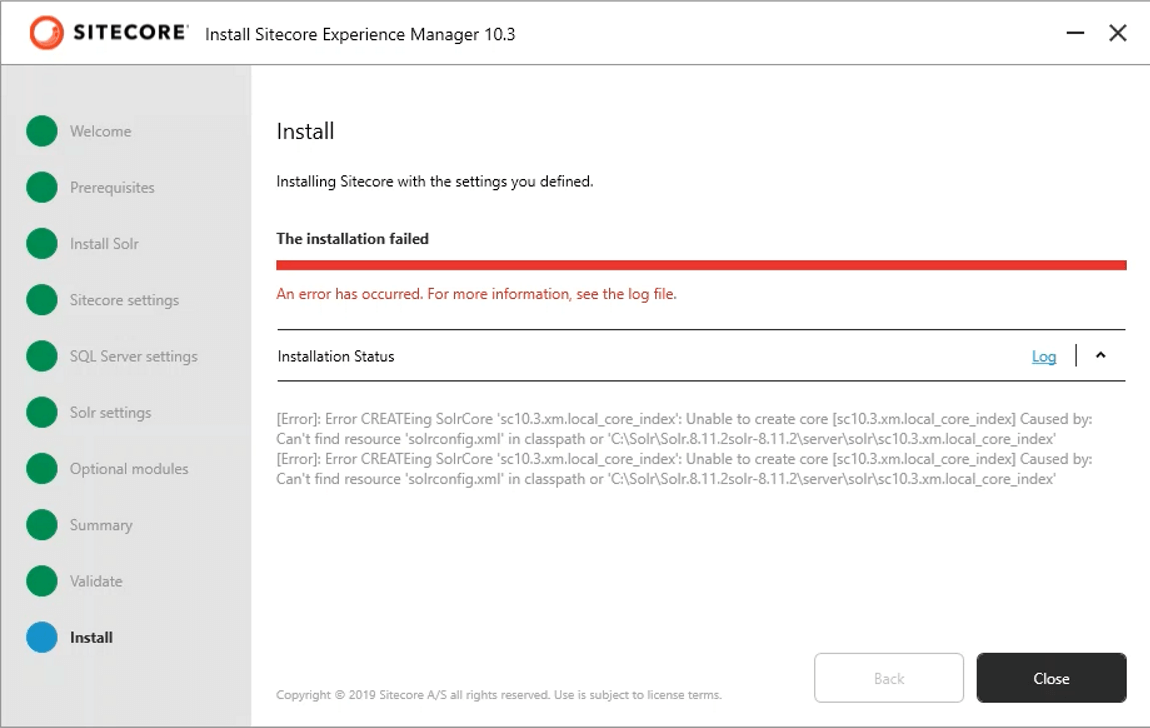
Error # 2: Unable to create core index
Error CREATEing SolrCore Unable to create core [wc10.3.xm.local_core_index] Caused by: Can’t find resource ‘solrconfig.xml’ in the classpath or ‘C:\Solr\Solr.8.11.2solr-8.11.2\server\solr\sc10.3.xm.local_core_index’
Resolution:
Do not use the same port used for the earlier installation. For some reason, it doesn’t work. Always use the new port and new Solr instance name.
Now that we installed Sitecore 10.3 XM, I’ll be installing Sitecore Headless Rendering (previously known as the JSS module) in my next blog post.
Sitecore 10 was out a couple of months back. I installed it using SIF, hit a couple of roadblocks while installing and sharing the resolutions that helped resolve the issues.
If you haven’t installed Sitecore 10, here are some blogs that help you install.
I have multiple Solr services running for different versions of Sitecore and here is the error I got while installing Sitecore 10.
“Port 8984 is already being used by another process. Please choose a different port”.
Run services.msc to check how many Solr’s are running on the machine.
Resolution:
If you have multiple instances of Solr running and you don’t know what port, it’s associated with. Here is a quick way to get the process name and kill if it’s is no longer needed.
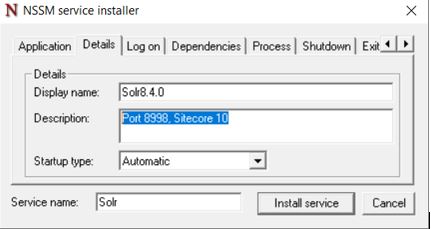
Also when installing the Solr, you can add the Port Name and Sitecore Version number or any information in the Description of Details tab.
This is life saver, do not need to worry about which Solr maps which port in the future!
Error # 2: SQL User Issue
“msdeploy.exe : Error: .Net SqlClient Data Provider: Msg 12809, Level 16, State 1, Line 5 You must remove all users with password before setting the containment property to NONE. At C:\ProgramFiles\WindowsPowerShell\Modules\SitecoreInstallFramework\2.2.0\Public\Tasks\Invoke-CommandTask.ps1:31 char:13”
Resolution:
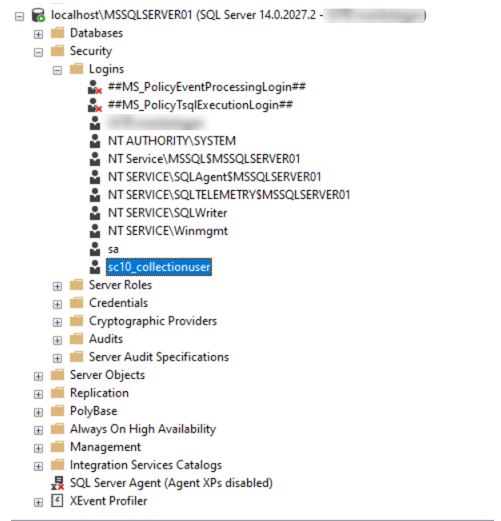
For some reason, the SC10 uninstall did not remove all the variables for failed instances. I removed the ‘sc10_CollectionUser’ in local DB users, fixed the issue.
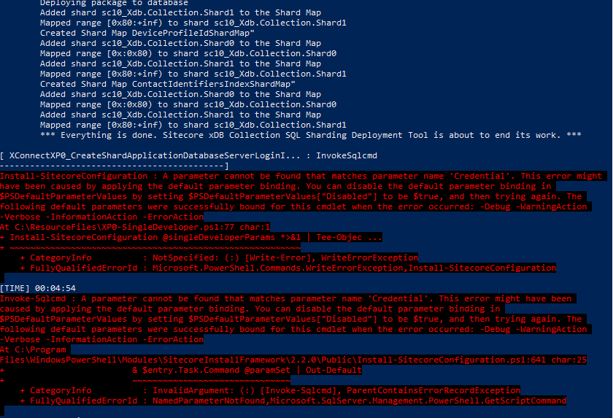
Error # 3: Credential Issue
“Install-SitecoreConfiguration: A parameter cannot be found that matches parameter name ‘Credential’. This error might have been caused by applying the default parameter binding. You can disable the default parameter binding in
$PSDefaultParameterValues by setting $PSDefaultParameterValues[“Disabled”] to be $true, and then trying again. The following default parameters were successfully bound for this cmdlet when the error occurred: -Debug -WarningAction
-Verbose -InformationAction -ErrorAction
At C:\ResourceFiles\XP0-SingleDeveloper.ps1:77 char:1
After you install the tools, restart your machine.
SameSite cookies and custom domains:
The commonly-used browsers such as Chrome and Safari are changing how the browsers interpret the SameSite cookie. After the change takes effect, Horizon will only work if the Sitecore Horizon host instance, the Sitecore identity instance, and the Sitecore CM instance belong to the same site.
Download Horizon 10 from here. I downloaded the on-premises deployment.
Extract the zip file and open InstallHorizon.ps1
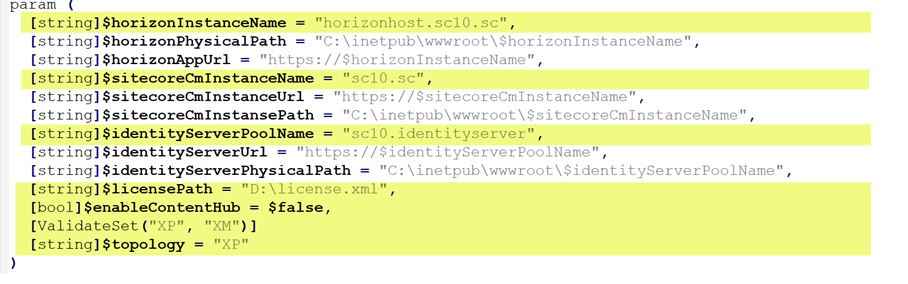
Fill out the below parameters –
Run the InstallHorizon.ps1 in Adminstrator mode.
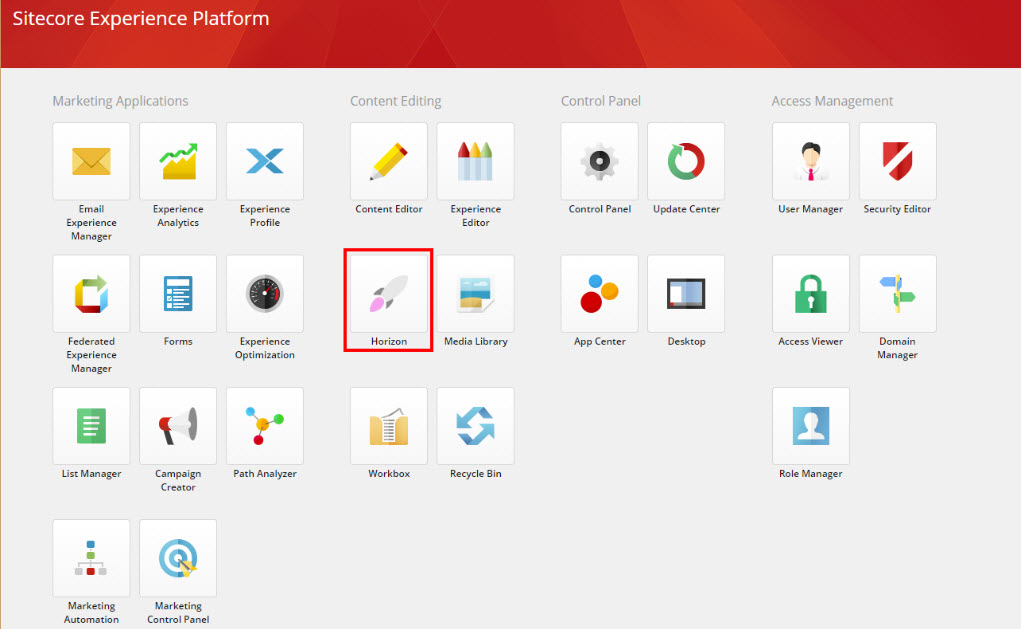
Once the installation is done (only takes 2 to 3 minutes), you will see a new Icon in Sitecore XP.
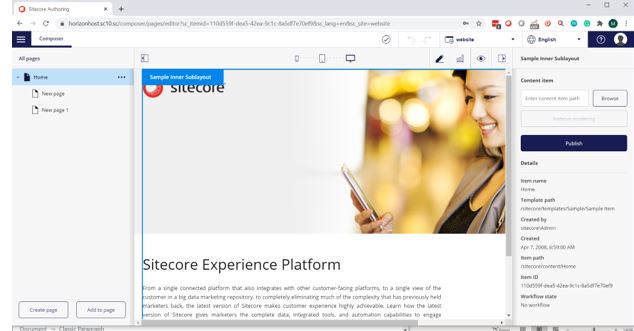
Clicking the Icon opens Horizon (yes, it’s separate IIS site) in a new tab and you can explore the new features!
Post Installation
To use the alignment and indentation features in the rich text editor in Horizon, make sure to add the below styles to your default style sheet (like default.css in your project).