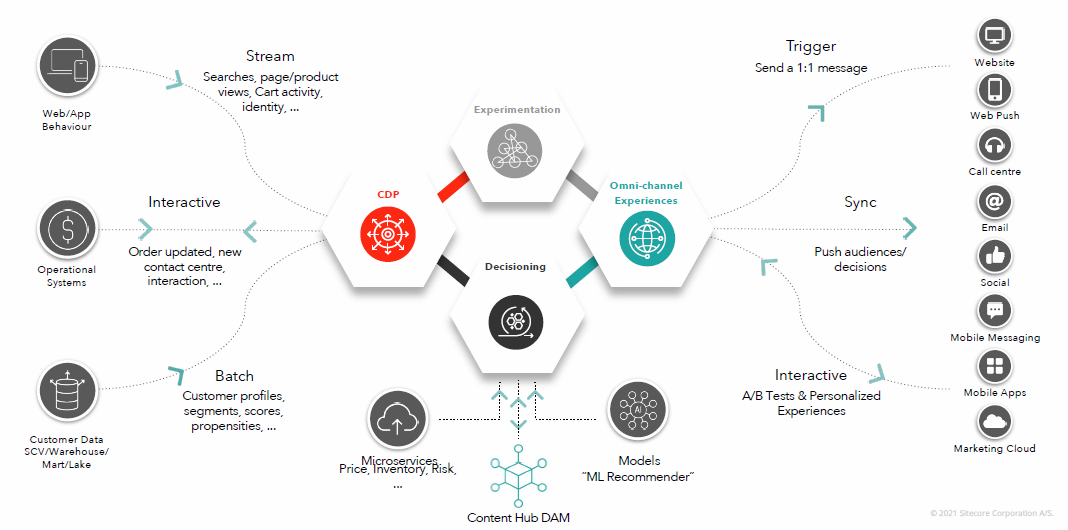
When we move into composable architecture. We will need to move the media assets to other platforms. Let’s explore methods of exporting Sitecore Media Library assets to Digital Assets Management (DAM) like Content Hub, AEM, etc. It’s a two-step process of exporting from the source and importing to the destination. We will export the entire Media Library to a zip file and also the asset details to a spreadsheet for validation.
Sitecore Media Library Export to file:
I was exploring the Sitecore Modules, but I realized It could be quickly done using PowerShell Extensions. Right-click on the Media Library node, Navigate to Scripts, and click Download.

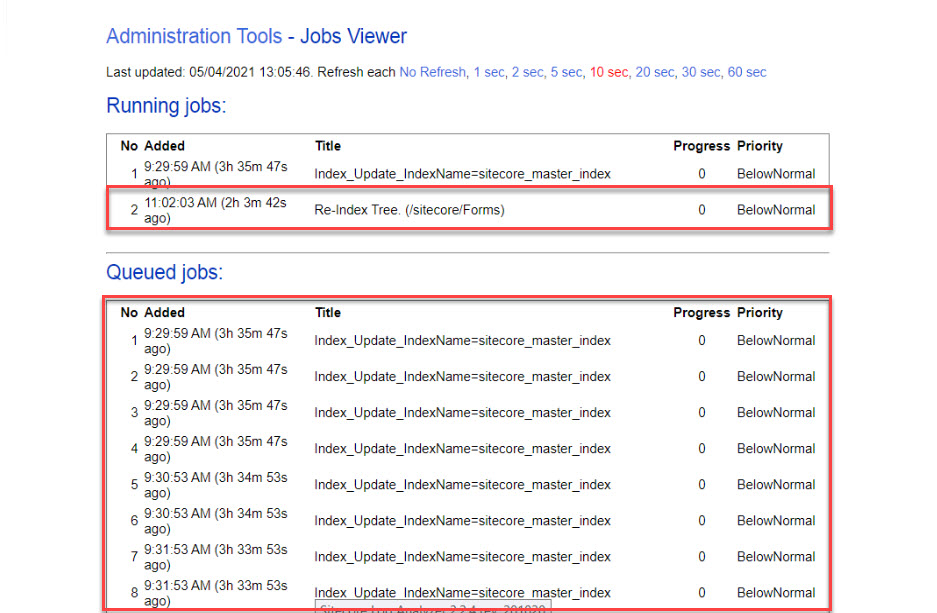
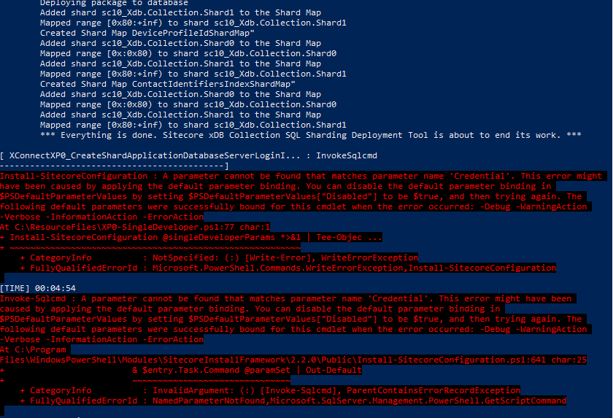
The PowerShell script will run for a few mins in my case it ran for 20 minutes for 3GB (depending upon the Media Library size). If you run into timeout issues. Execute at folder levels and finally combine them.

Once the execution is completed it will prompt a pop-up to download the zip file.

P.S: The zip file is temporarily stored in the App_Data folder, but once we download it, it gets deleted.
Sitecore Media Library Export to CSV:
PowerShell extensions script to help export the media library assets file names and path to a spreadsheet.

Another approach to export the data is to use the content export tool.
https://github.com/estockwell-alpert/ContentExportTool
Import
Now the assets are ready to be imported to DAM
Sitecore Content Hub follow the steps in the following article https://docs.stylelabs.com/contenthub/3.5.x/content/user-documentation/content-user-manual/create/create-upload-content.html
Adobe Experience Manager you could use the bulk import process following the article
I hope this helps.
Happy Sitecoring!