Tagged: Installation

Optimizely : Fast Installation on Local Machine


I have been exploring Optimizely and installed CMS 12 on my local machine pretty quickly using the NuGet package manager.

Assuming all prerequisites are installed on the local machine. Check out to make sure everything is installed.

https://docs.developers.optimizely.com/commerce-connect/docs/setting-up-your-development-environment

Let’s get started.

  • Add EpiServer Templates in PowerShell 

dotnet new -i EPiServer.Templates
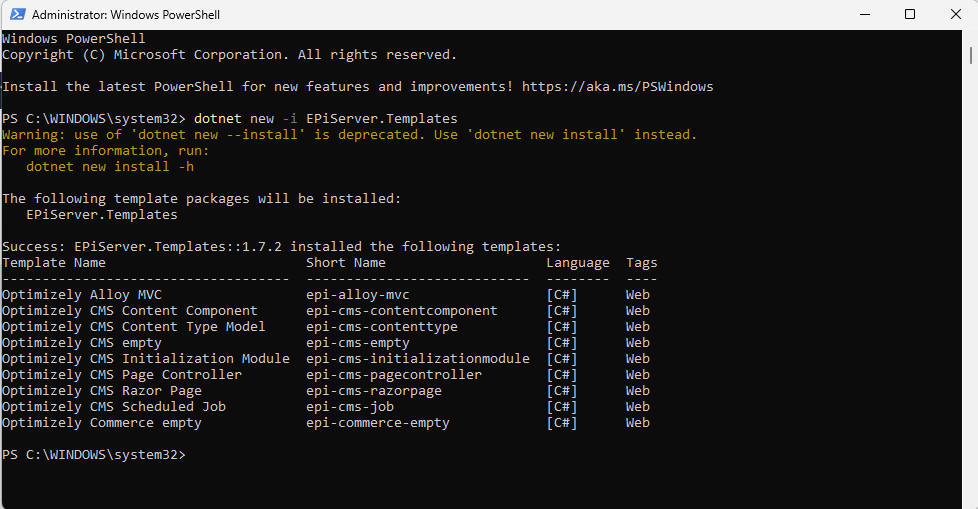
Optimizely-installation-episerver-cms12-local-machine-10.png

  •  Let’s install Optimizely CLI Tool globally

dotnet tool install EPiServer.Net.Cli –global –add-source https://nuget.optimizely.com/feed/packages.svc/

Optimizely-installation-episerver-cms12-local-machine-11.png

  • In Visual Studio, let’s add the following Optimizely NuGet source via NuGet Package Manager Solution.

https://api.nuget.optimizely.com/v3/index.json
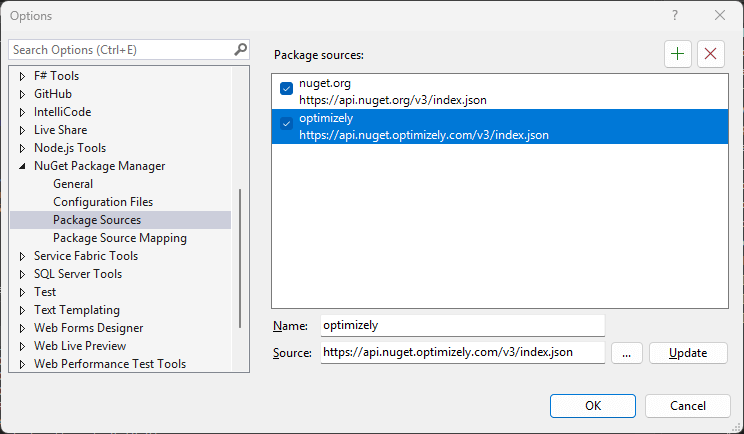
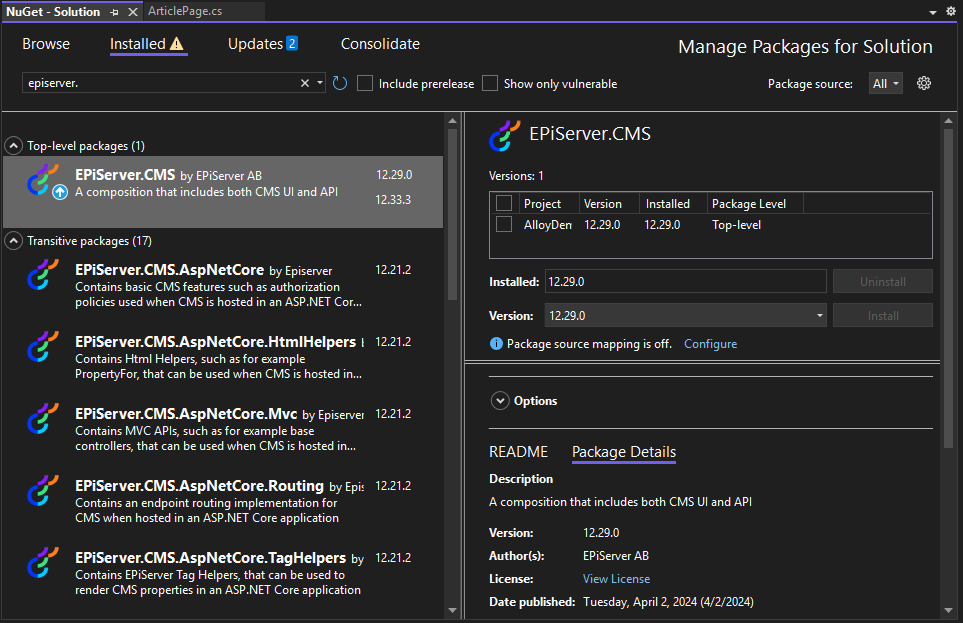
  • Let’s install the EpiServer.CMS NuGet package.


Optimizely-installation-episerver-cms12-local-machine-1.png

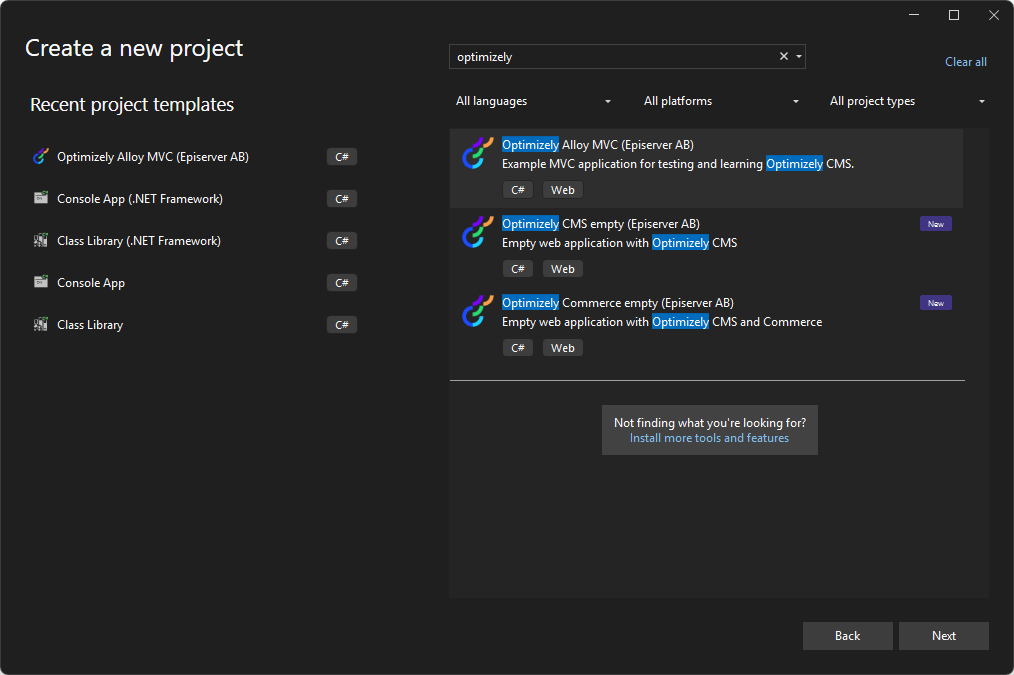
  • Now, let’s create a new project in Visual Studio, which will give three Optimizely base projects to choose from 
    • Optimizely Alloy MVC 
    • Optimizely CMS empty
    • Optimizely Commerce empty

Optimizely-installation-episerver-cms12-local-machine-2.png

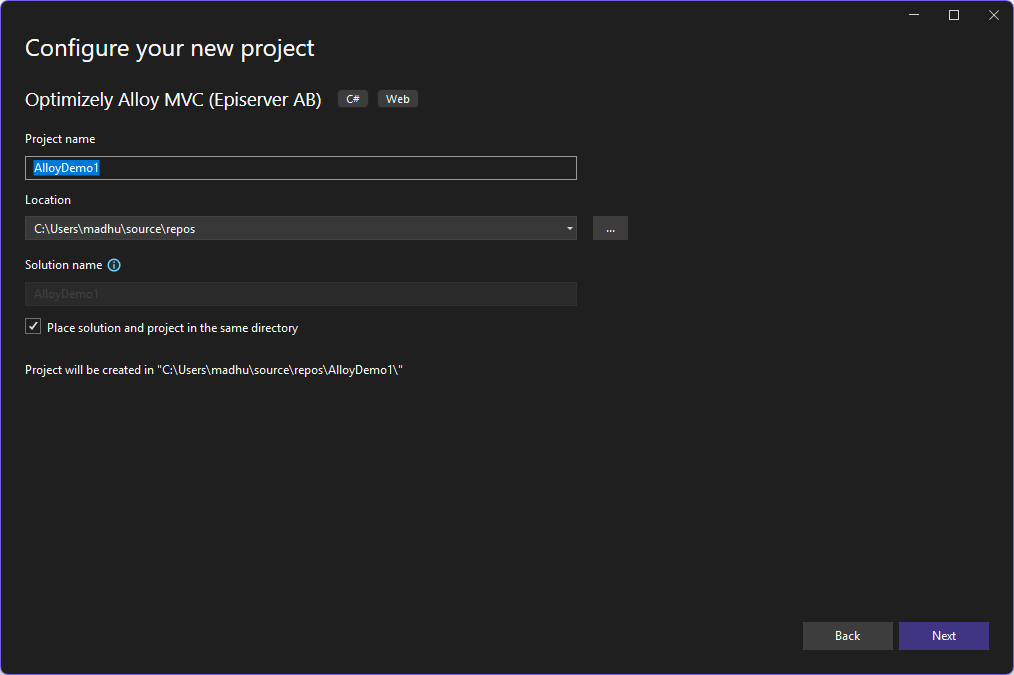
  • I chose Optimizely Alloy MVC, which is a starter kit for new developers to explore.
  • Named it as AlloyDemo1 project.

Optimizely-installation-episerver-cms12-local-machine-3-1.png

  • Provide the SQL admin SA account password since it creates the databases as part of the project in MDF and LDF files.
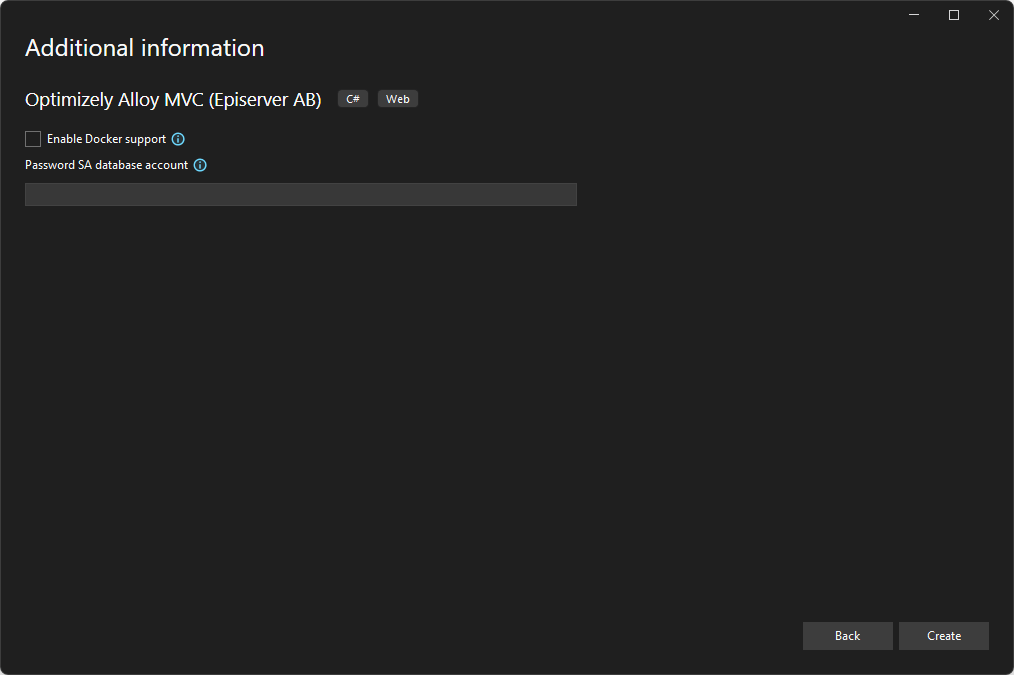
Optimizely-installation-episerver-cms12-local-machine-4.png

  • The new Optimizely solution is ready to explore!
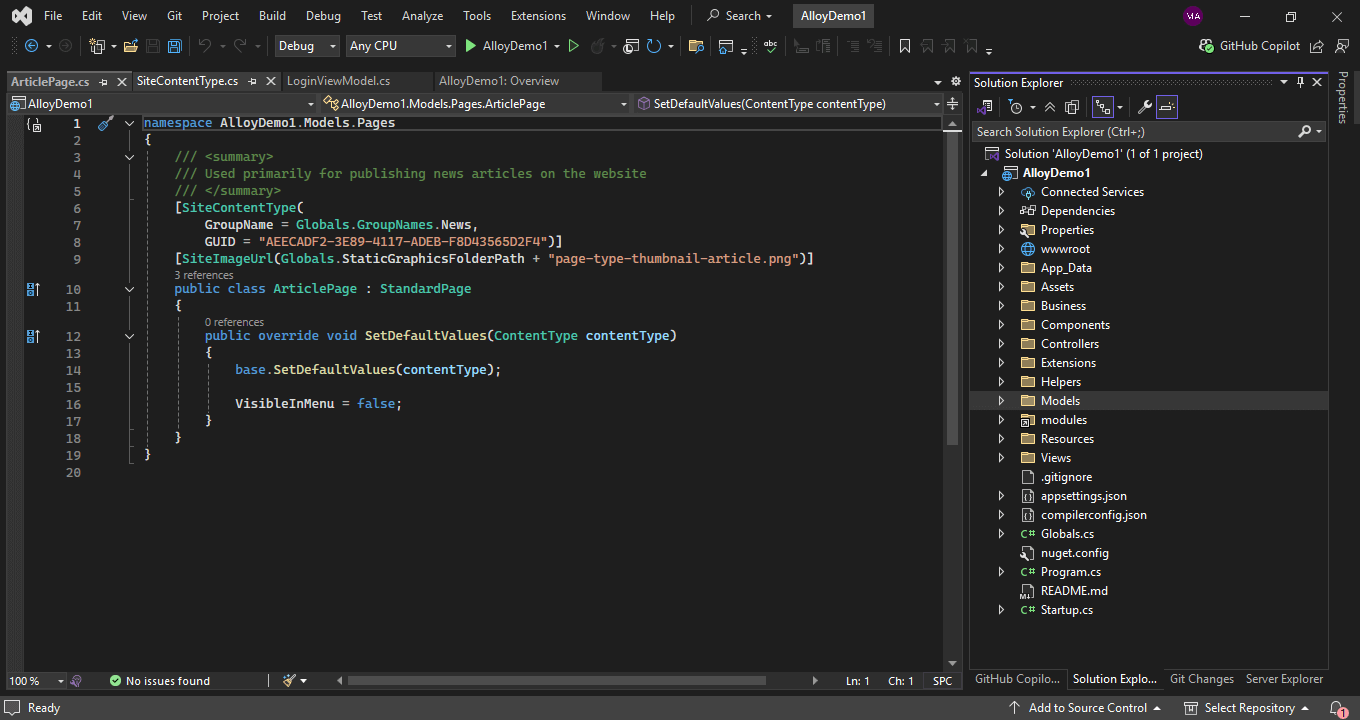
Optimizely-installation-episerver-cms12-local-machine-5.png

  • To run the localhost, we just need to start the IISExpress AlloyDemo1 project, which runs cmd prompt to initialize commands.
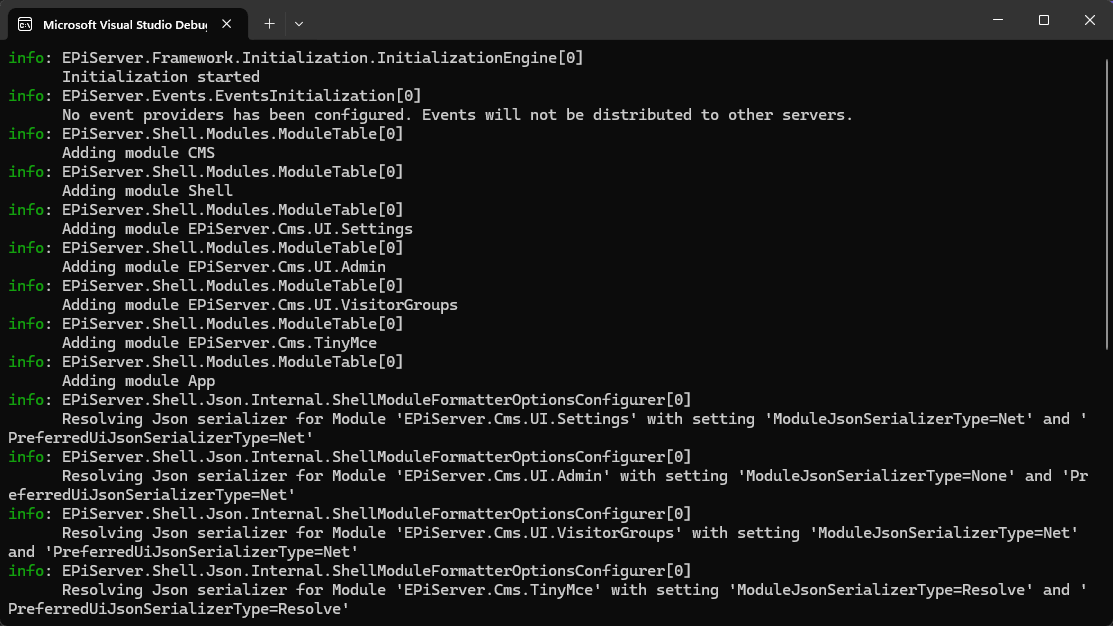
Optimizely-installation-episerver-cms12-local-machine-6.png

Optimizely-installation-episerver-cms12-local-machine-7.png

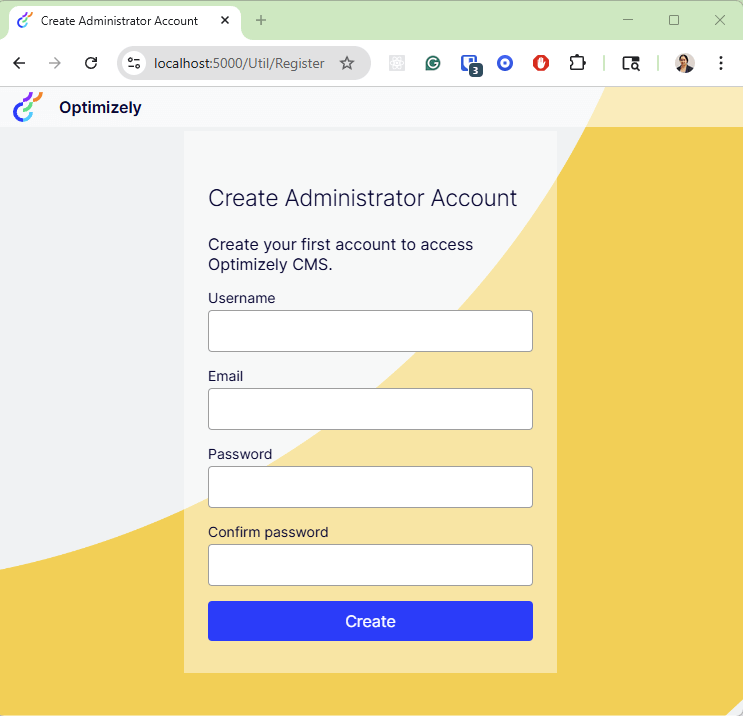
  • Register the admin account with credentials and explore the new local instance of Optimizely.

NOTE: There is no license required for running on localhost or domainname.local. Yay!

Happy Optimizing!

0

Sitecore Serialization: Rapid CLI Setup and Configuration


The Sitecore Command Line Interface (CLI) is a developer tool that provides a command-line interface to interact with Sitecore instances for serializing templates, layouts, and renderings.

Let’s explore the installation and Configuration on Sitecore 10.x.

Prerequisites: 

Preparation:

  • Download Sitecore Management Services
    • I picked the latest version Sitecore CLI 4.1.0 (compatible with Sitecore 10.1 and 10.2)

Installation:

  • Login to Sitecore 10.2 CM instance, navigate to Control Panel, and Install a package.

  • Accept the Terms and Conditions

  • Installation was throwing the below error – Access to the path is denied

After researching, came to know the IIS permission is missing for the CM instance.

Once the instance is up and running, run the below command in PowerShell to get into the C:\inetpub\wwwroot folder of the instance.

Run the below command to resolve the issue. It takes some time, and you can get a coffee!

icacls.exe 'C:\inetpub\wwwroot' /grant 'IIS_IUSRS:(F)' /t

Now that the permissions are all set, I installed the package and it’s succeeded!

Let’s install the Sitecore CLI – 

  • Run the below commands in the Sitecore project CD folder.

dotnet new tool-manifest
dotnet nuget add source -n Sitecore https://sitecore.myget.org/F/sc-packages/api/v3/index.json
dotnet tool install Sitecore.CLI

  • To initialize a new project, run the below command.

dotnet sitecore init

Note: Starting from 4.1.0, the sitecore init command takes care of installing default plugins (Sitecore.DevEx.Extensibility.SerializationSitecore.DevEx.Extensibility.PublishingSitecore.DevEx.Extensibility.Indexing, and Sitecore.DevEx.Extensibility.ResourcePackage). 

Skip the below step if you are installing Sitecore CLI 4.1.0 or above.

  • Install the plugins.

dotnet sitecore plugin add -n Sitecore.DevEx.Extensibility.Serialization
dotnet sitecore plugin add -n Sitecore.DevEx.Extensibility.Publishing

 To see what plugins are installed, run the below command.

dotnet sitecore plugin list

Let’s log in –

Run this command in Powershell.

dotnet sitecore login --authority https://<Sitecore identity server> --cm http://<Sitecore instance> --allow-write true

It will open a Sitecore identity server URL in a browser to authenticate.

It’s successfully logged in, explore (push, pull, and publish to database) Sitecore CLI.

  • sitecore login: Authenticate with the Sitecore instance.
  • sitecore ser pull: Pull serialized items from the Sitecore instance.
  • sitecore ser push: Push serialized items to the Sitecore instance.
  • sitecore publish: Publish content changes.

Happy Sitecoring!

0

Sitecore 10 SIF Installation Roadblocks

Sitecore_10_Installation_Roadblocks

Sitecore 10 was out a couple of months back. I installed it using SIF, hit a couple of roadblocks while installing and sharing the resolutions that helped resolve the issues.

If you haven’t installed Sitecore 10, here are some blogs that help you install.

Sitecore 10 using SIF: https://scorewow.wordpress.com/2020/08/05/install-sitecore-10-in-10-using-sif/

Sitecore 10 using SIA: https://madhuanbalagan.com/installing-sitecore-10-using-sia


Error # 1: Solr Port Issue

I have multiple Solr services running for different versions of Sitecore and here is the error I got while installing Sitecore 10.

“Port 8984 is already being used by another process. Please choose a different port”.

Run services.msc to check how many Solr’s are running on the machine.

Resolution:

If you have multiple instances of Solr running and you don’t know what port, it’s associated with. Here is a quick way to get the process name and kill if it’s is no longer needed.

Find which process using Solr port


Get-Process -Id (Get-NetTCPConnection -LocalPort $portNumber).OwningProcess

Sitecore_10_Installation_Find-_Which_Process_Using_Solr_Port

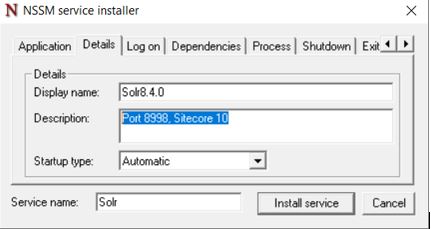
Also when installing the Solr, you can add the Port Name and Sitecore Version number or any information in the Description of Details tab.

This is life saver, do not need to worry about which Solr maps which port in the future!


Sitecore_10_Installation_NSSM_Service


Sitecore_10_Installation_Service_List


Error # 2: SQL User Issue

“msdeploy.exe : Error: .Net SqlClient Data Provider: Msg 12809, Level 16, State 1, Line 5 You must remove all users with password before setting the containment property to NONE.                                                            At C:\ProgramFiles\WindowsPowerShell\Modules\SitecoreInstallFramework\2.2.0\Public\Tasks\Invoke-CommandTask.ps1:31 char:13”  


Resolution:

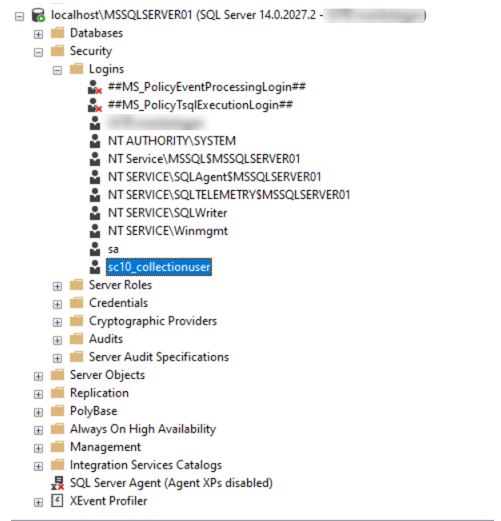
For some reason, the SC10 uninstall did not remove all the variables for failed instances. I removed the  ‘sc10_CollectionUser’ in local DB users, fixed the issue.


Sitecore_10_Installation_SQL_User_Issue_Resolution


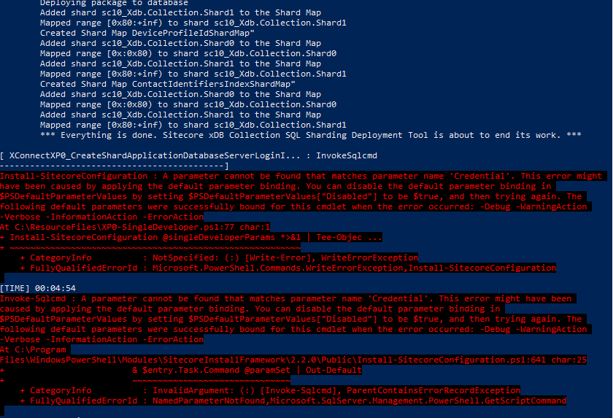
Error # 3: Credential Issue

Sitecore_10_Installation_Error_Credential_Issue

“Install-SitecoreConfiguration: A parameter cannot be found that matches parameter name ‘Credential’. This error might have been caused by applying the default parameter binding. You can disable the default parameter binding in

$PSDefaultParameterValues by setting $PSDefaultParameterValues[“Disabled”] to be $true, and then trying again. The following default parameters were successfully bound for this cmdlet when the error occurred: -Debug -WarningAction

-Verbose -InformationAction -ErrorAction

At C:\ResourceFiles\XP0-SingleDeveloper.ps1:77 char:1

+ Install-SitecoreConfiguration @singleDeveloperParams *>&1 | Tee-Objec …

+ ~~~~~~~~~~~~~~~~~~~~~~~~~~~~~~~~~~~~~~~~~~~~~~~~~~~~~~~~~

+ CategoryInfo          : NotSpecified: (:) [Write-Error], WriteErrorException

+ FullyQualifiedErrorId : Microsoft.PowerShell.Commands.WriteErrorException,Install-SitecoreConfiguration”


Resolution:

The SqlServer module wasn’t installed by default, so I had to do it manually.

Ran this on Powershell command fixed the issue.

Install-Module -Name SqlServer -AllowClobber


Hope this helps someone. Any issues, let me know in the comments section.

Happy Sitecoring!

1