The year 2025 has been great, featuring presentations at various Sitecore User Groups around the world and meaningful interactions with numerous members of the Sitecore community.
Blog Posts :
- Dec 22, 2024 – 2024 – Contributions
- Feb 1, 2025 – Instantly Download Sitecore Logs from Azure Web Apps
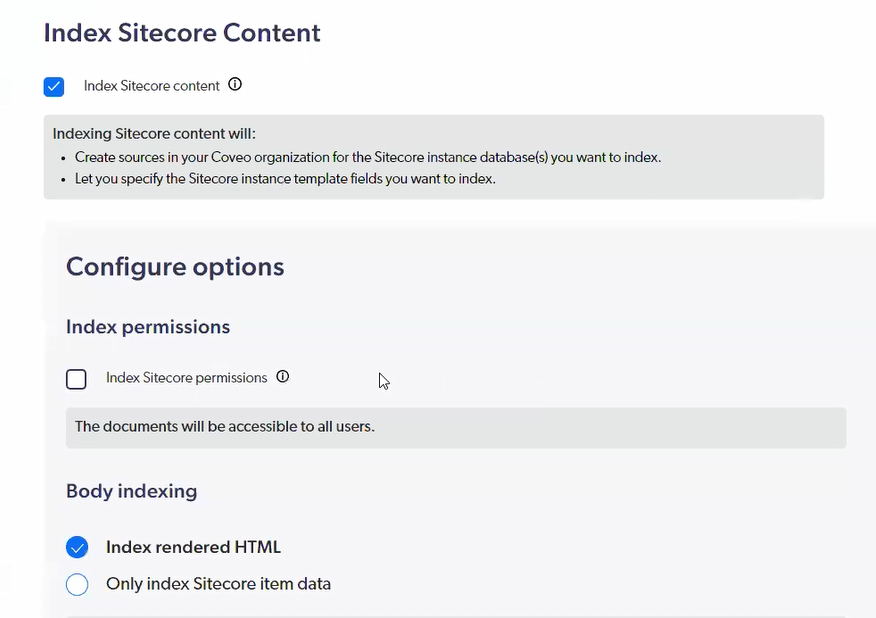
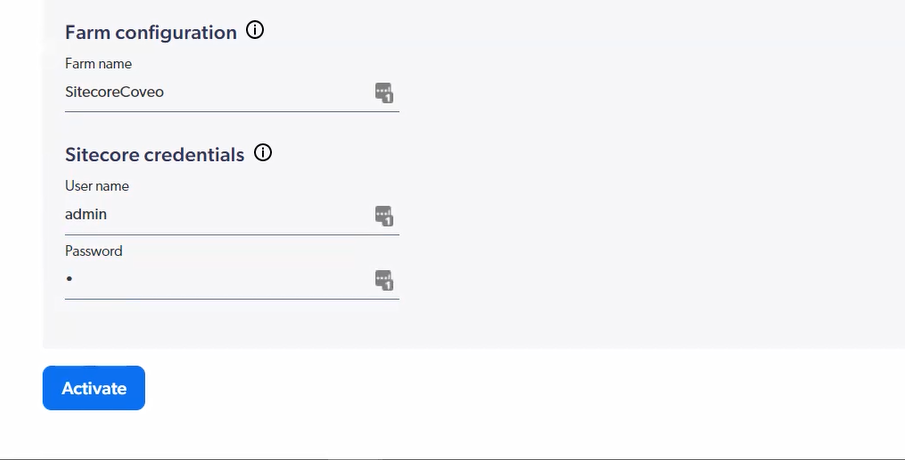
- May 6, 2025 – Sitecore Personalize : Custom Web Template Integration
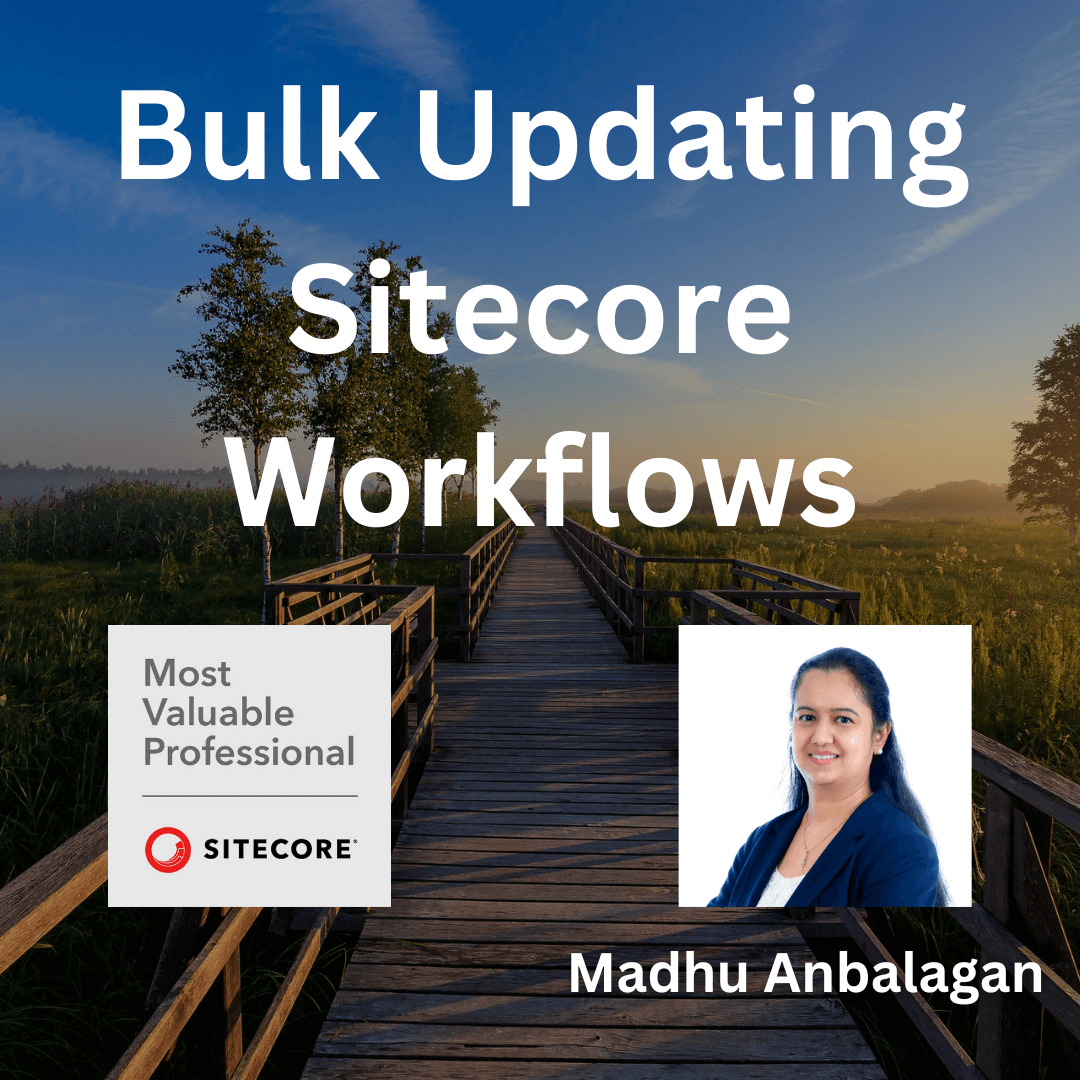
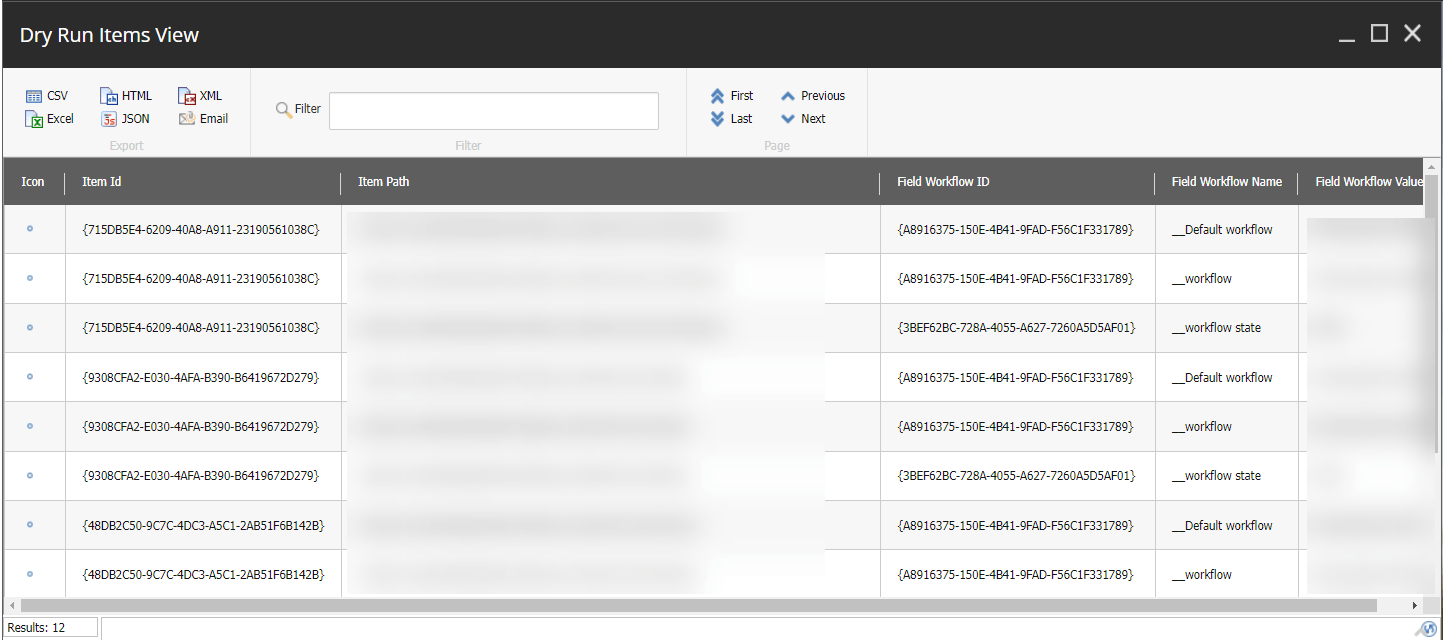
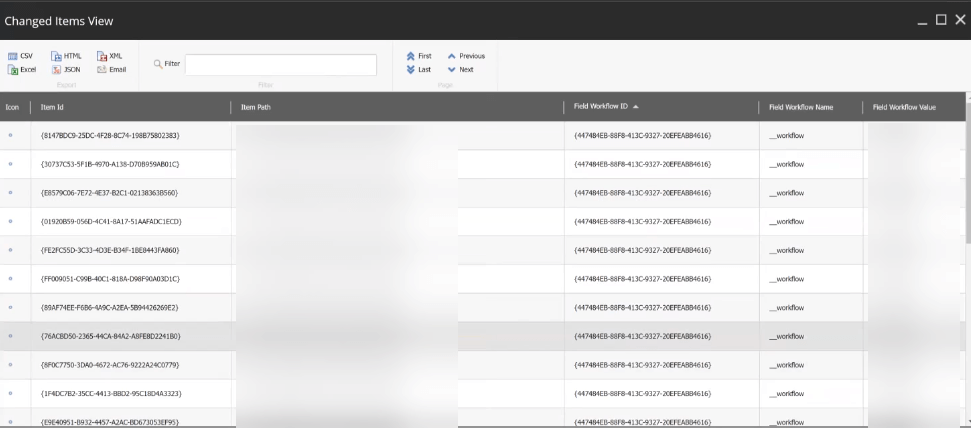
- May 20, 2025 – Bulk Updating Sitecore Workflow
- June 19, 2025 – Algolia Search Provider for Sitecore 10.2.1
Presentations :
- Mar 31, 2025 – Navigating Coveo Frontend Frameworks for Sitecore Integration – SUG Pittsburgh
- April 14, 2025 – Navigating Coveo Frontend Frameworks for Sitecore Integration – SUG Columbus
- July 10, 2025 – Navigating Coveo Frontend Frameworks for Sitecore Integration – SUG Atlantic Canada
Feedbacks:
- Dec 22, 2024 – MVP Application Review
- May 15, 2025 – Sitecore Learning Update Framework Survey
- August 16, 2025 – Alpha Reviewers: Content Hub Developer Exam
Co-organized SUG-Pittsburgh Meetups:
- Feb 18, 2025 – XM Cloud Migration Tool: What’s New and Improved?
- Apr 23, 2025 – Sitecore XM Cloud – Wildcard Pages and Sitecore Search
- July 17, 2025 – Micro Frontends with XM Cloud
- Aug 13, 2025 – Why Sitecore Content Hub DAM?: Evaluating DAM Options
Co-organized SUG-Philadelphia Meetups:
- Jun 25, 2025 – XMCloud Embedded Personalization using custom conditions
- Nov 19, 2025 – Reimagining Search in the AI Era with Sitecore Search
Conferences I attended:
- MVP Lunches
- MVP Webinars
- All SUG Pittsburgh and Philadelphia meetups
- Many SUG Boston/ Columbus/ Atlantic meetups
Plans for 2026:
Learn and contribute:
- Sitecore AI
- Sitecore Saas Offerings
- Containerization
Co-organize :
- Monthly SUG-Pittsburgh meetup
- Quarterly SUG-Philadelphia meetup
Present:
- SUGCON EU/Symposium
- SUG Meetups
Happy Sitecoring!