I want to share my experience with the Installation of Sitecore Horizon 10.
Prerequisites
Before you install Sitecore Horizon, you must:
- Install Sitecore Experience Platform 10.0.
- Ensure that your Sitecore CM site is accessible with the https.
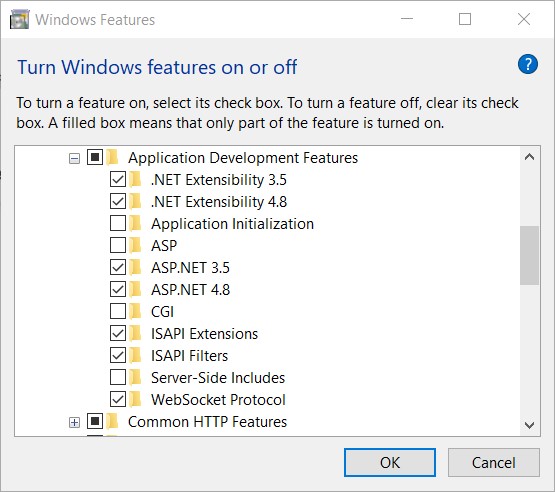
- Enable support for the WebSocket Protocol in Windows Server Manager.

- Ensure Sitecore Identity is installed.
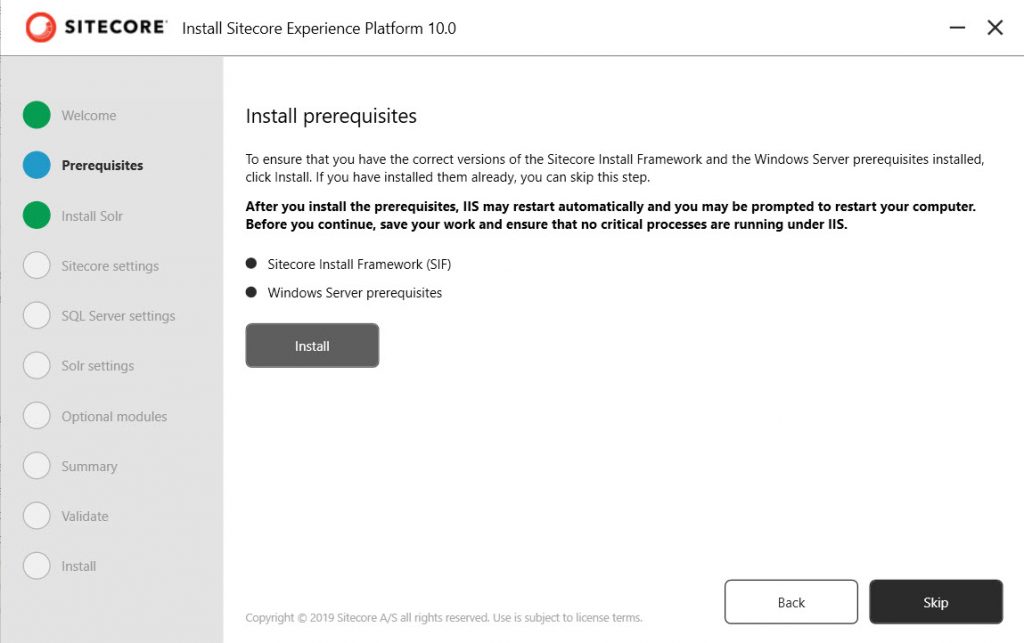
- Sitecore Installation Framework (SIF) 2.3.0
- ASP.NET Core/.NET Core: Runtime & Hosting Bundle 2.1.16 x64
After you install the tools, restart your machine.
SameSite cookies and custom domains:
The commonly-used browsers such as Chrome and Safari are changing how the browsers interpret the SameSite cookie. After the change takes effect, Horizon will only work if the Sitecore Horizon host instance, the Sitecore identity instance, and the Sitecore CM instance belong to the same site.
Sitecore CM: https://cm.mycompany.com
Sitecore identity: https://si.mycompany.com
Horizon: https://horizon.mycompany.com
Installation
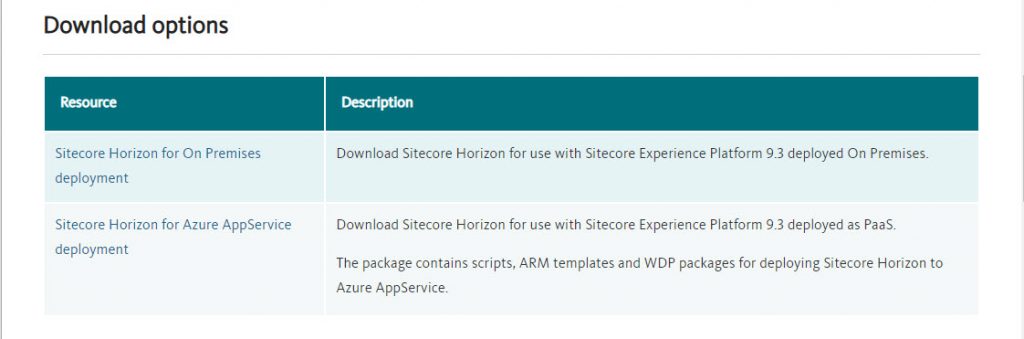
- Download Horizon 10 from here. I downloaded the on-premises deployment.

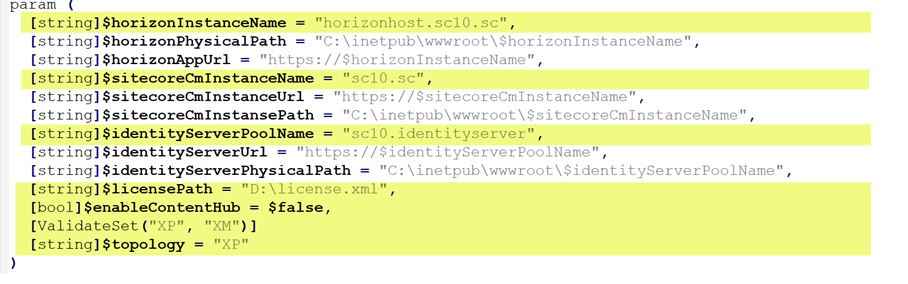
- Extract the zip file and open InstallHorizon.ps1
- Fill out the below parameters –

- Run the InstallHorizon.ps1 in Adminstrator mode.

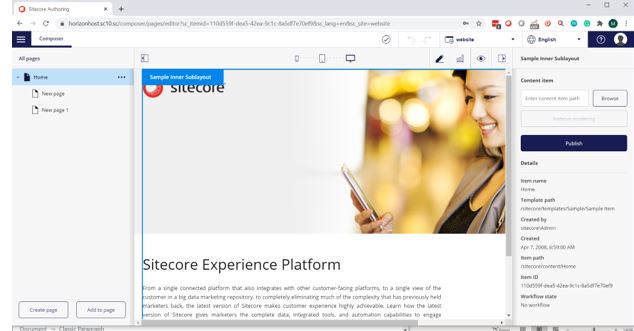
- Once the installation is done (only takes 2 to 3 minutes), you will see a new Icon in Sitecore XP.

- Clicking the Icon opens Horizon (yes, it’s separate IIS site) in a new tab and you can explore the new features!


Post Installation
To use the alignment and indentation features in the rich text editor in Horizon, make sure to add the below styles to your default style sheet (like default.css in your project).
.rte-indent-1 {
     padding-left: 40px;
}
 .rte-indent-2 {
     padding-left: 80px;
}
 .rte-indent-3 {
     padding-left: 120px;
}
 .rte-indent-4 {
     padding-left: 160px;
}
 .rte-indent-5 {
     padding-left: 200px;
}
 .rte-indent-6 {
     padding-left: 240px;
}
 .rte-indent-7 {
     padding-left: 280px;
}
 .rte-indent-8 {
     padding-left: 320px;
}
 .rte-align-center {
     text-align: center;
}
 .rte-align-justify {
     text-align: justify;
}
 .rte-align-right {
     text-align: right;
}
Hope this helps someone. Any issues, let me know in the comments section.
Happy Sitecoring!