I was working on Sitecore SXA 10.3.1 and the workflow was somehow messed up.
Manually modifying can be time-consuming and error-prone. Sitecore SPE is a powerful tool that allows for efficient modification of content in bulk through find and replace text functionality.
In this article, we will explore the steps of using Sitecore SPE to quickly and easily bulk update workflow, streamlining the process, and saving time.
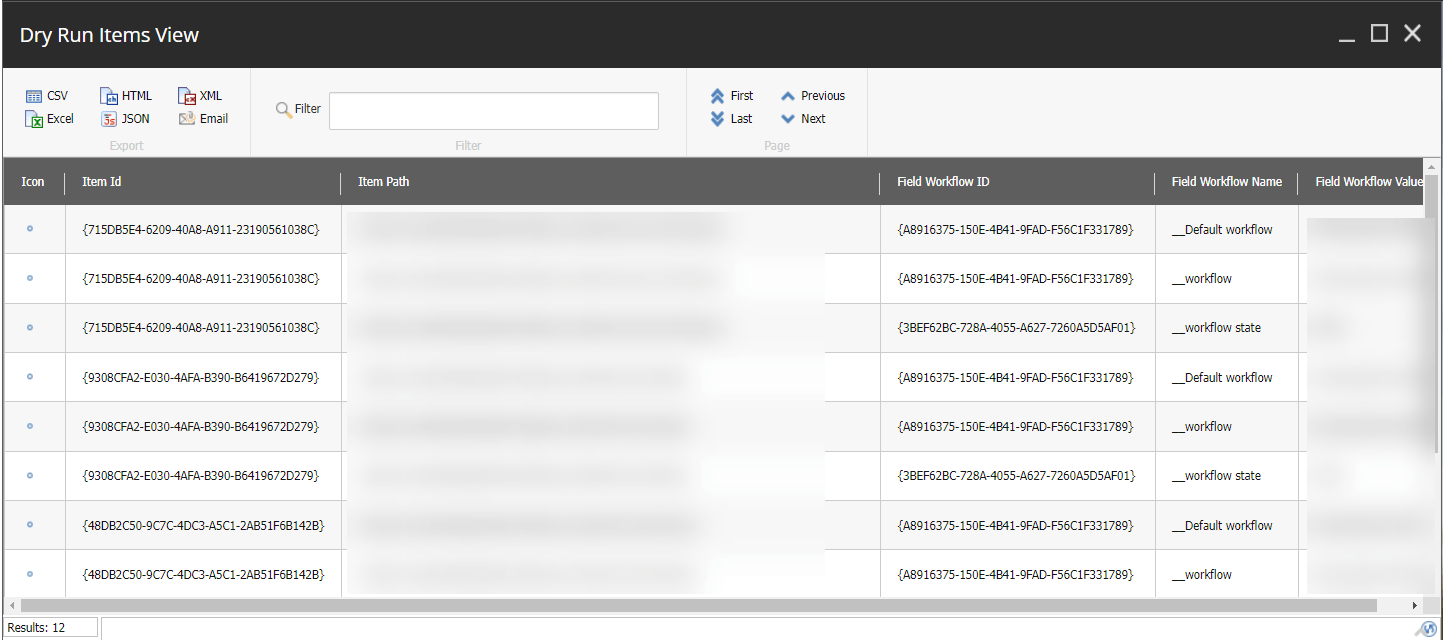
Dry-Run Script:
Running the script won’t make any changes to items, it will give the items that are going to be modified.
I wanted to set up a daily Sitecore content synchronization to lower environments to ensure they are updated with the latest content from Production every morning.
The Sitecore Sidekick PowerShell module came to the rescue – Thank you Jeff Darchuk for the excellent module! One of its key advantages is that it eliminates the need to pass usernames or passwords for higher environments.
P.S. I hope you have the Sidekick module installed, it needs a SharedSecret to communicate to the higher environments.
Content Sync:
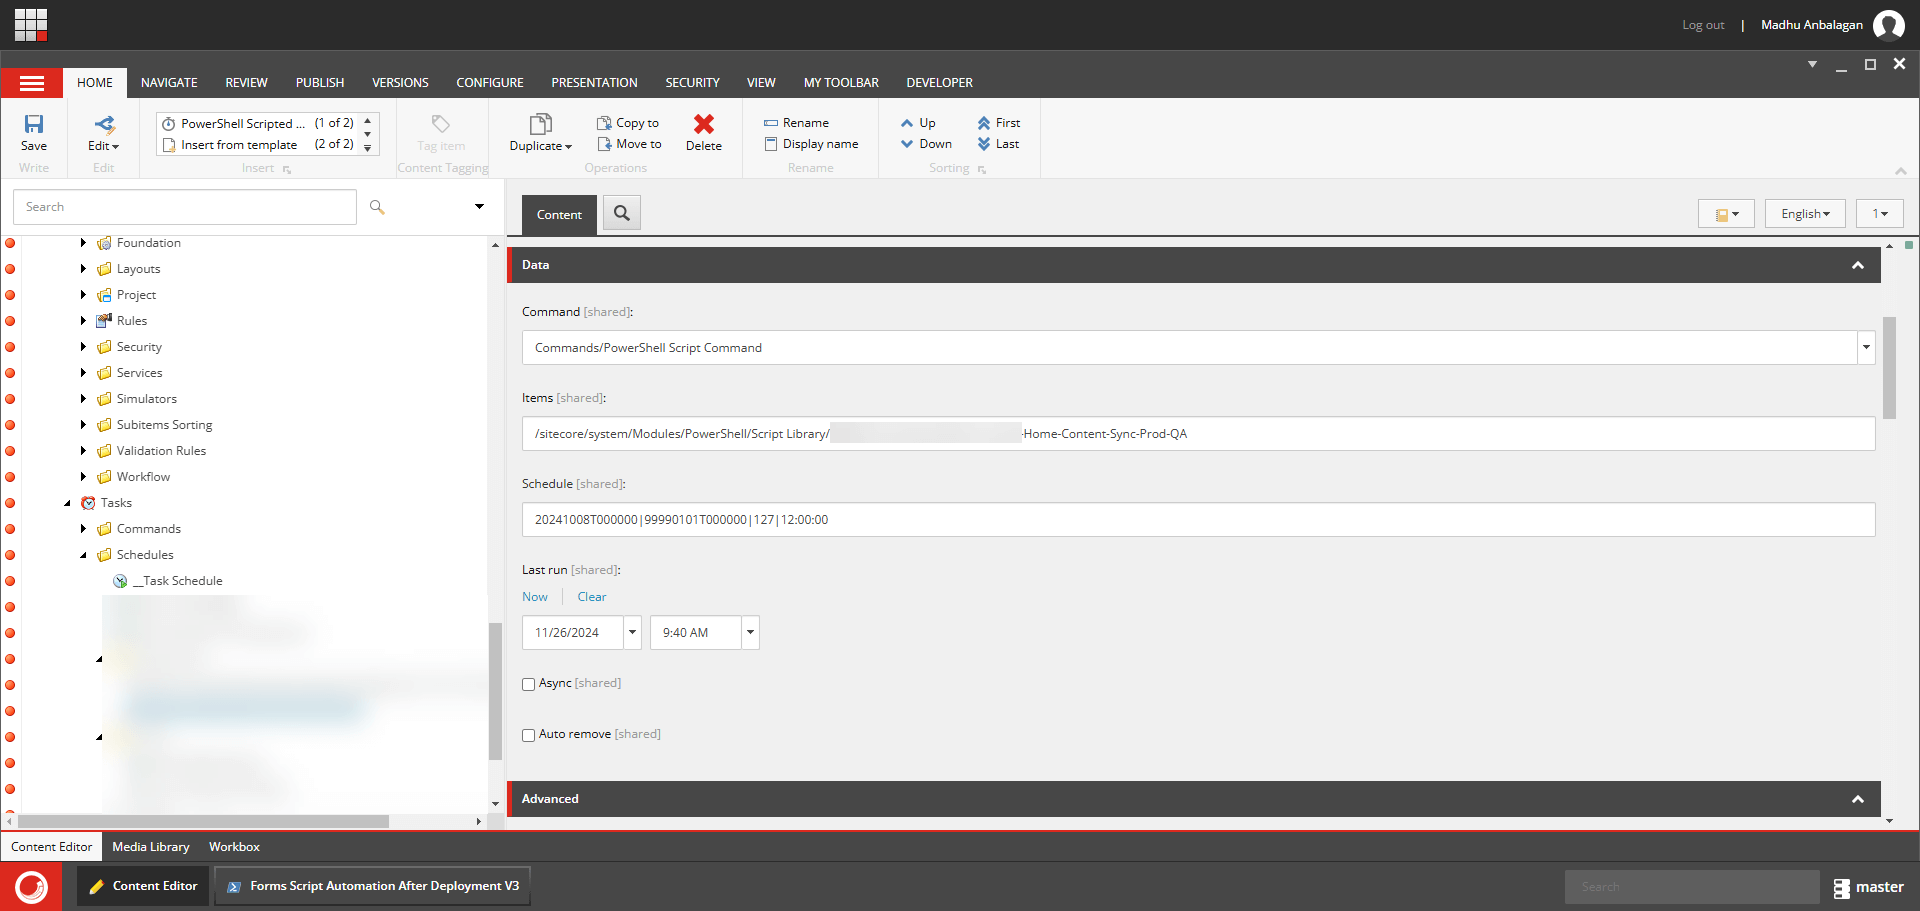
After successfully installing the Sidekick PowerShell module, I created the following script to sync the Home page and its children from the Production environment to the QA environment.
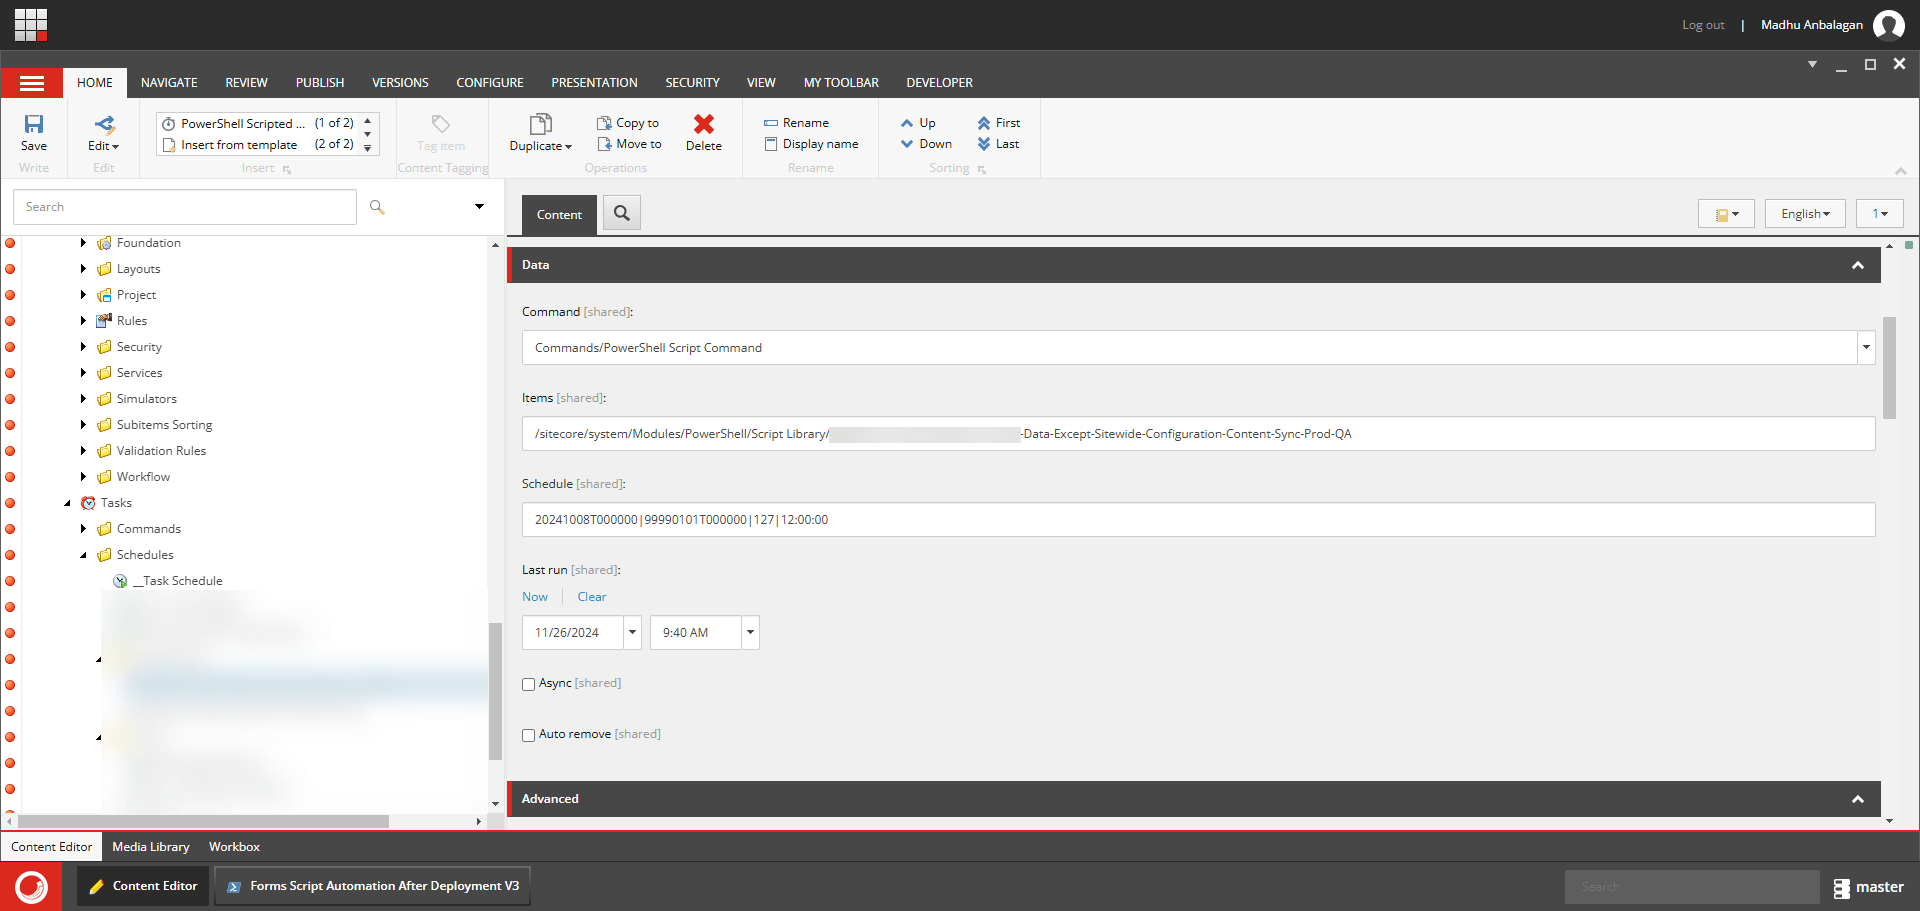
Similarly, I created the following script for the Data folder on the SXA site, excluding the Sitewide Configuration item.
Scheduling:
With the scripts ready, I have scheduled both using Powershell Scripts Command to run every 12 hours to fetch items.
In today’s fast-paced digital world, website content must be constantly updated to stay relevant. Manually modifying content can be time-consuming and error-prone. Sitecore SPE is a powerful tool that allows for efficient modification of content in bulk through find and replace text functionality. In this article, we will explore the steps of using Sitecore SPE to quickly and easily update website content, streamlining the process and saving time.
I encountered a situation where I needed to locate specific text in both images and rich text fields and replace them in large quantities. Essentially, we were transferring media from the Media Library to the Content Hub.
Find Text for Image and RichText Content-Type:
Replace the $contentPath, $guidPattern $mediaPath according to the project.
The $guidPattern is for images containing GUID format like https://cdn.companyurl.com/-/media/897222F0-3BCF-4651-AAC4-6CBBC227B449.ashx that needs to be manually modified since we don’t know where the item path lives in Content Hub. These items I’m adding these to the $cdnItemWithoutGuid array and the list will be given to Content Authors for manual editing.
The results will yield one or two variations of results, dependent on the content, referred to as
Items that contain cdn.companyurl.com with GUID
Items that contain cdn.companyurl.com without GUID
Retrieve the results in CSV, Excel, XML, HTML, and JSON (and also via Email) and analyze them to ensure they are the expected items.
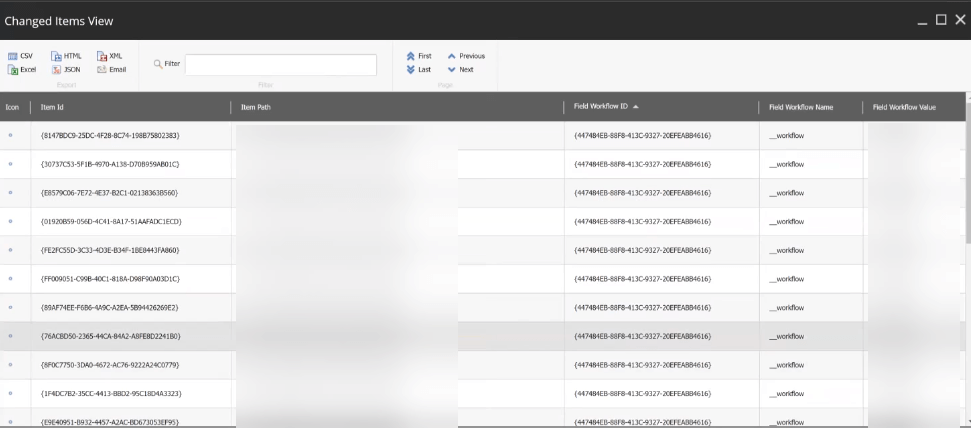
Replace Text for Image and RichText Content-Type:
Replace the $contentPath, $guidPattern, $cdnMediaPath, and $damMediaPath according to the project.
The results will yield one or two variations of results, dependent on the content, referred to as
Changed Items View
Not changed Items View
Upon completion, review the output. Inspect the Not changed Items View to determine the reason for its unchanged status, it could be due to it being in a workflow stage or any other cause.