I started exploring Sitecore Personalize, which allows to craft tailored web experiences based on customer behavior and preferences.
In this blog, I’ll walk through how to integrate Sitecore Personalization for the Sitecore XP/XM/XMCloud website without installing EngageSDK – using TamperMonkey, a browser extension for running custom JavaScript.
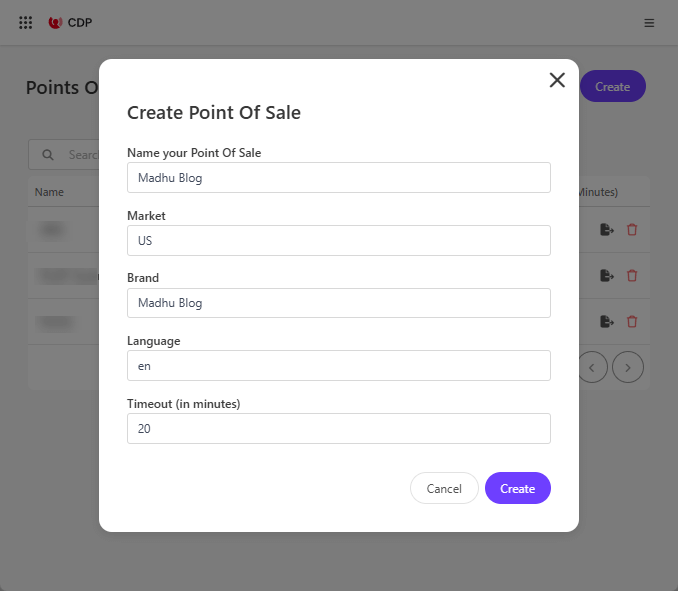
Create a Point Of Sale (PoS)
In Sitecore CDP or Personalize create a PoS for the website.
Create a Web Experience
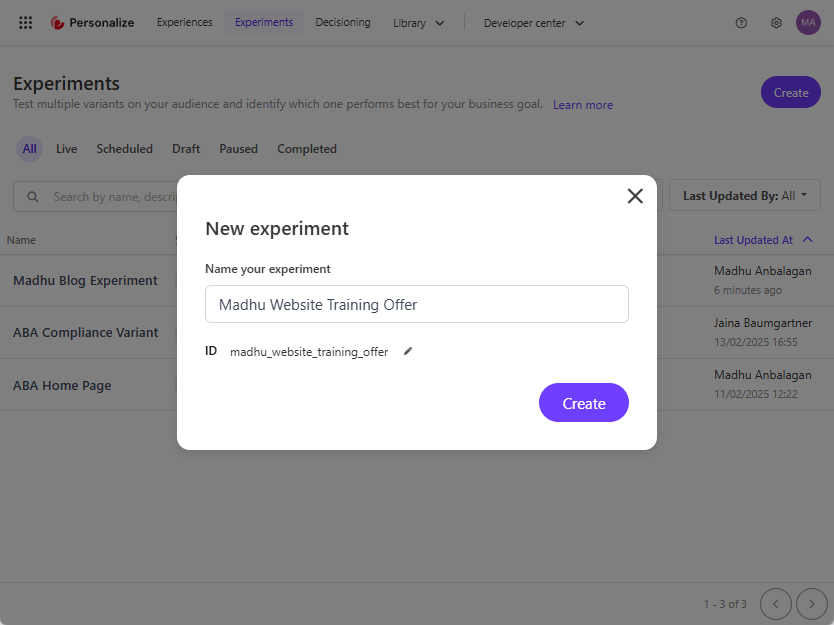
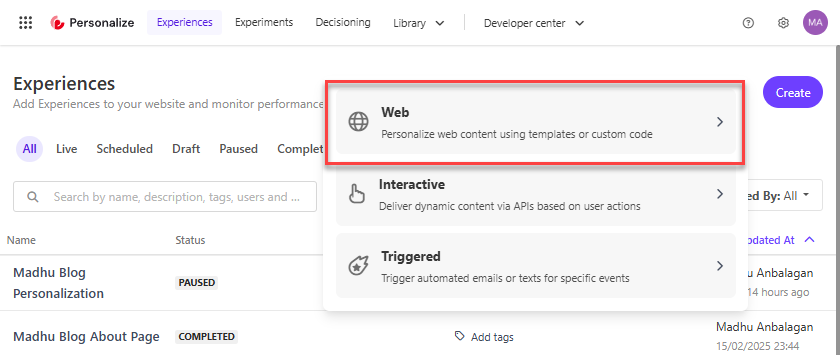
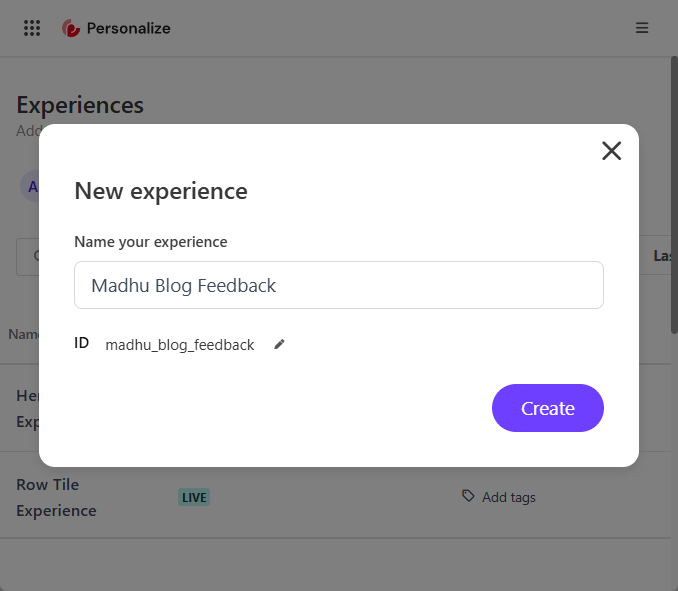
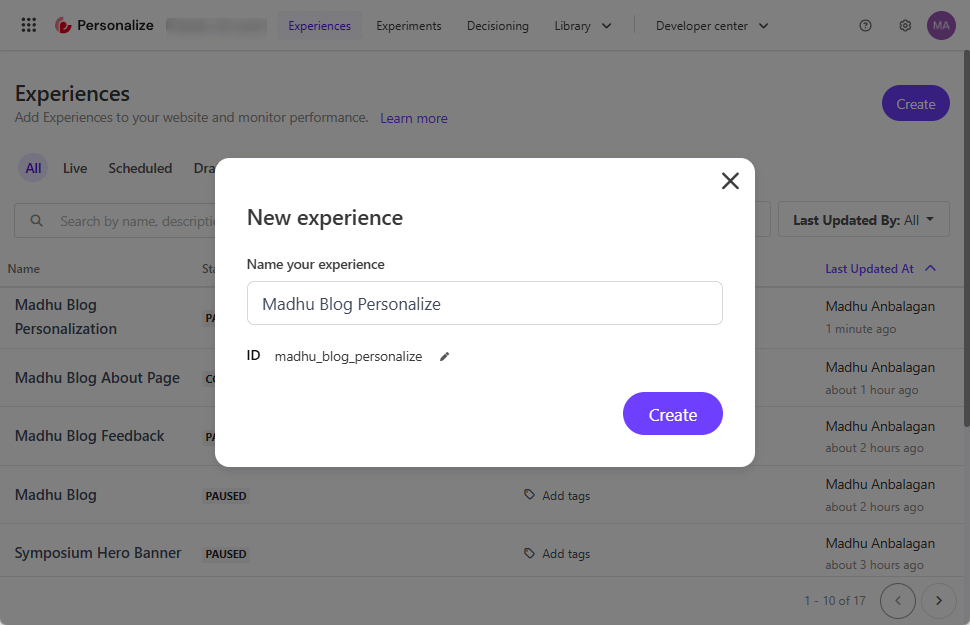
In Sitecore Personalize, let’s navigate to the Experiences section and click Create New Experience.
Select from experience types such as:
- Web Experience (e.g., personalized banners or pop-ups)
- Interactive Experience (e.g., Chatbots, real-time API integrations)
- Triggered Experience (e.g., email, push notifications)
OOTB Templates
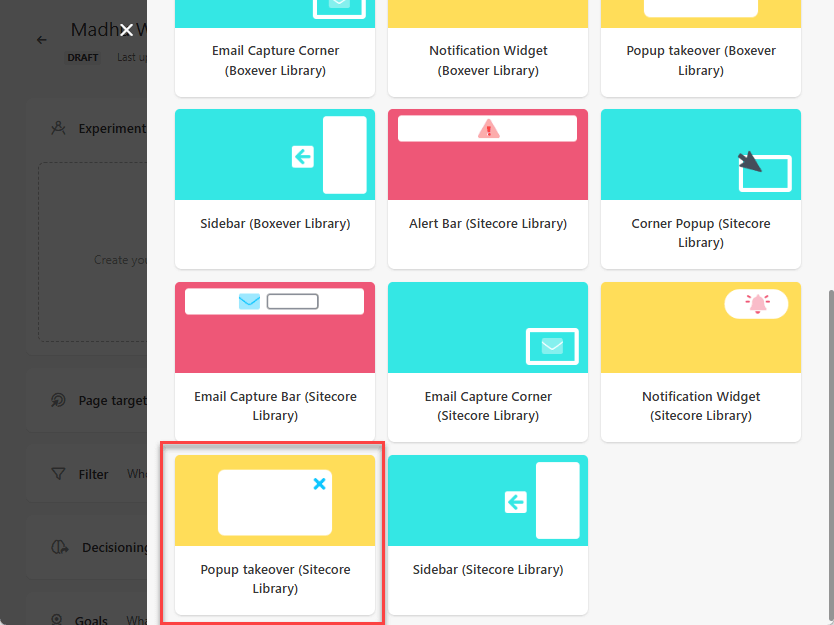
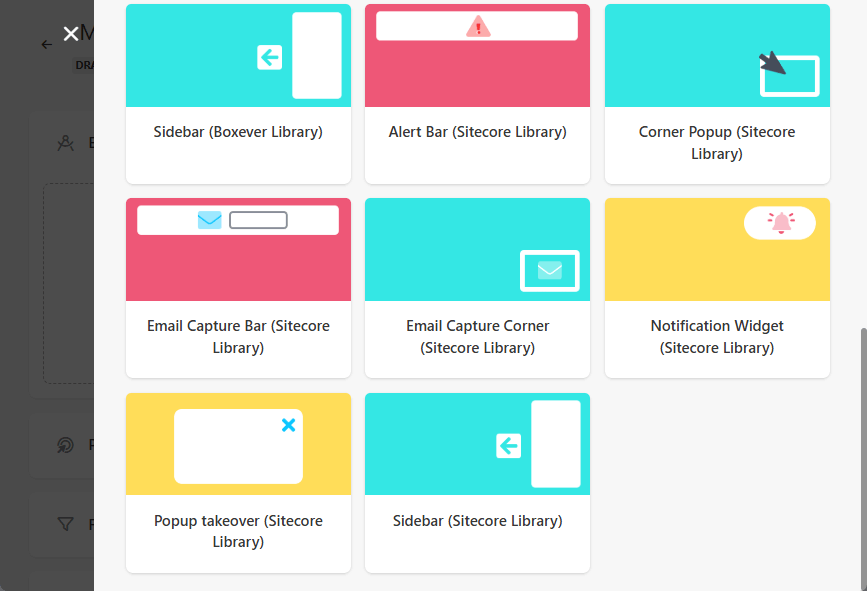
Sitecore Personalize offers 14 out-of-the-box (OOTB) templates for creating web experiences. These templates are designed to help you quickly set up and customize your web experiments and experiences without needing to write code. Here are some of the templates available:
-
Alert Bar (Boxever Library)
-
Corner Popup (Boxever Library)
-
Email Capture Bar (Boxever Library)
-
Email Capture Corner (Boxever Library)
-
Notification Widget (Boxever Library)
-
Popup takeover (Boxever Library)
-
Sidebar (Boxever Library)
-
Alert Bar (Sitecore Library)
-
Corner Popup (Sitecore Library)
-
Email Capture Bar (Sitecore Library)
-
Email Capture Corner (Sitecore Library)
-
Notification Widget (Sitecore Library)
-
Popup takeover (Sitecore Library)
-
Sidebar (Sitecore Library)
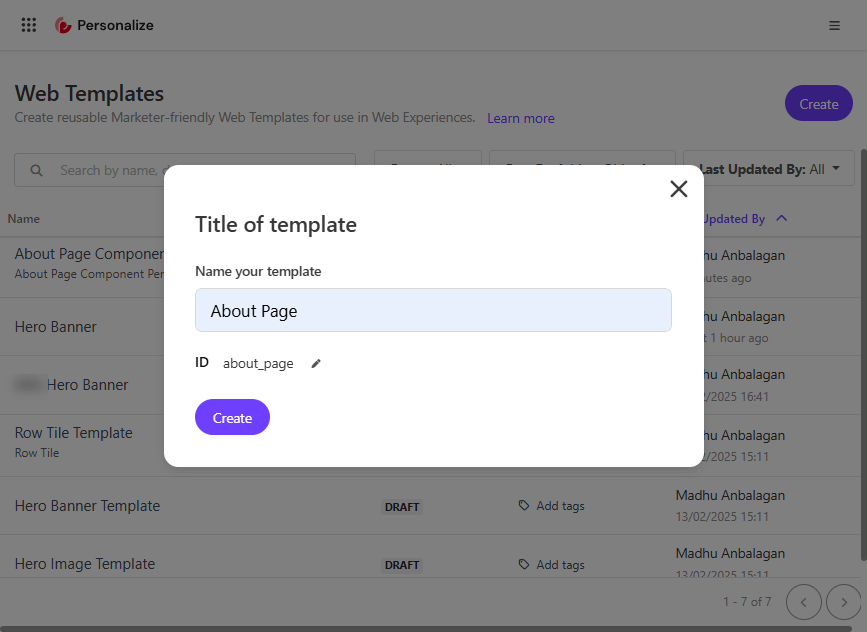
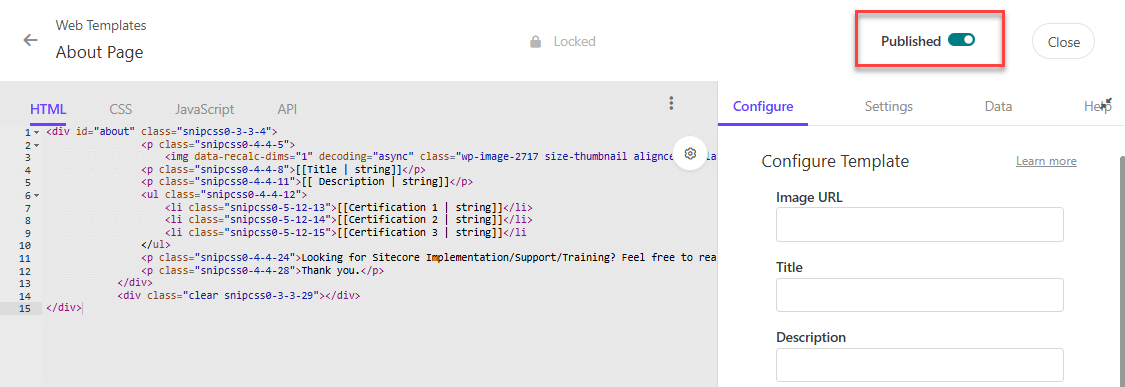
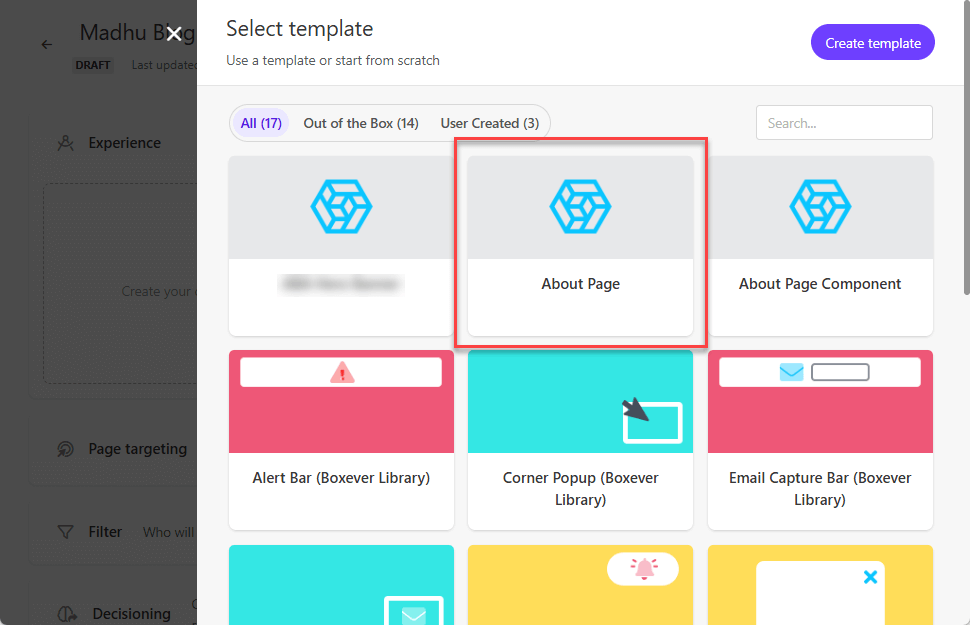
Select any of the out-of-the-box templates or custom web templates, if they have been created.
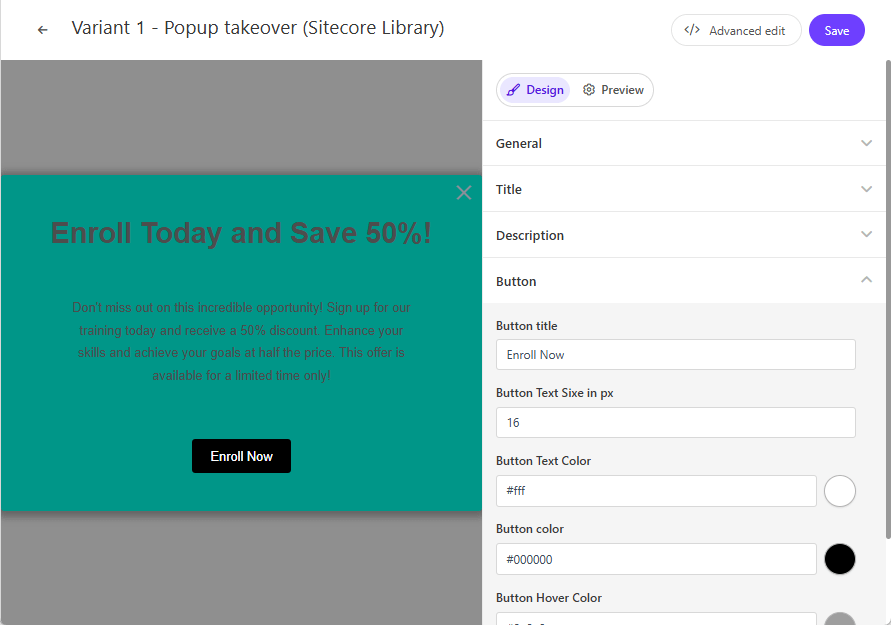
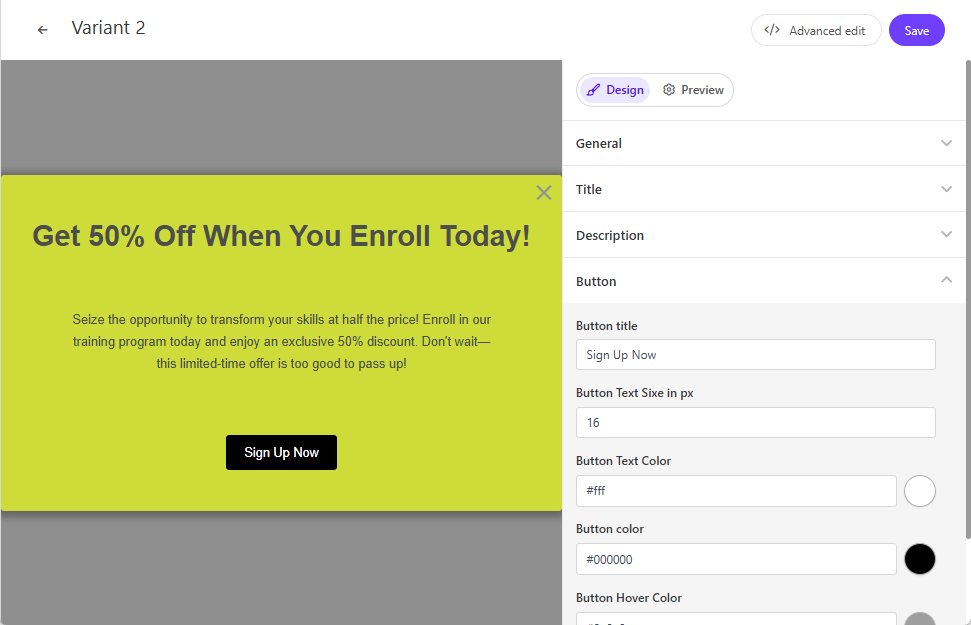
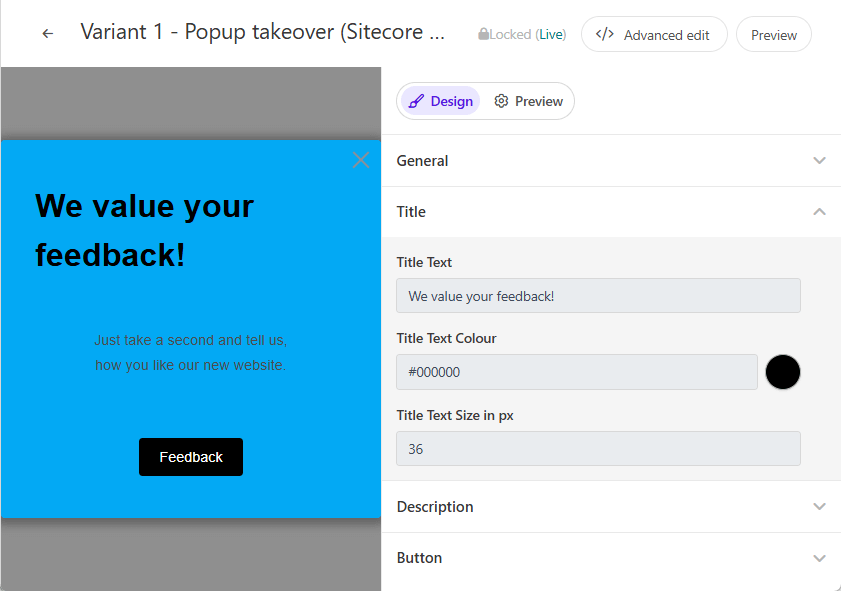
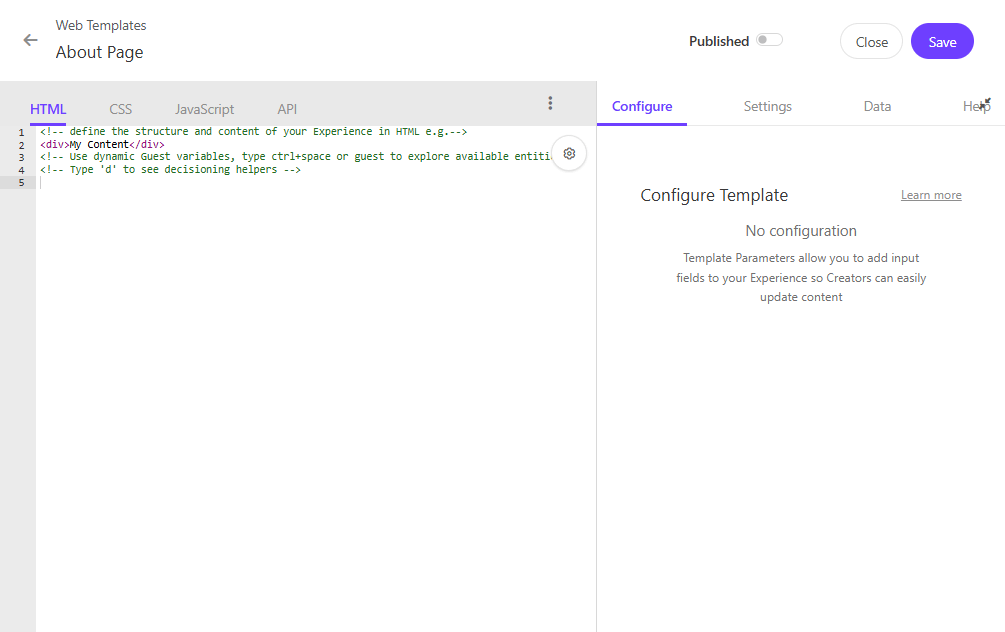
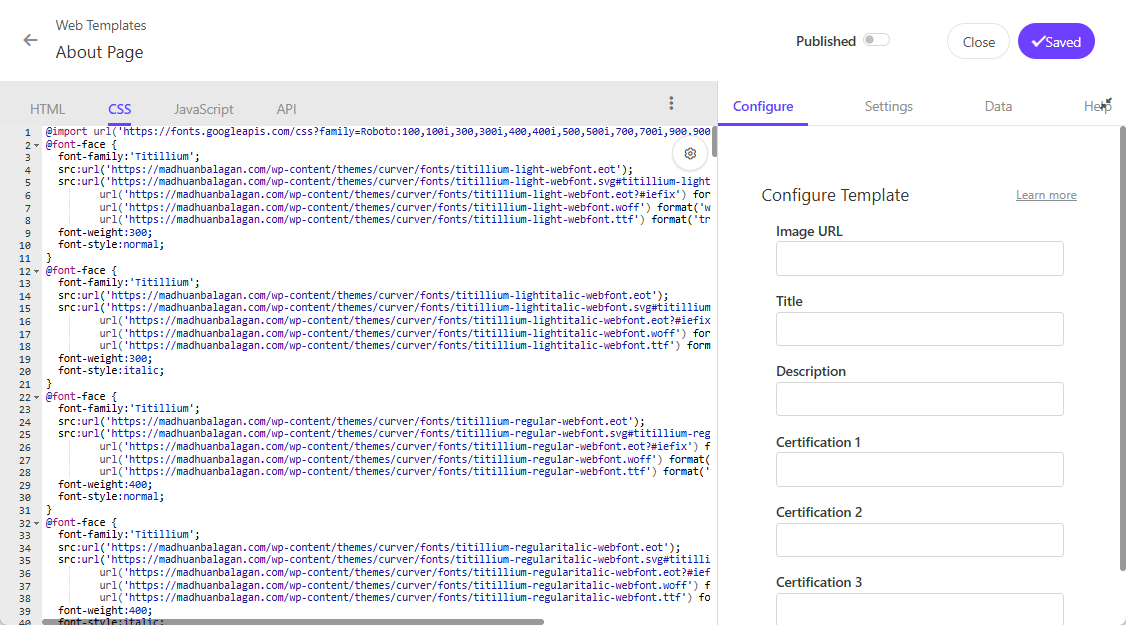
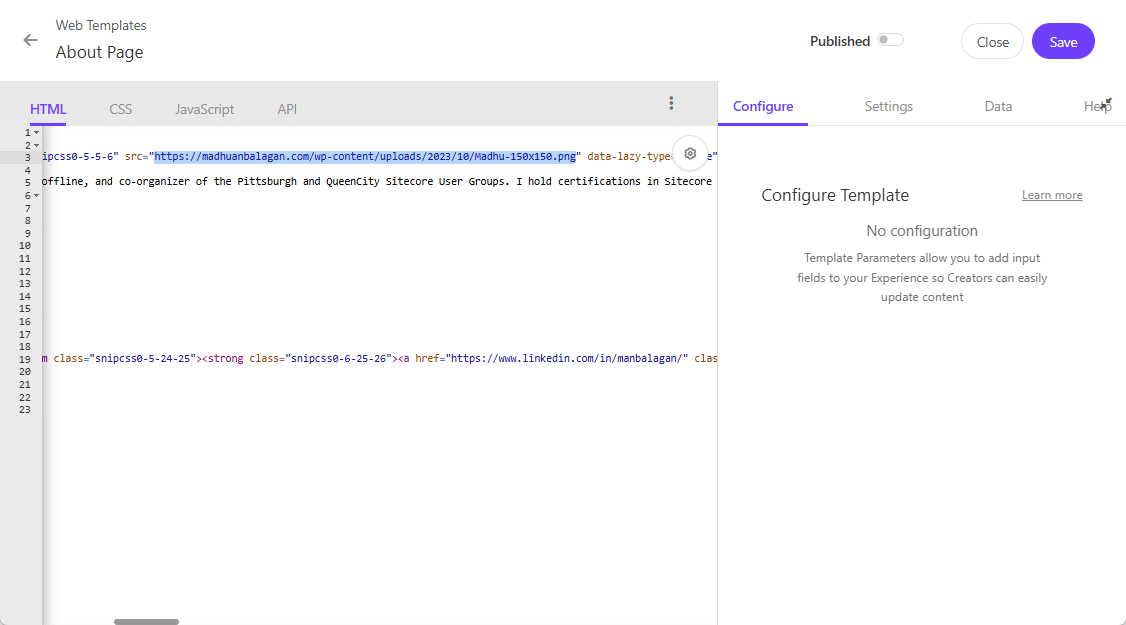
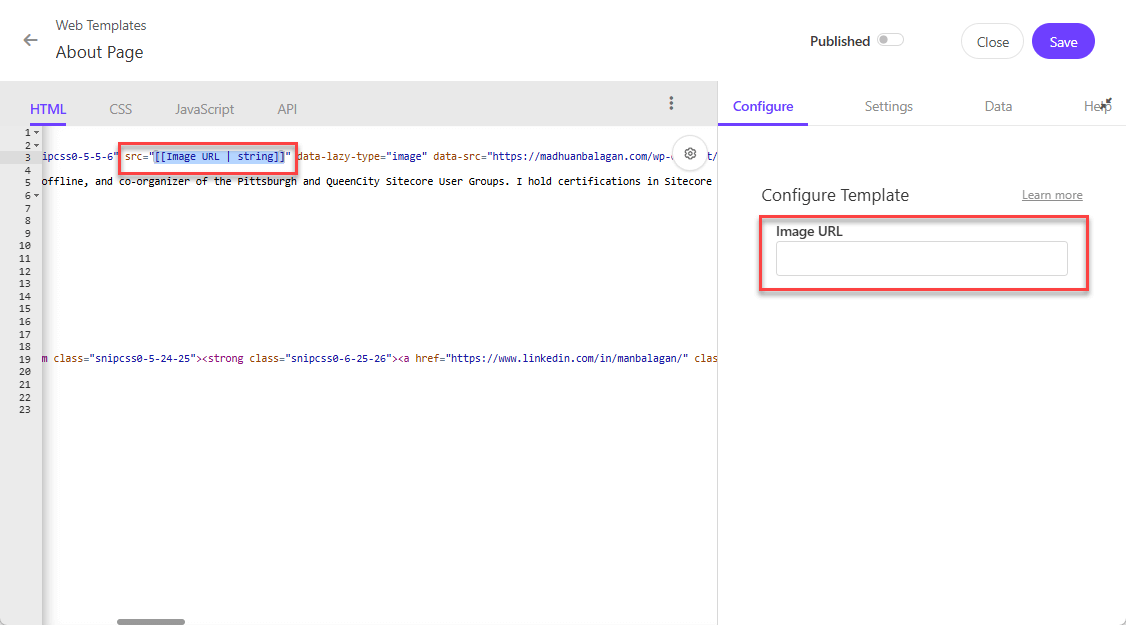
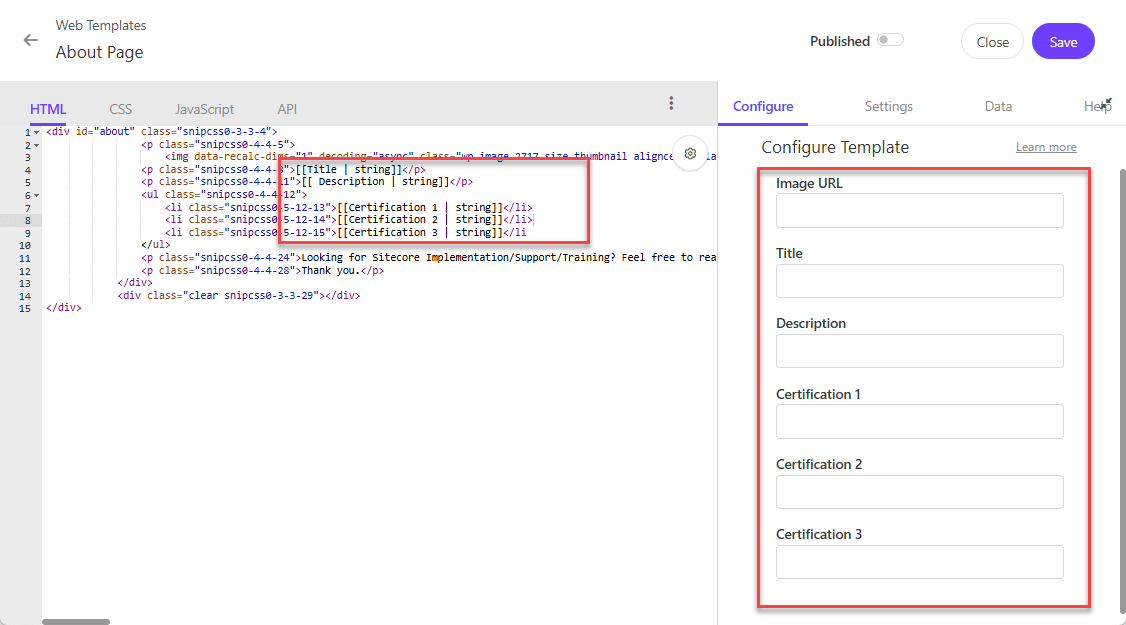
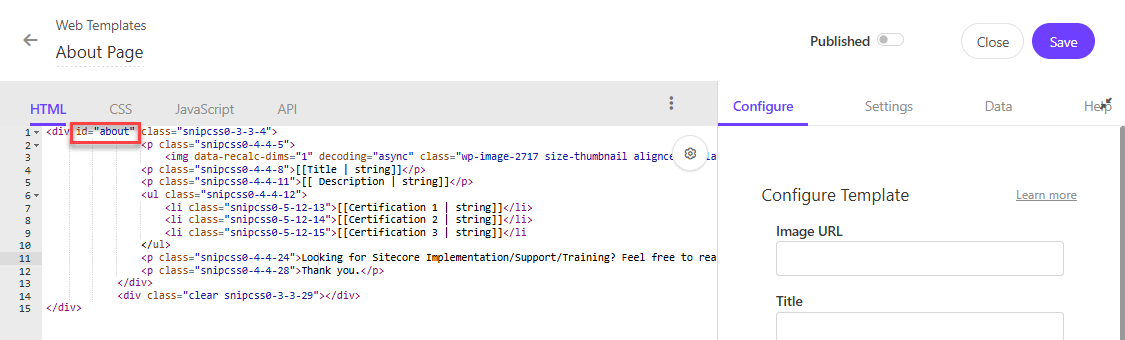
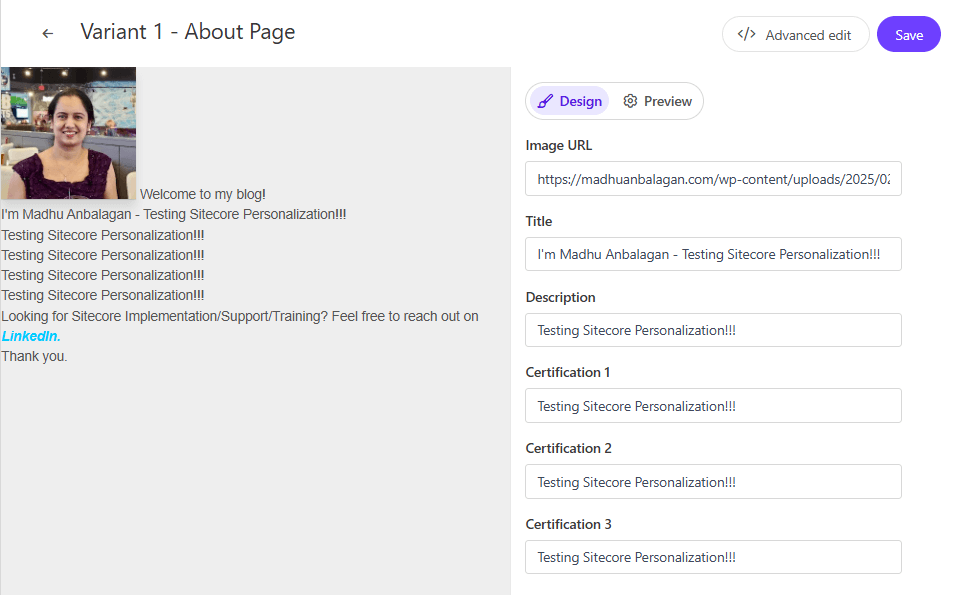
Let’s start to customize it. You have the option to use Advanced Edit for HTML, CSS, and JavaScript to enhance web templates.

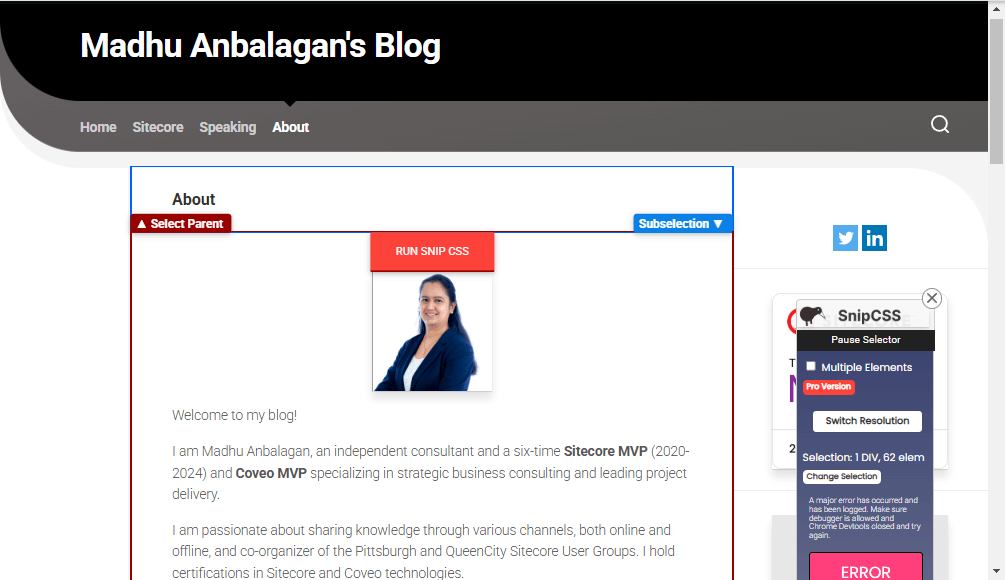
The final Popup looks like this – changed the following
- Background color
- Title
- Description
- Button Text
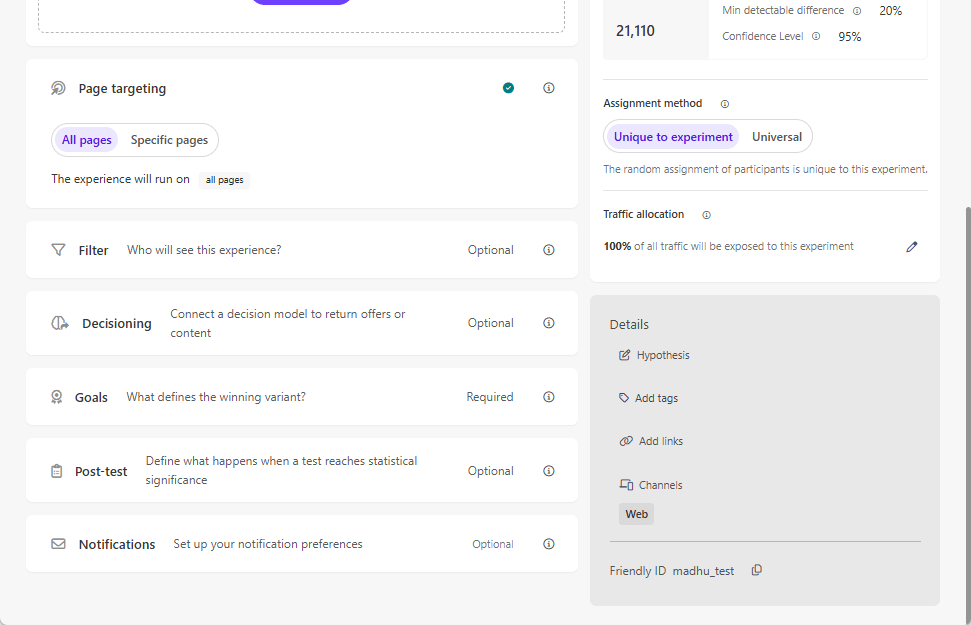
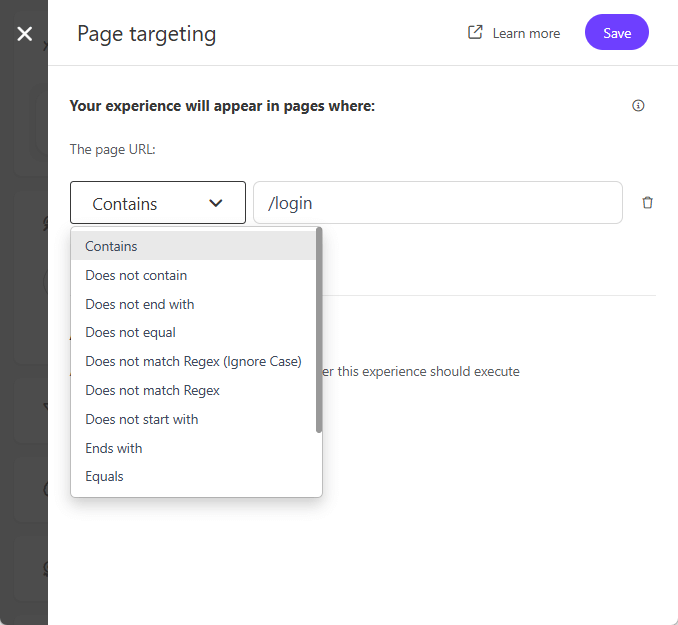
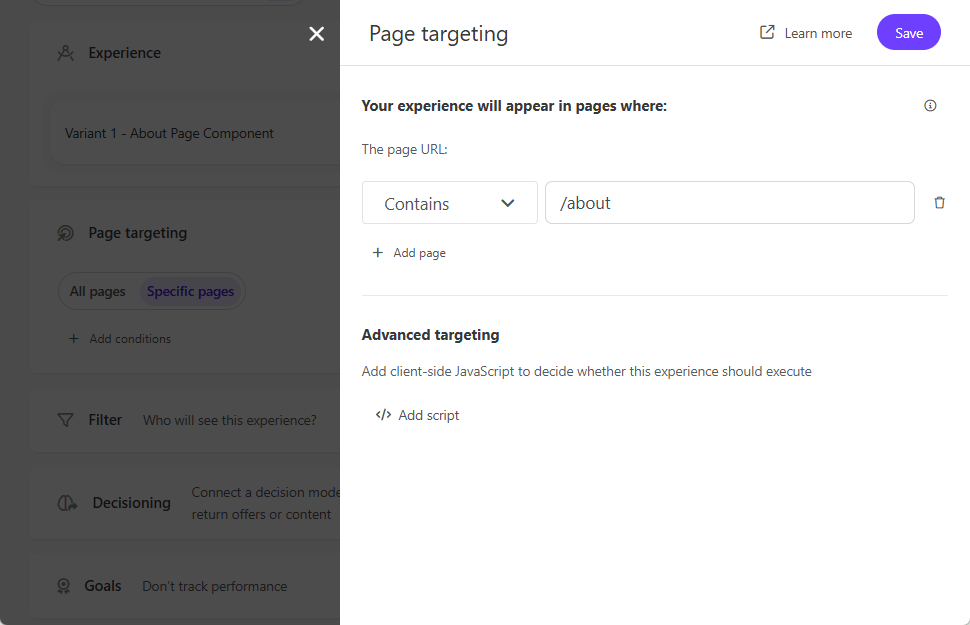
Page Targeting
I chose all the pages for simplicity.

If you like specific pages – add the condition for the page URL.
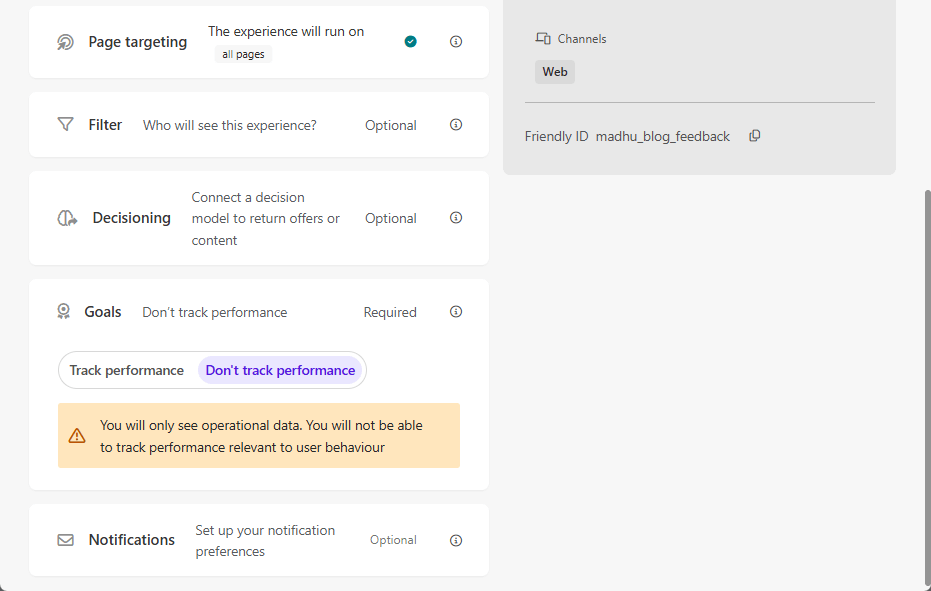
Goals
I chose not to track performance for testing purposes. Feel free to add any goal according to website needs.

Filter, Decisioning, and Notifications
They are optional, going to leave them as it is. The Decision Model is so powerful that, will be exploring it in upcoming blogs.
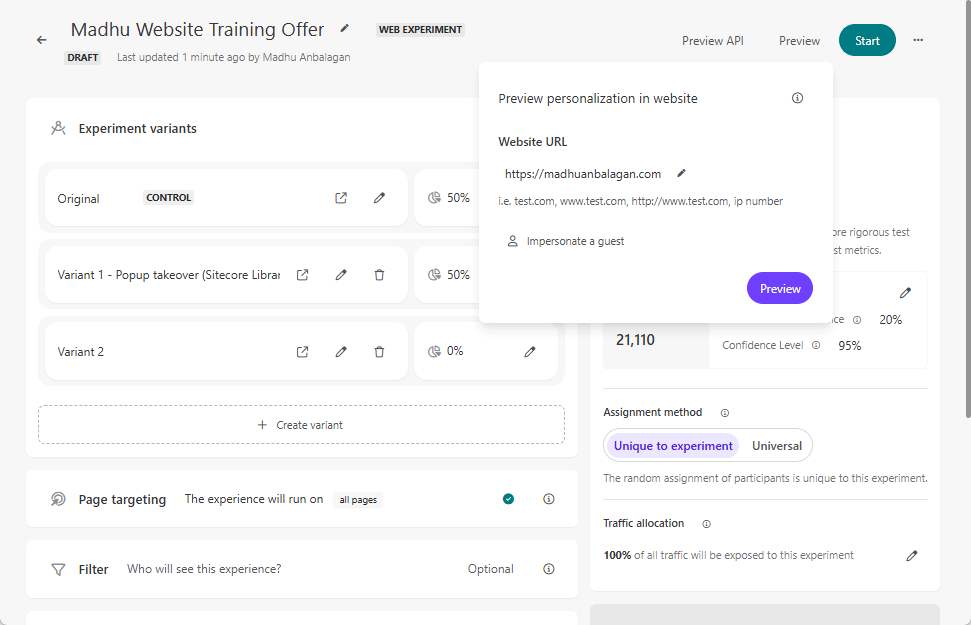
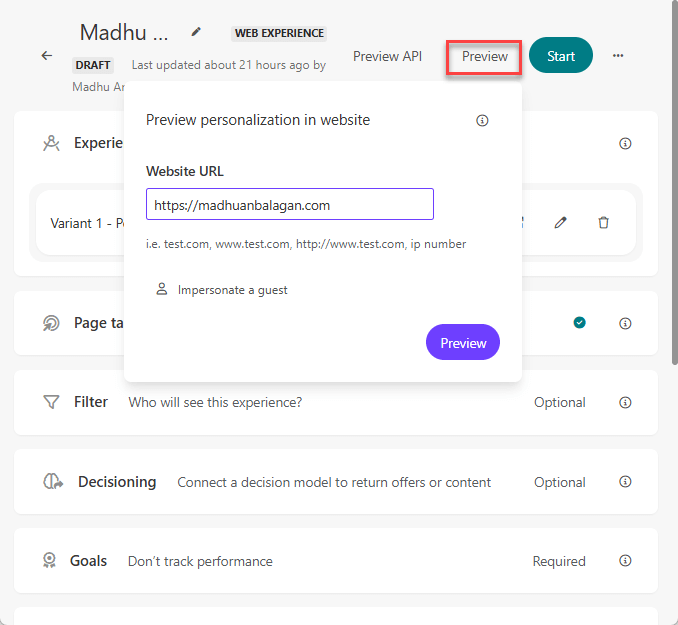
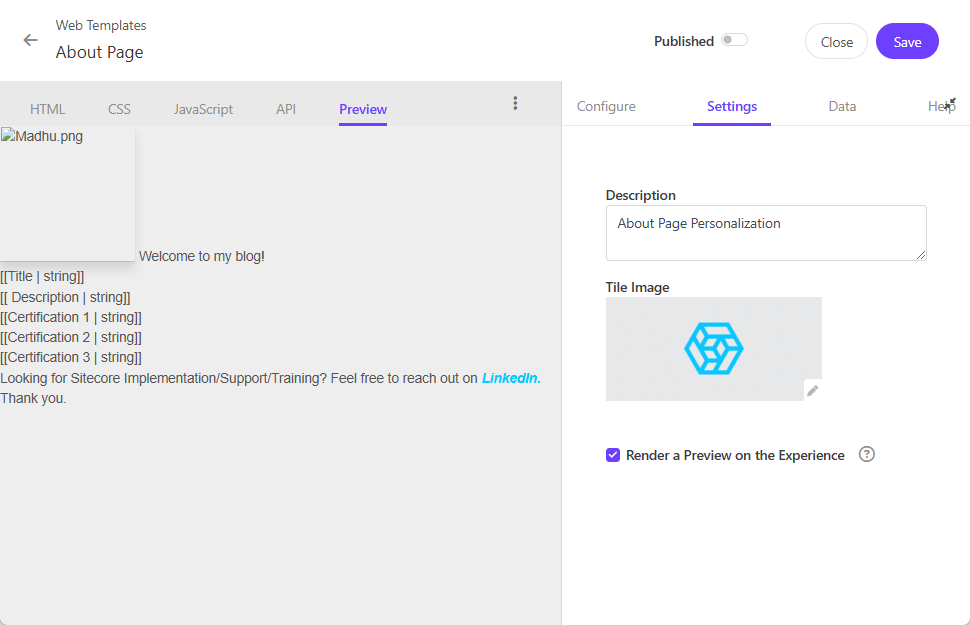
Preview
Let’s Preview what it looks like –
The preview isn’t working because the EngageSDK needs to be installed on the website. If you have EngageSDK installed on the website, feel free to skip the TamperMonkey part.
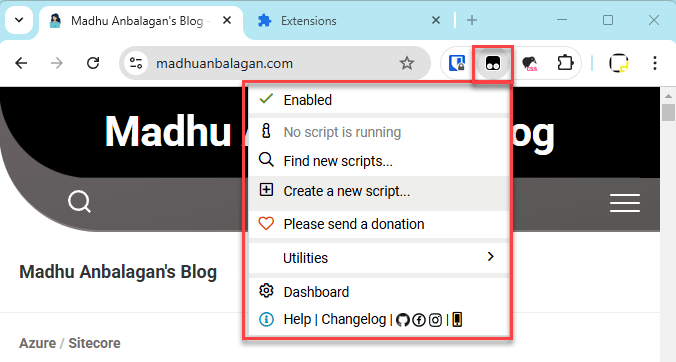
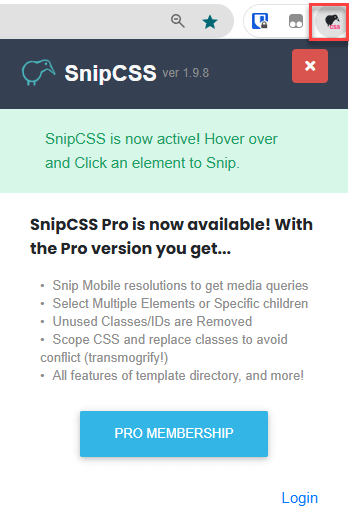
Now this is where the TamperMonkey plugin comes to the rescue to pre-load the Engage SDK on any website using Sitecore Personalize script.
Download TamperMonkey Chrome extension –http://chromewebstore.google.com/detail/tampermonkey/dhdgffkkebhmkfjojejmpbldmpobfkfo?hl=en
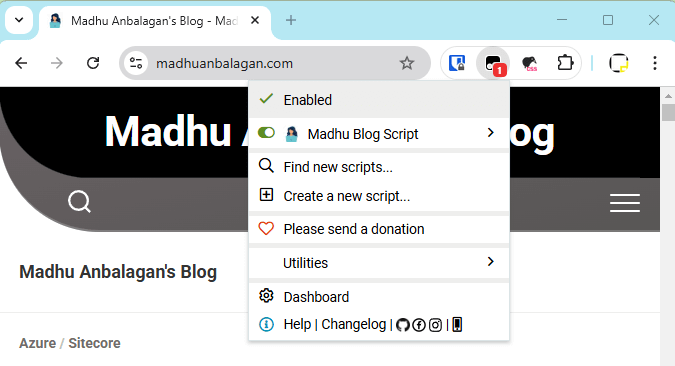
Note: Make sure it is enabled and the Developer mode is turned on.
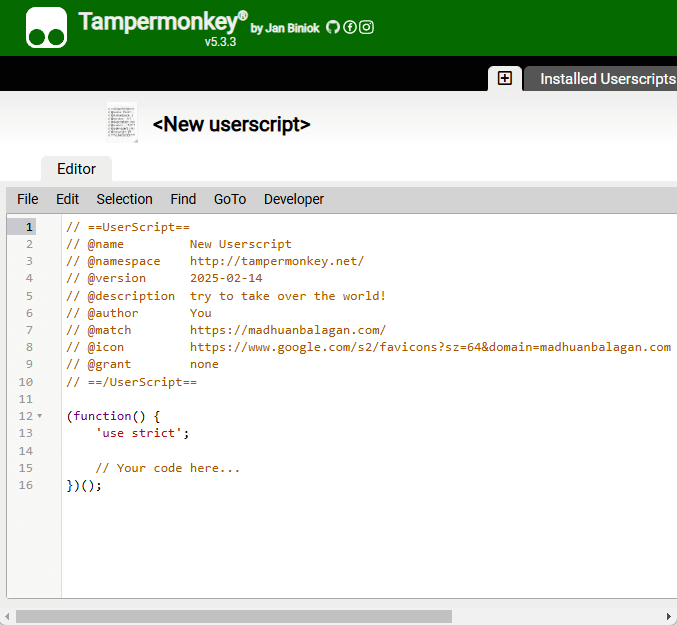
Let’s make a new script. By default, TamperMonkey uses the website domain where you clicked ‘New Script’ as a match.
Replace the following placeholders –
-
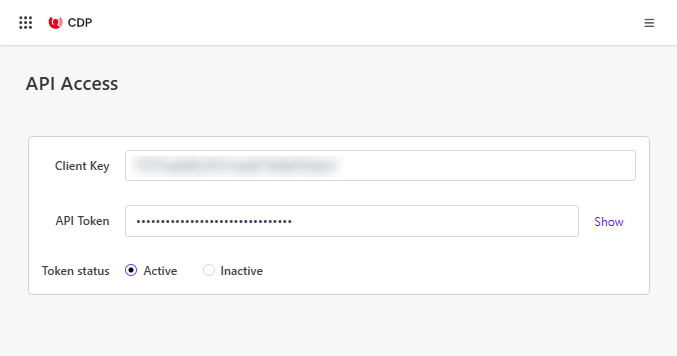
clientkey : <CDP-Settings-API Access should give the info>
-
targetURL : “https://api-engage-us.sitecorecloud.io”
-
pointOfSale : <PoS that you have created for the site>
-
cookieDomain: <Website domain>
The clientkey is found in CDP->Settings->API Access
Let’s add the script to TamperMonkey and save it. The @name value determines how the script is named.
Now it should detect the script when you visit the website.
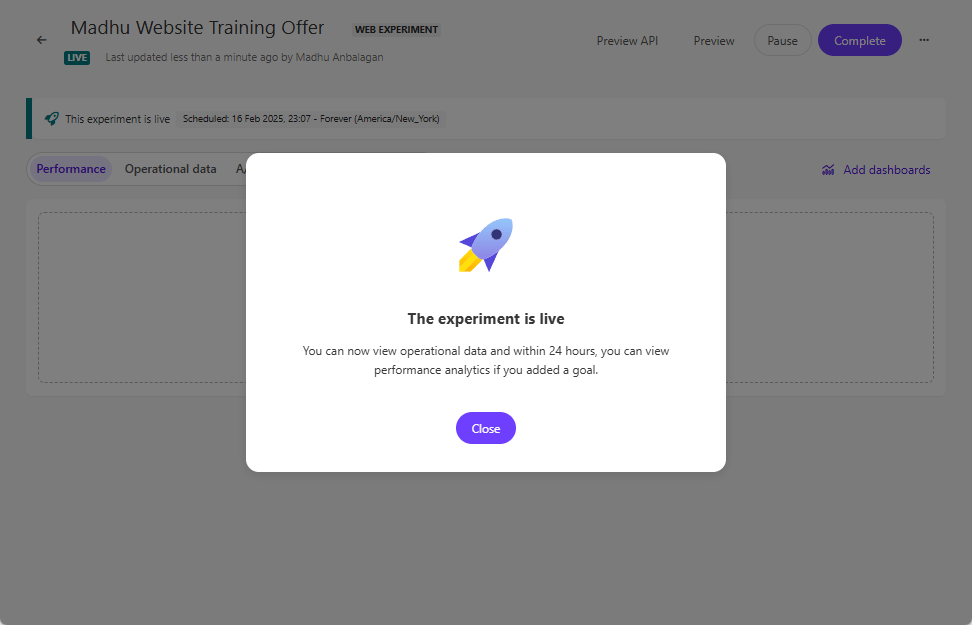
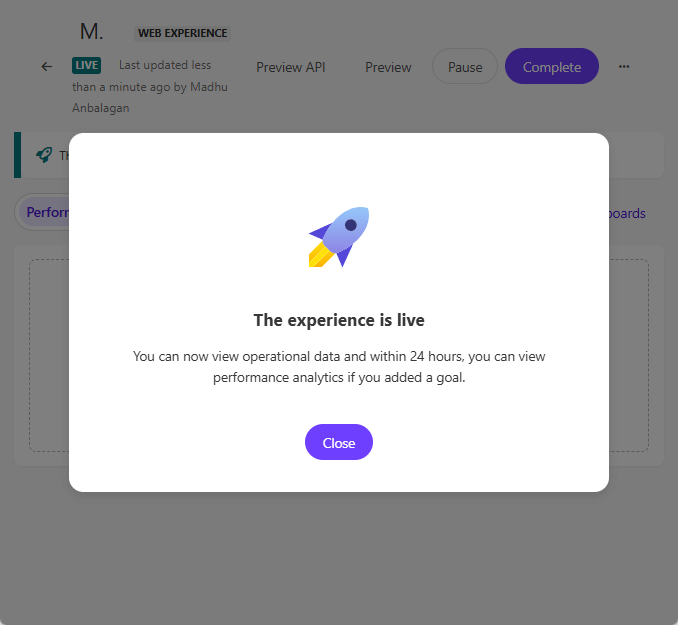
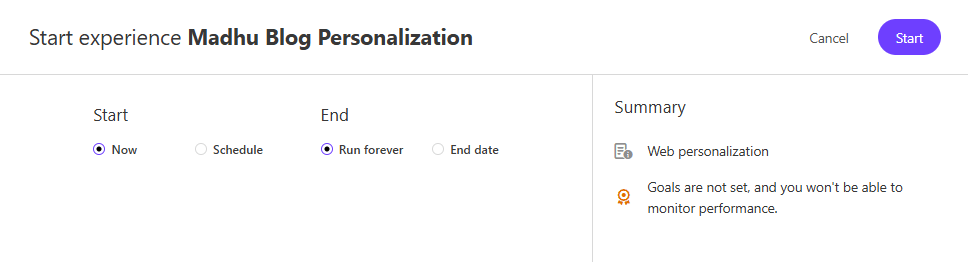
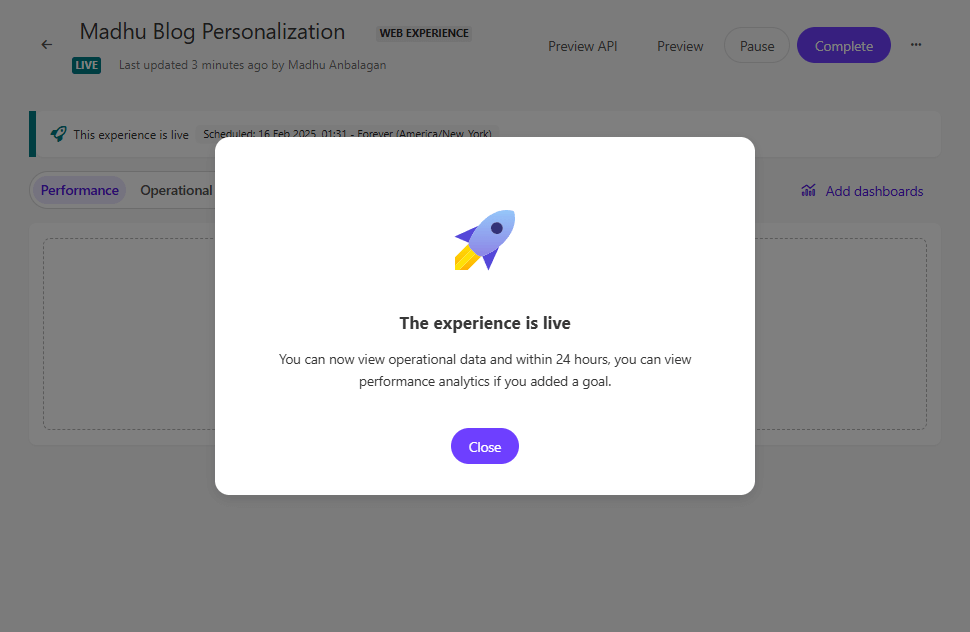
Live
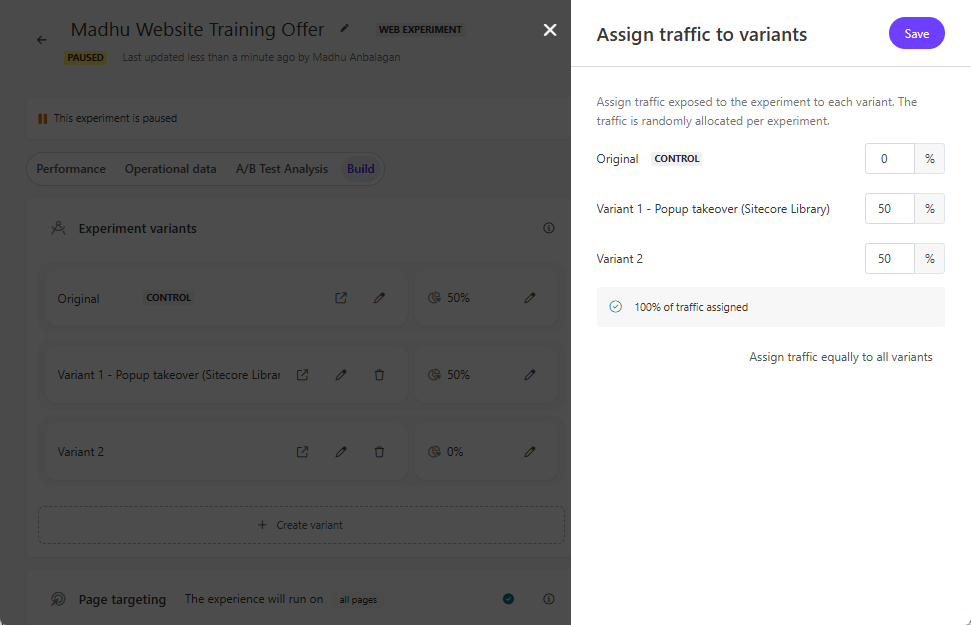
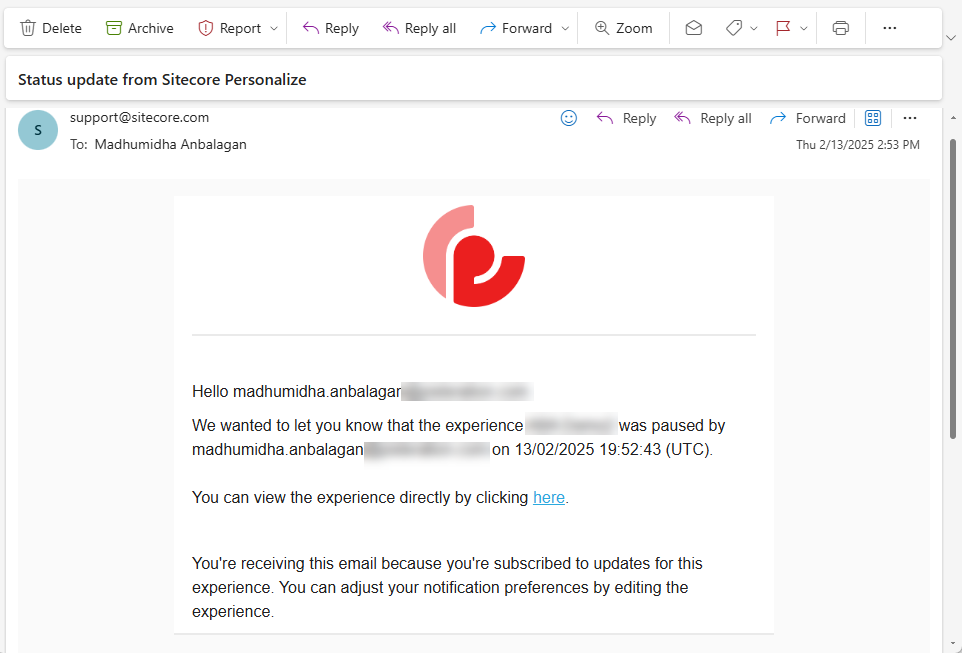
Let’s publish the Experience to make it live – If you have a notification set, it will email when it’s live, paused, etc.
The email notification is pretty helpful especially for Marketers to track their Experiences.
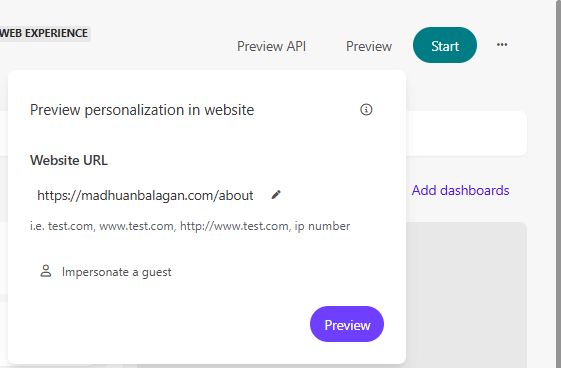
Preview
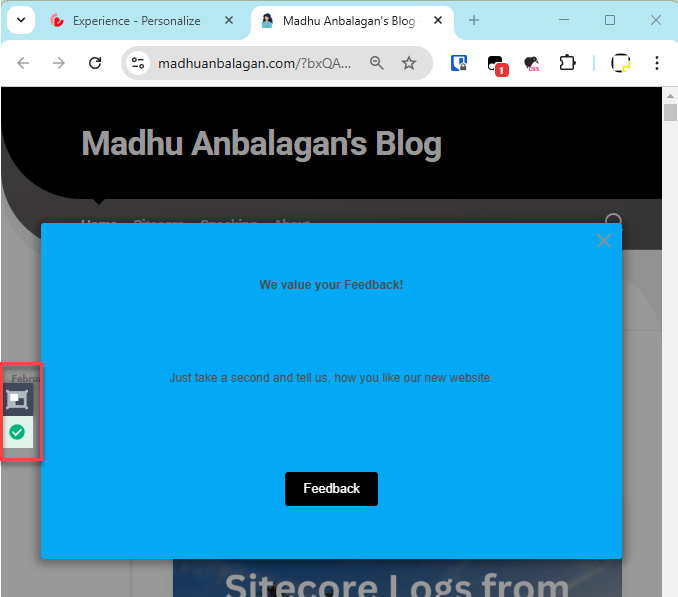
Let’s try the Preview – make sure to add a new script for the preview URL in TamperMonkey.
Let’s load the Preview with the page URL.
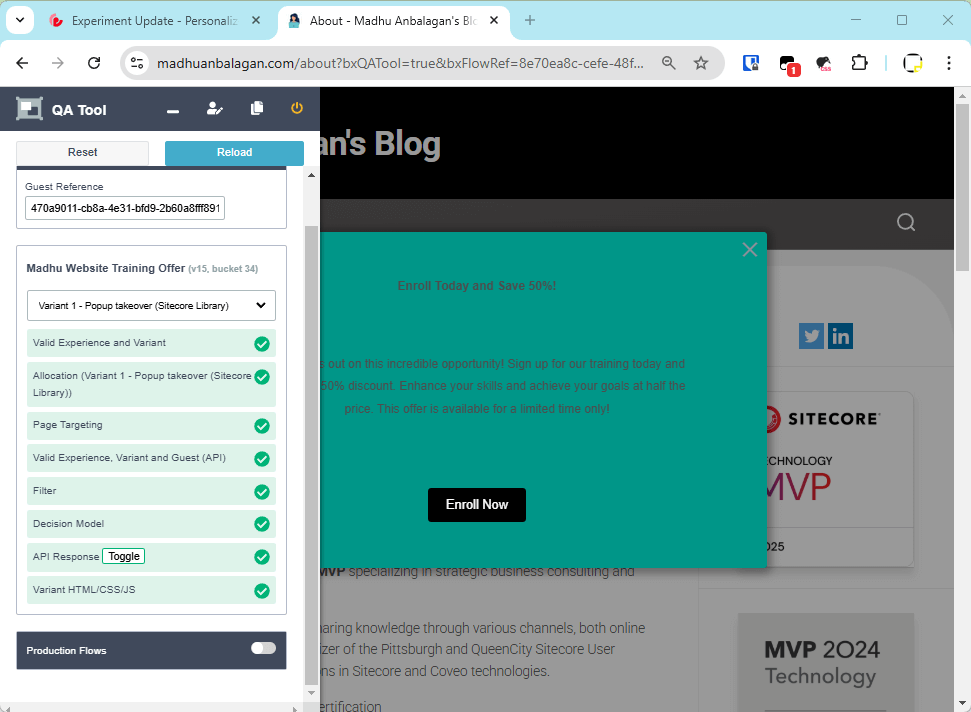
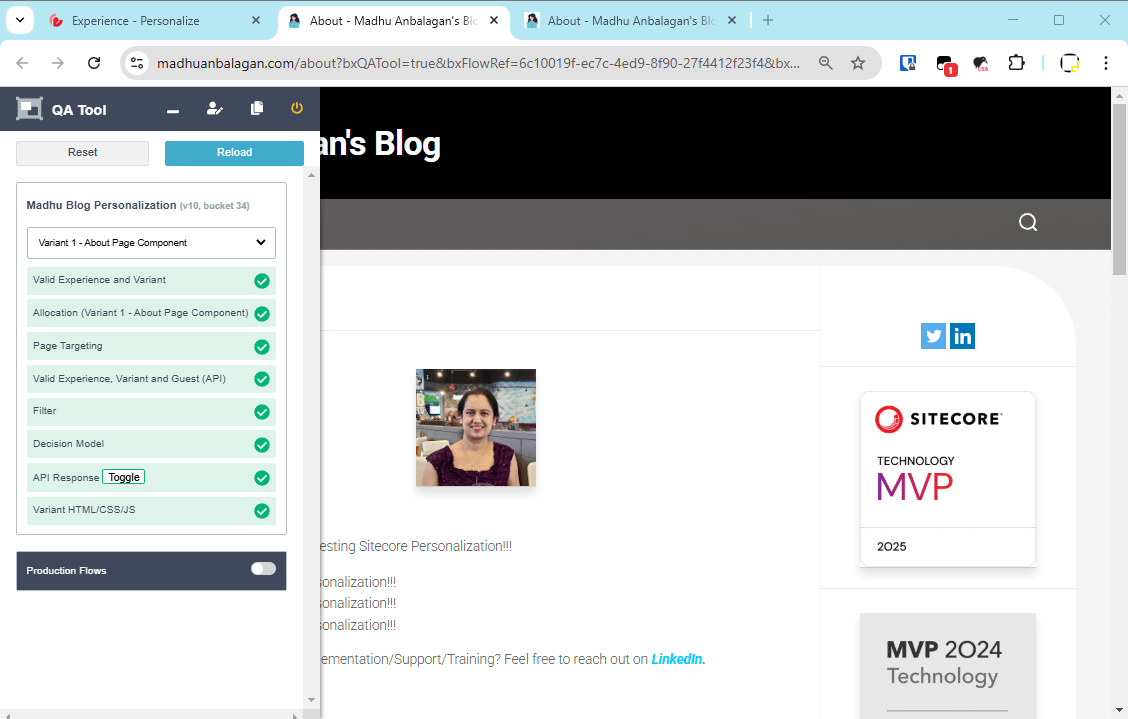
The Popup showed up and the QA Tool shows at the left side of the page.
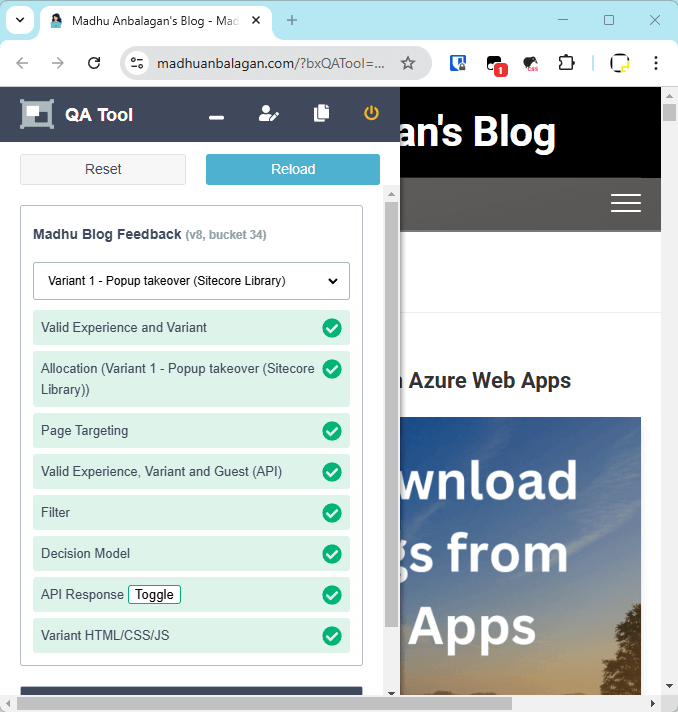
QA Tool
The QA Tool shows the validation of everything. Feel free to change the variant to test different scenarios. It’s super helpful for troubleshooting any issues.
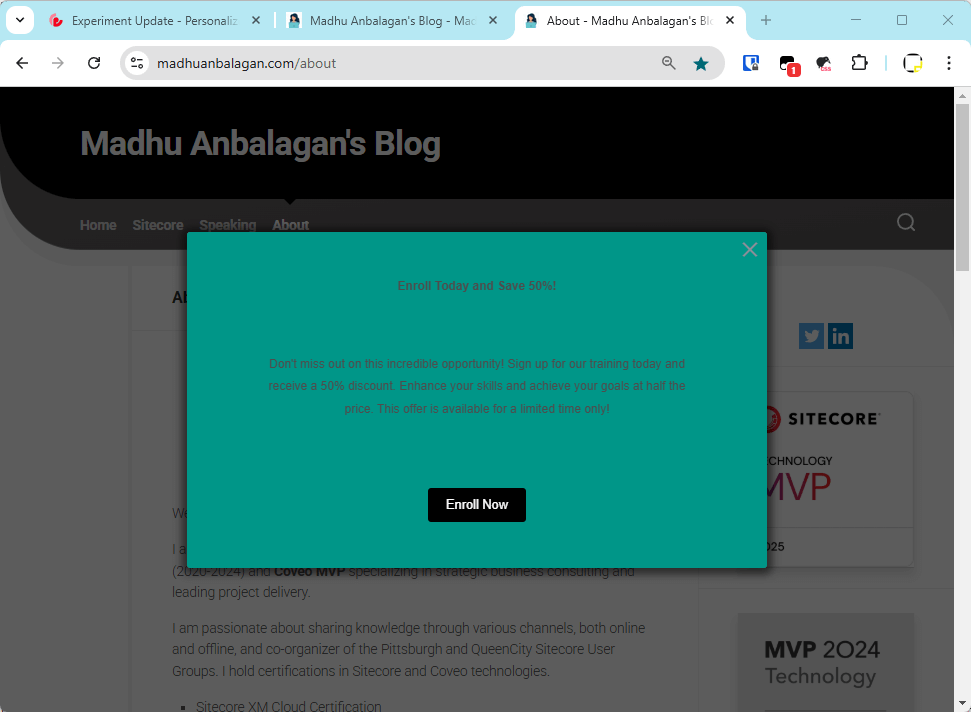
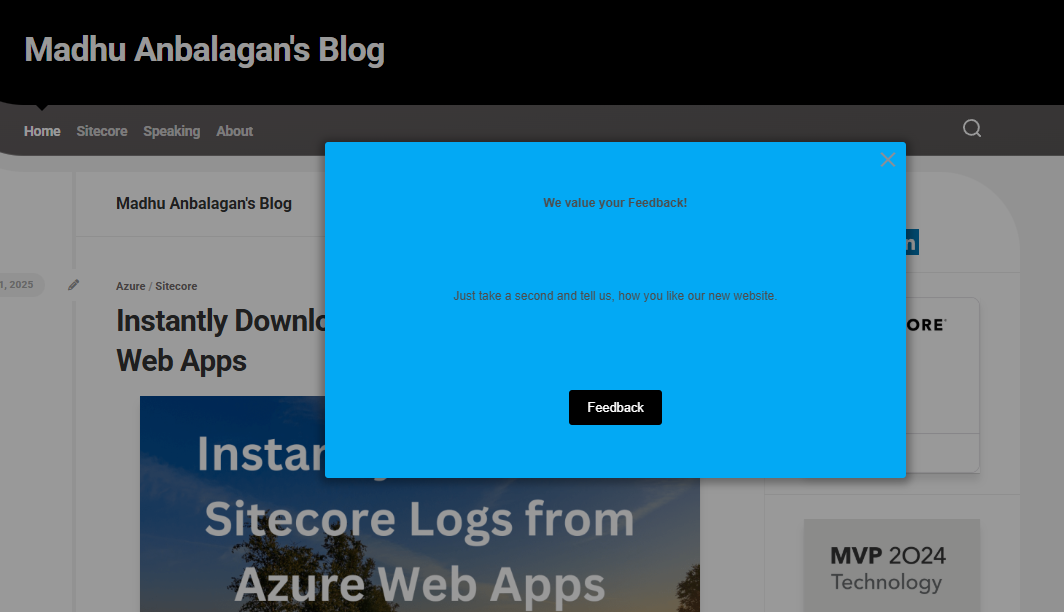
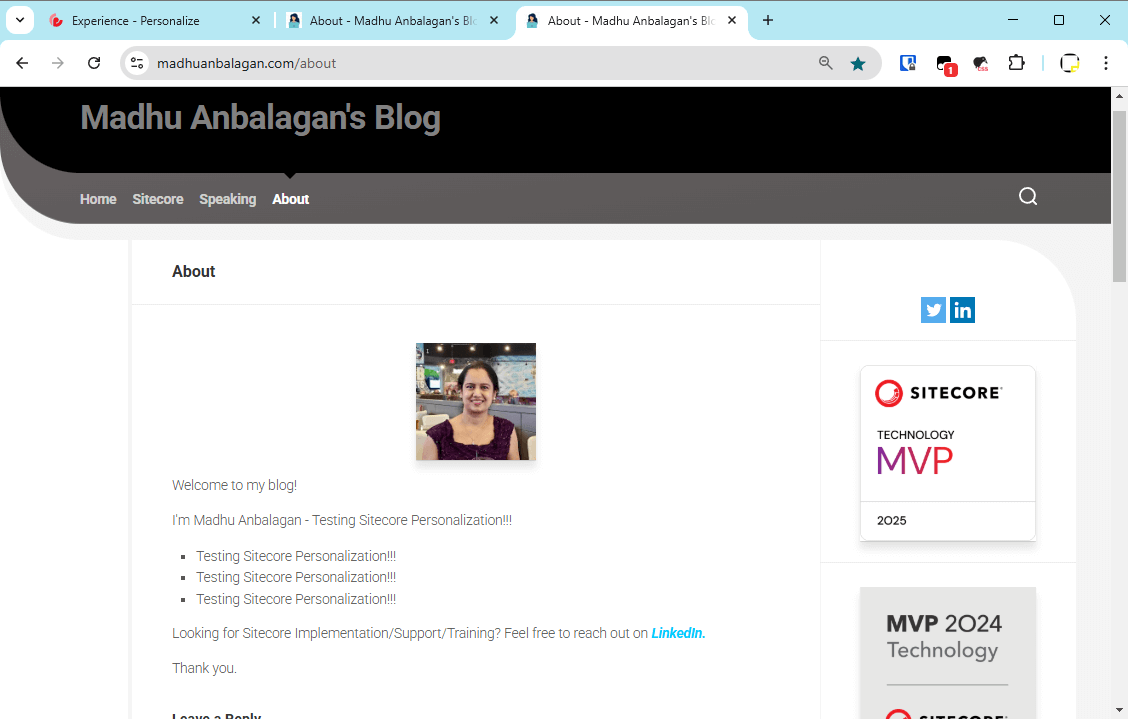
Testing
Let’s reload the page, Yay! Popup showed up!!
Hope this helps.
Happy Sitecoring!


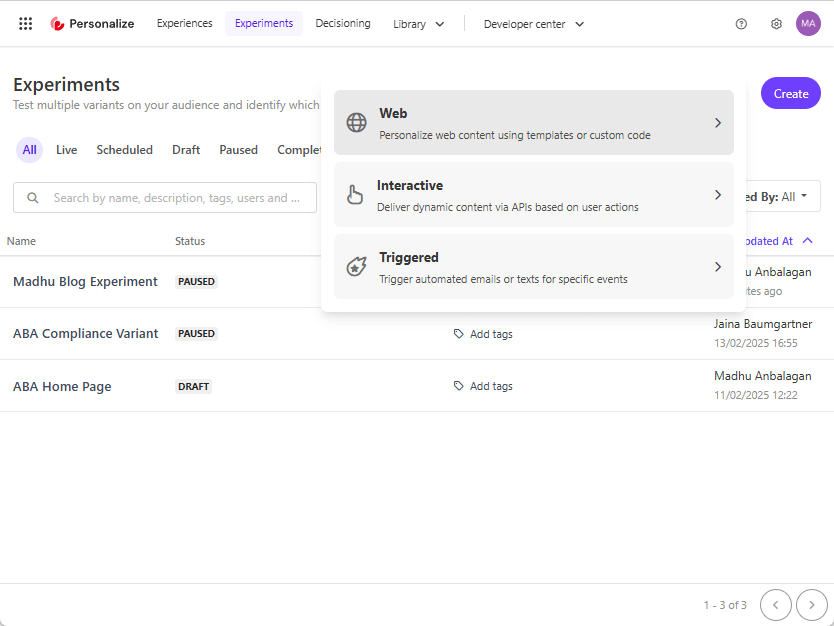 Types of Experiments: