I’ve been delving deeper into Sitecore Personalize and have discovered how to incorporate its custom Web Templates into the website.
Let’s dive into the process of creating custom Web Templates and how to utilize them in Web Experiences.
Create Web Template
Let’s navigate to Web Templates in Sitecore Personalize and create it.
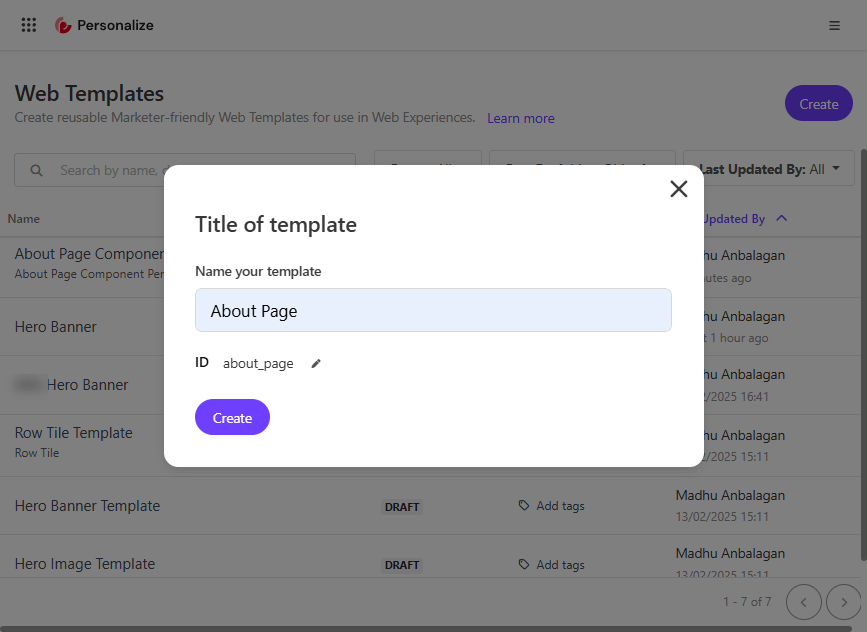
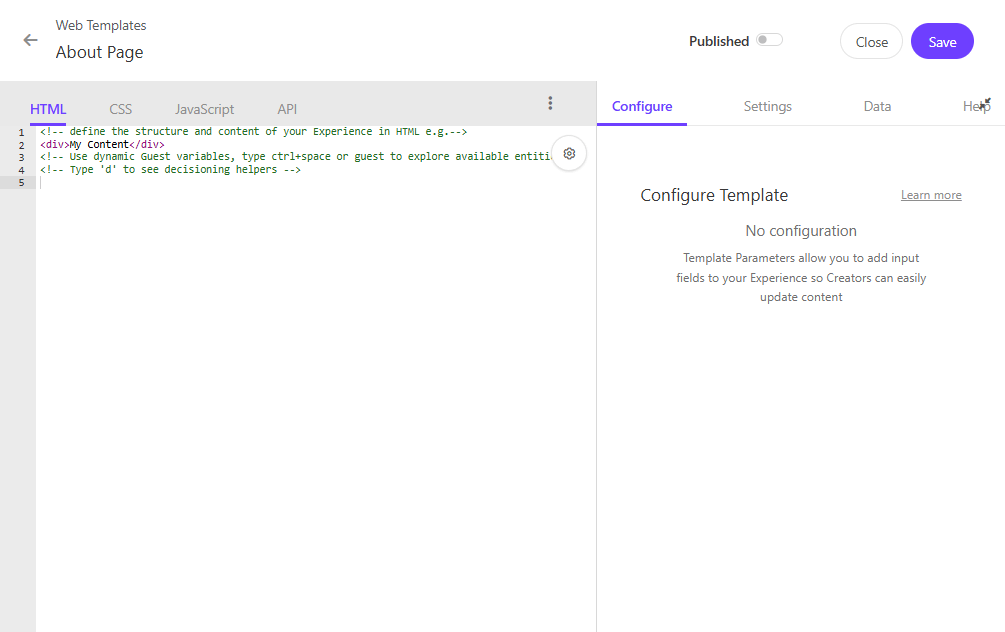
The Web Templates have the high flexibility of HTML, CSS, JavaScript, and API tabs to configure.
-
HTML: Define the structure and content of your web template. This is where you can create the basic layout and elements that will be displayed on your website.
-
CSS: Style your web template to match your brand’s look and feel. You can add custom styles to ensure that the template is visually appealing and consistent with your website’s design.
-
JavaScript: Add interactivity and dynamic behavior to your web template. JavaScript allows you to create engaging user experiences by adding features like animations, form validations, and more.
-
API: Configure API responses to integrate with your organization’s data.
To build the custom web template, let’s say I want to Personalize the About page of my blog.
To create HTML and CSS, we don’t need to dive into the code. A tool called SnipCSS can turn any section of the website into a reusable component.
SnipCSS
SnipCSS is a powerful tool designed to help web developers extract CSS and HTML snippets from any web element or widget. The main key feature is extracting all HTML, images, and CSS with a single click.
Download the Chrome extension – https://chromewebstore.google.com/detail/snipcss/hbdnoadcmapfbngbodpppofgagiclicf
After installing, there is no need for signup unless Pro features are needed.
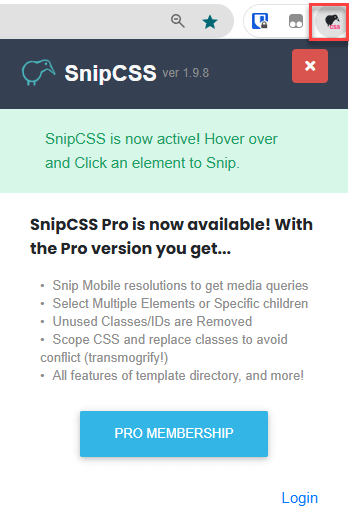
Running the SnipCSS
Let’s hover over the section we want to personalize and run the Snip CSS.
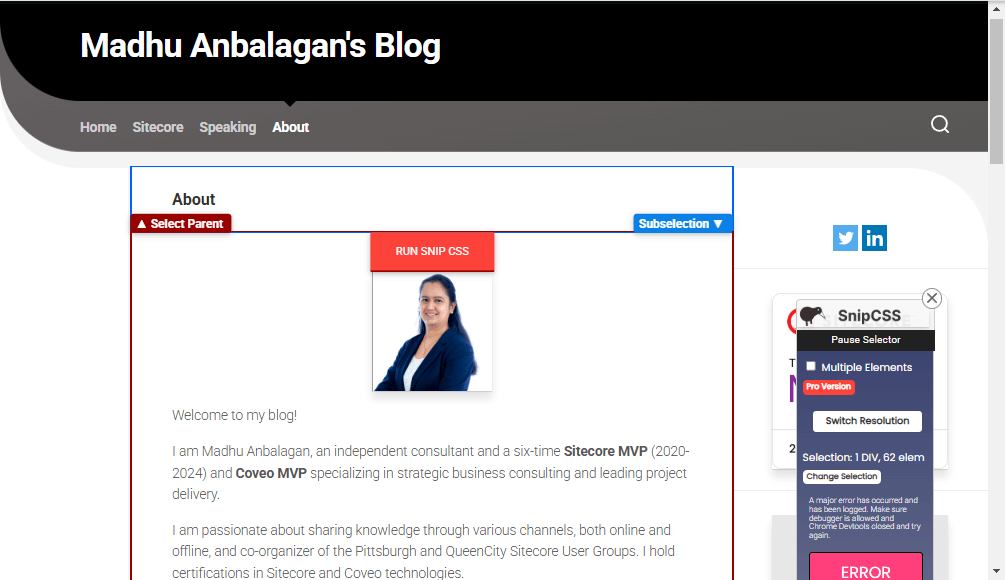
A cute Kiwi will come, analyze the section in a second, and open a new tab with HTML and CSS of the section.
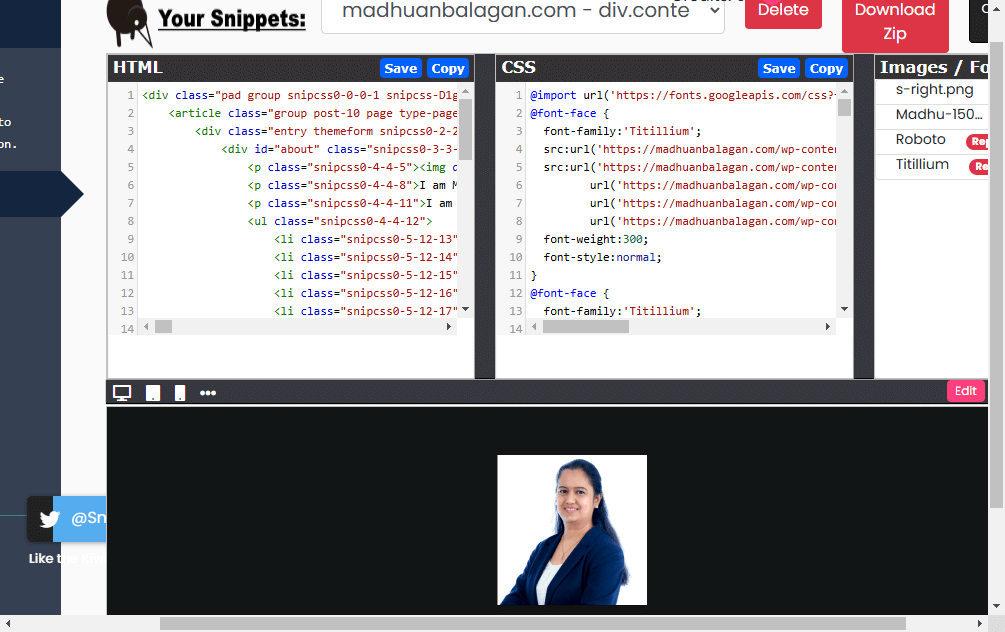
Web Template HTML and CSS
Let’s copy and paste the HTML and CSS into the Web Template that we created.
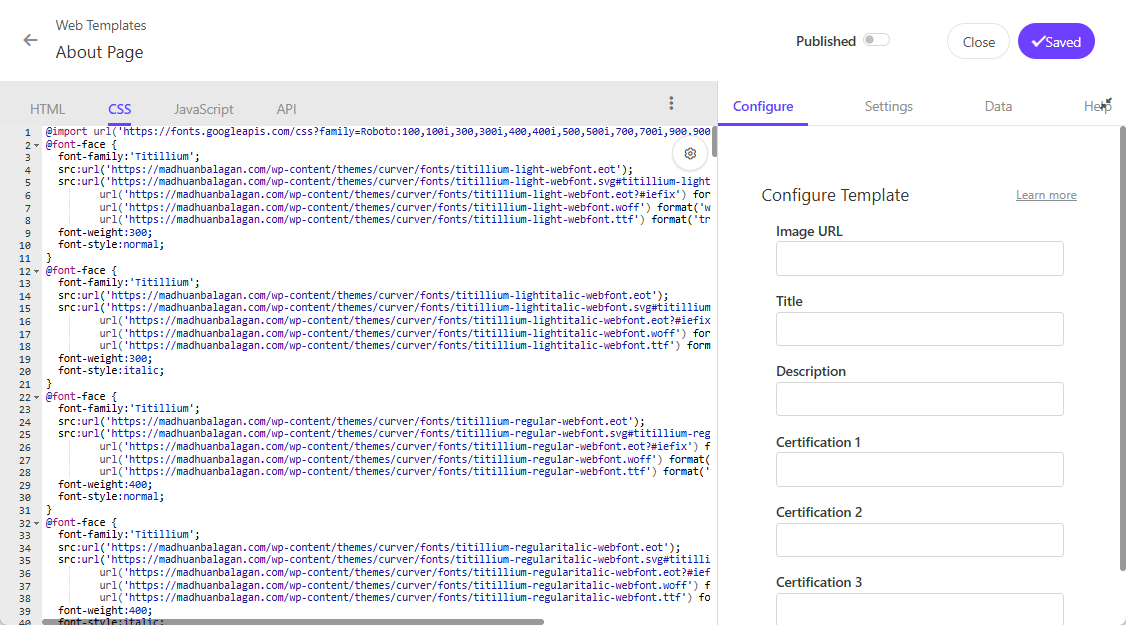
Convert all hard-coded text into parameters to ensure it can be reused throughout the website.
Let’s convert the image source into a dynamic image URL.
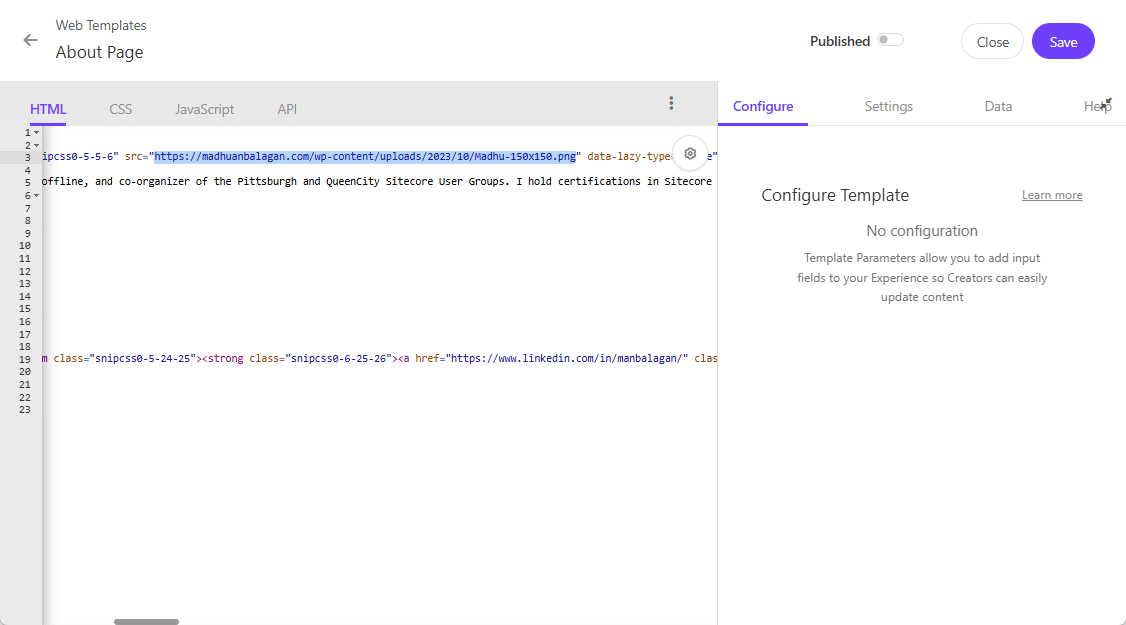
To make it configurable, substitute it with a parameter name and type
[[ Image URL | string ]]
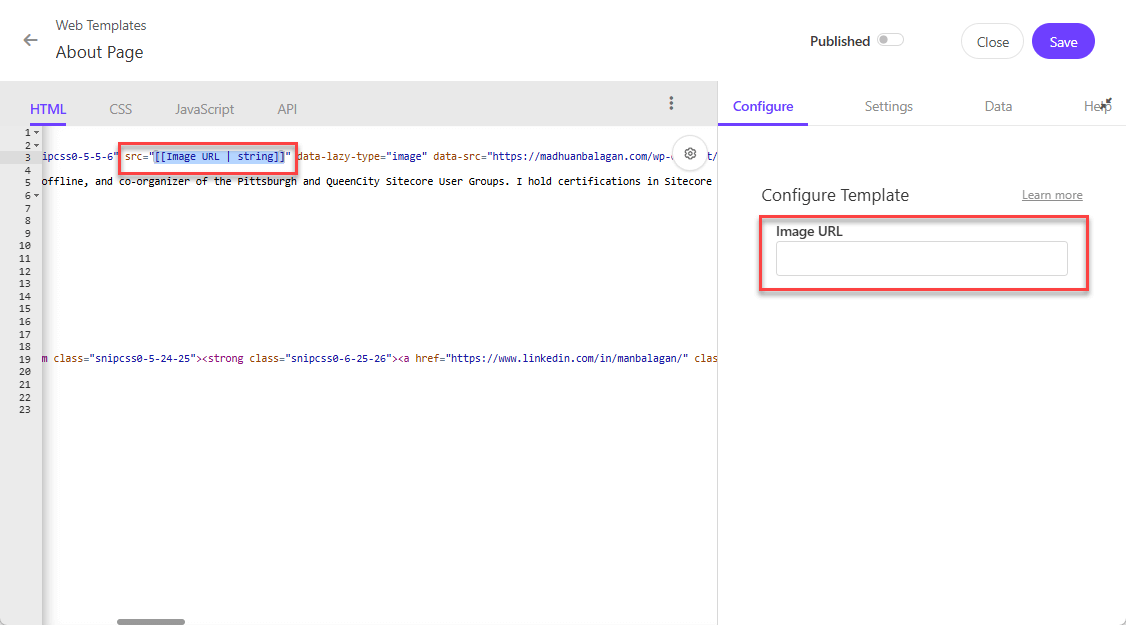
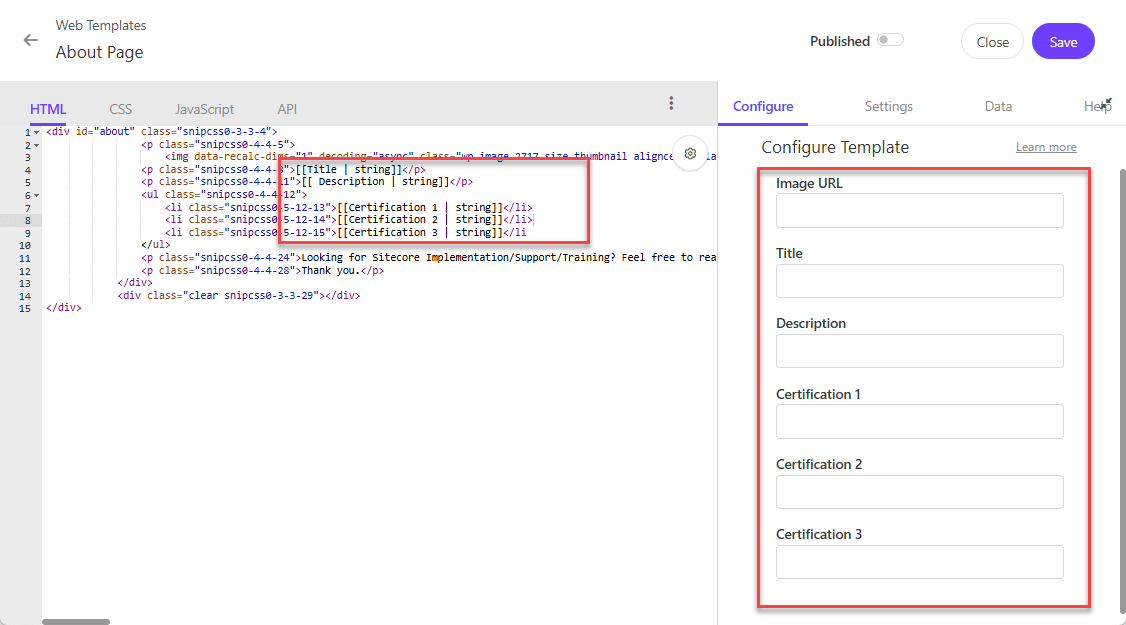
Similarly, I have configured more fields.
[[ Title | string ]]
[[ Description | string ]]
[[ Certification 1 | string ]]
[[ Certification 2 | string ]]
[[ Certification 3 | string ]]
Web Template JavaScript
Now we need to tell whether the section needs to be replaced/added after some ClassName or ID of the page.
Let’s replace the section HTML with the ID of the div.


Settings
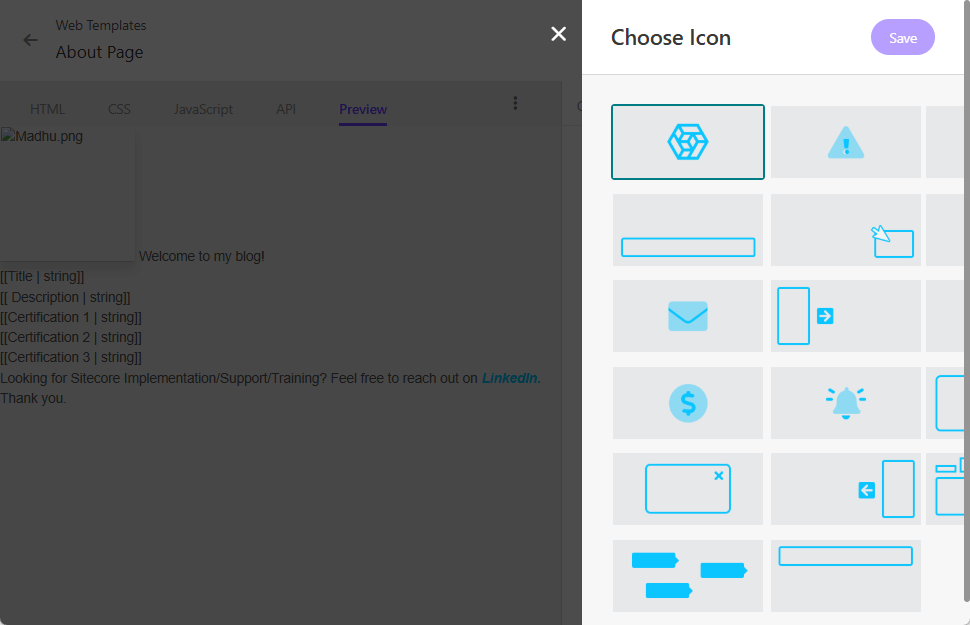
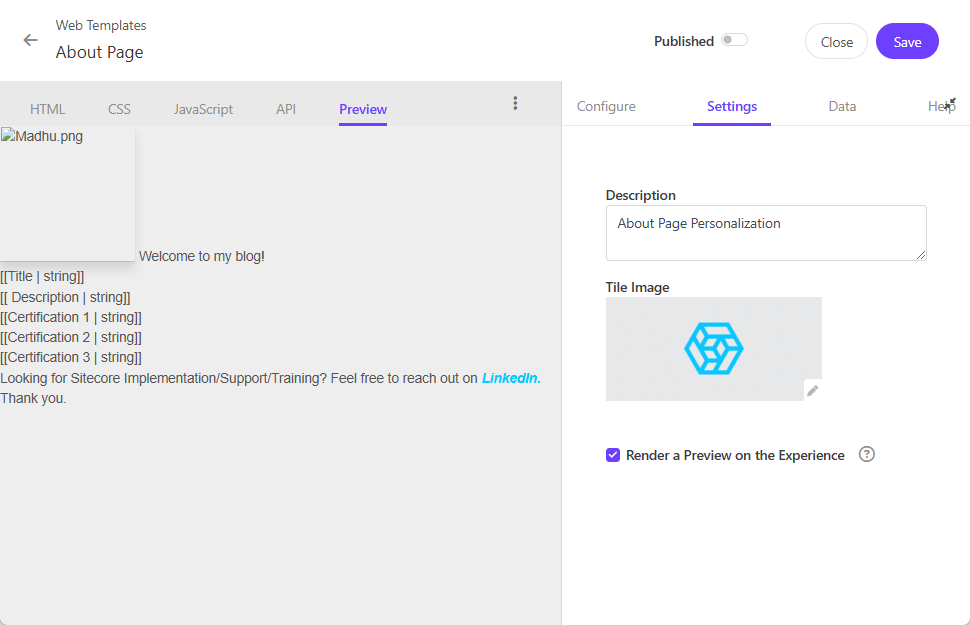
Let’s add a description for the web template and select an icon from the predefined options, as custom uploads are not allowed.
Preview
Select the Render a Preview Experience checkbox and it adds a new tab to the web template for previewing.
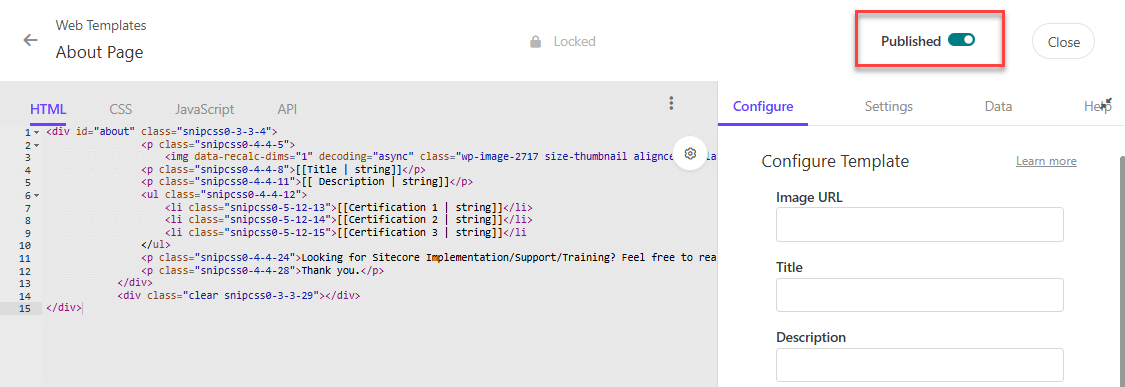
Publish/Draft
Enable the Publish button to activate live mode, which locks the web template.
To revert it to draft mode, disable the Publish button.
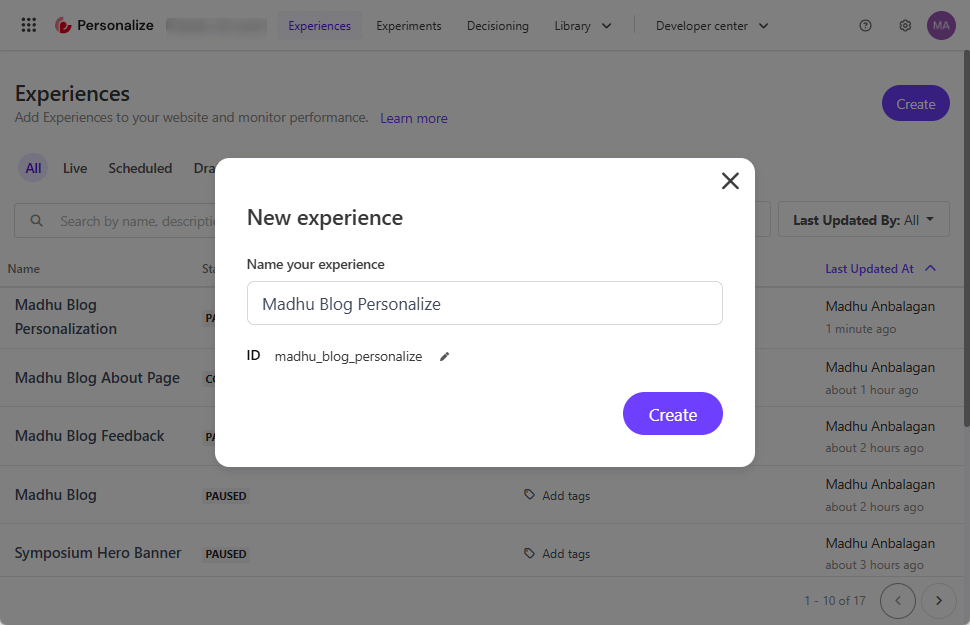
Create Experience
Let’s build an Experience using the Web Template we just created.
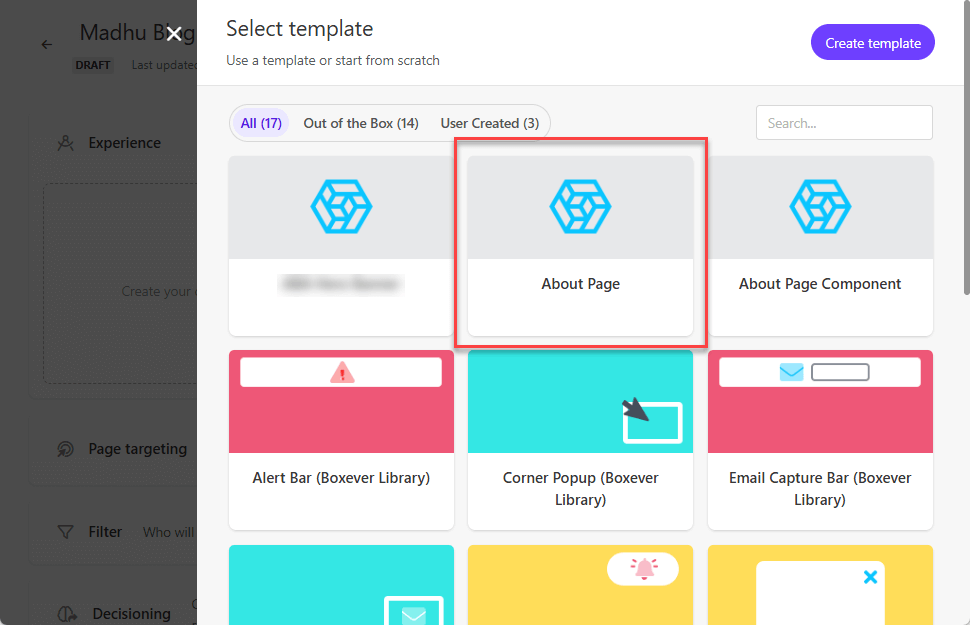
Create a Variant
Now variant lists our custom Web Template, let’s go.
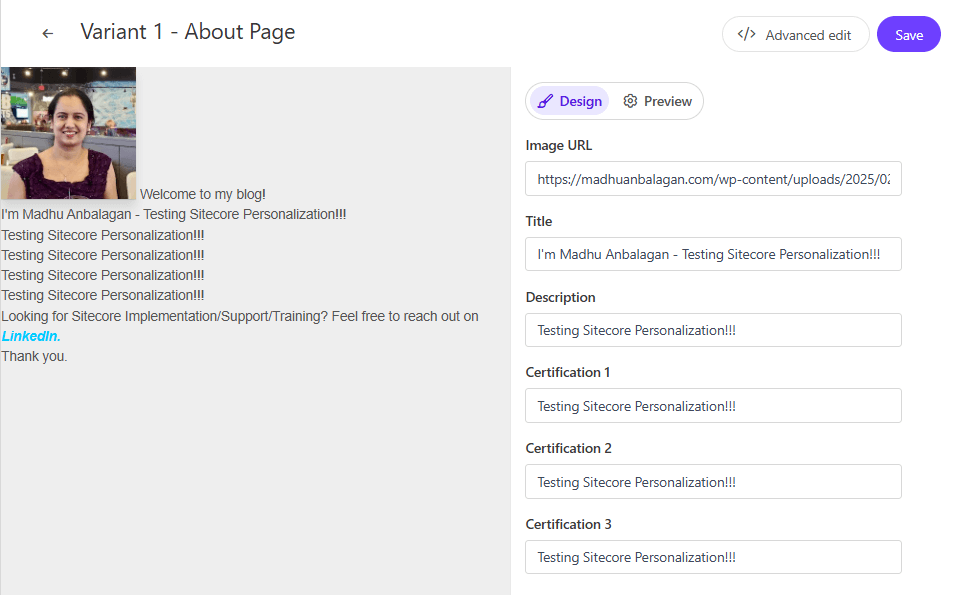
Enter the field values for Image URL, Title, Description, Certification 1, Certification 2, and Certification 3.
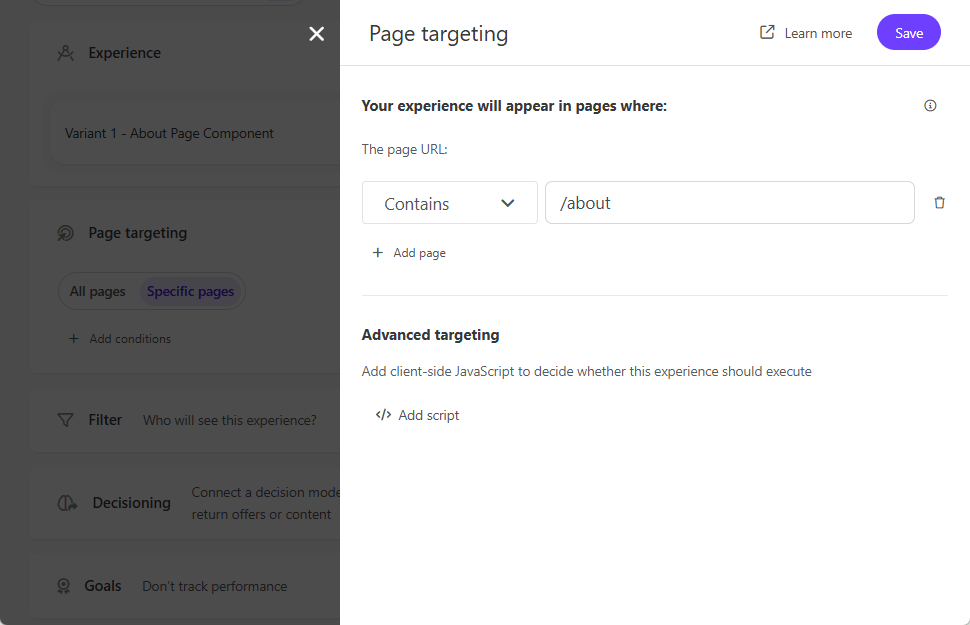
Page Targeting
It is specifically for the About page, let’s add a condition.
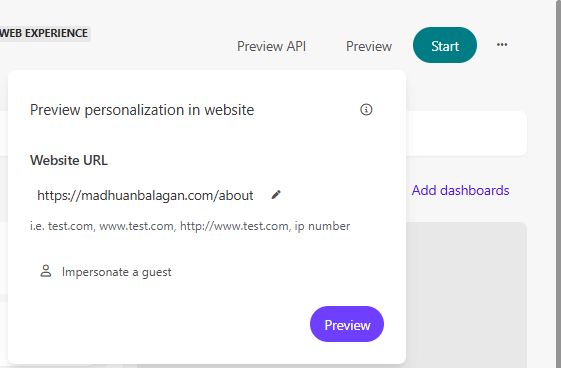
Preview
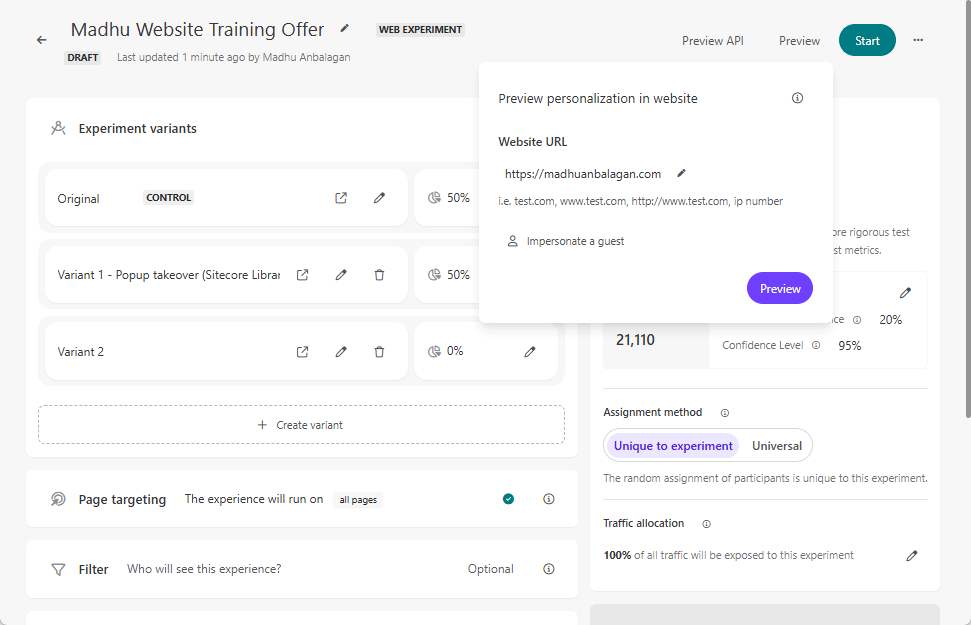
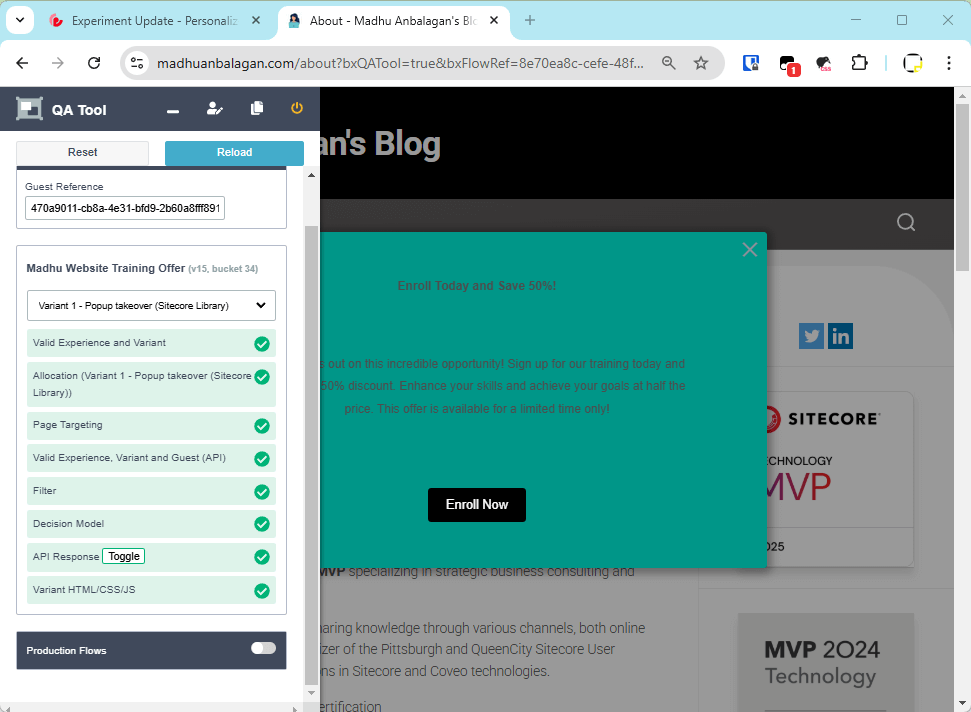
Let’s preview it for the About page URL.
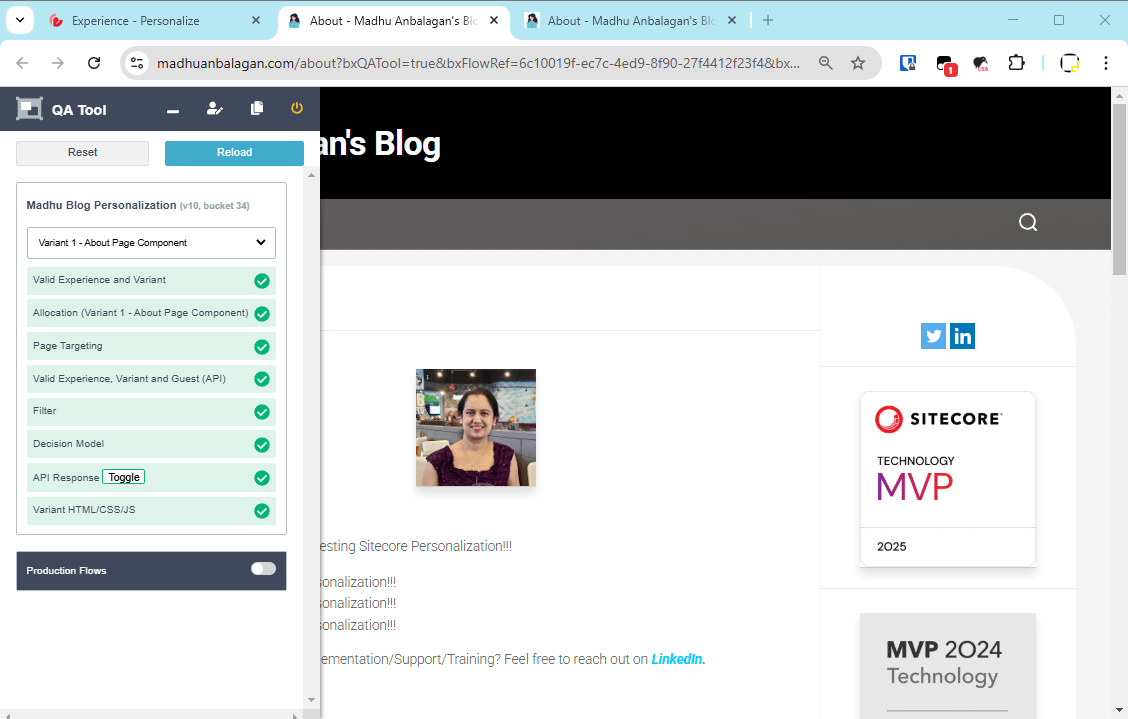
It’s working! Tada!
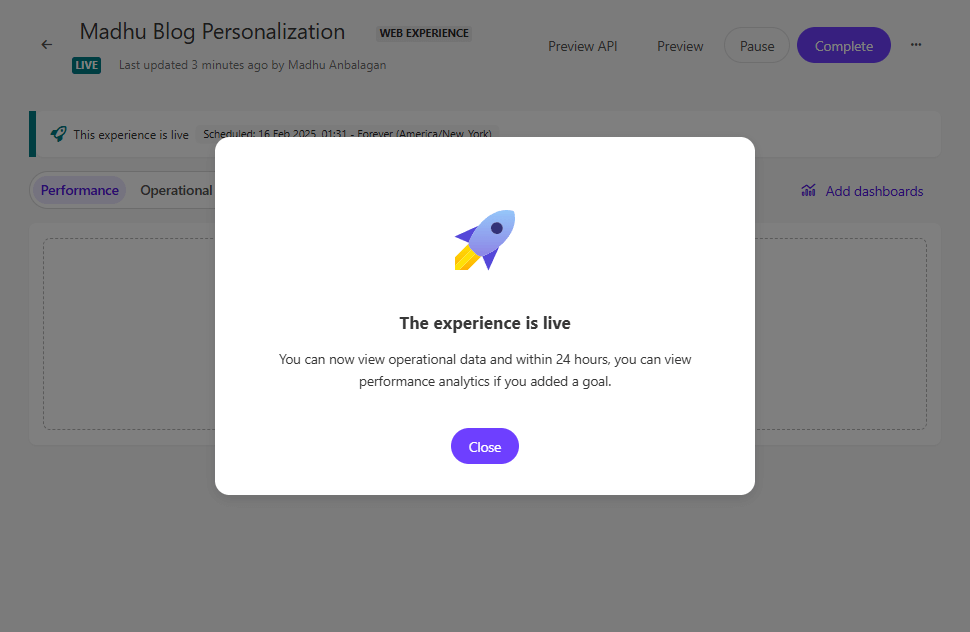
Live mode
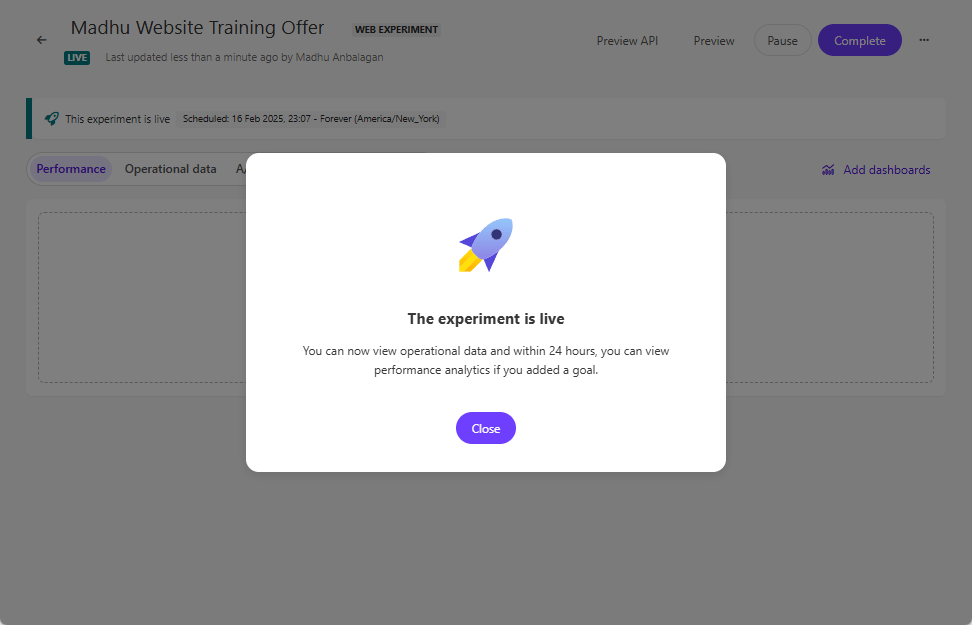
Let’s start the Experience – you can start now or schedule it later time.

After a few seconds, it’s live now – If a notification is added, it will email that it’s published.
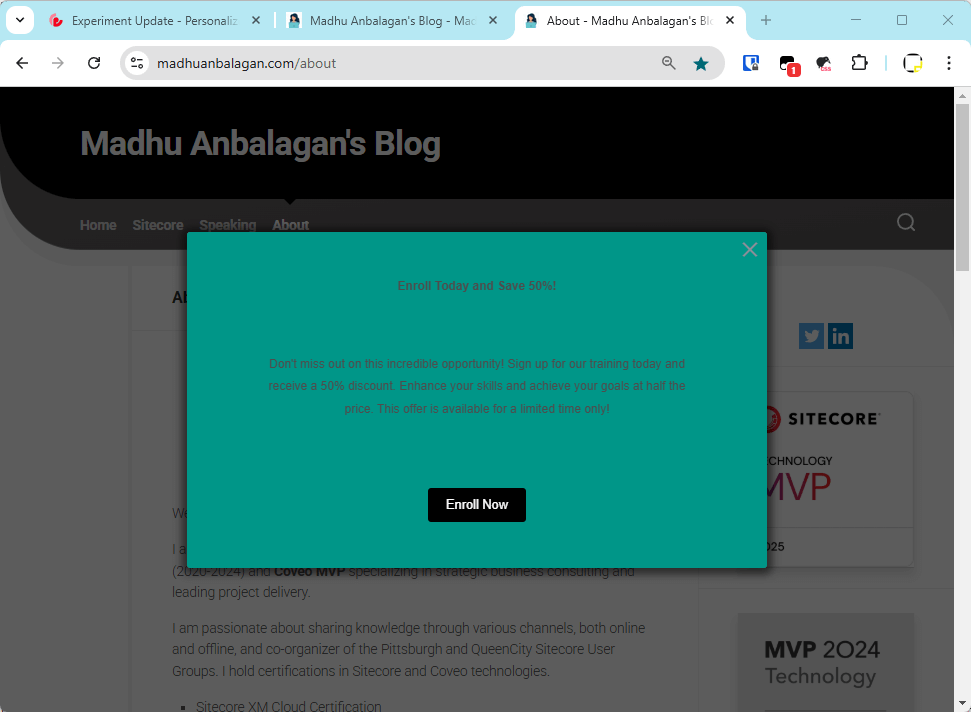
Let’s reload the page. Yahoo!!
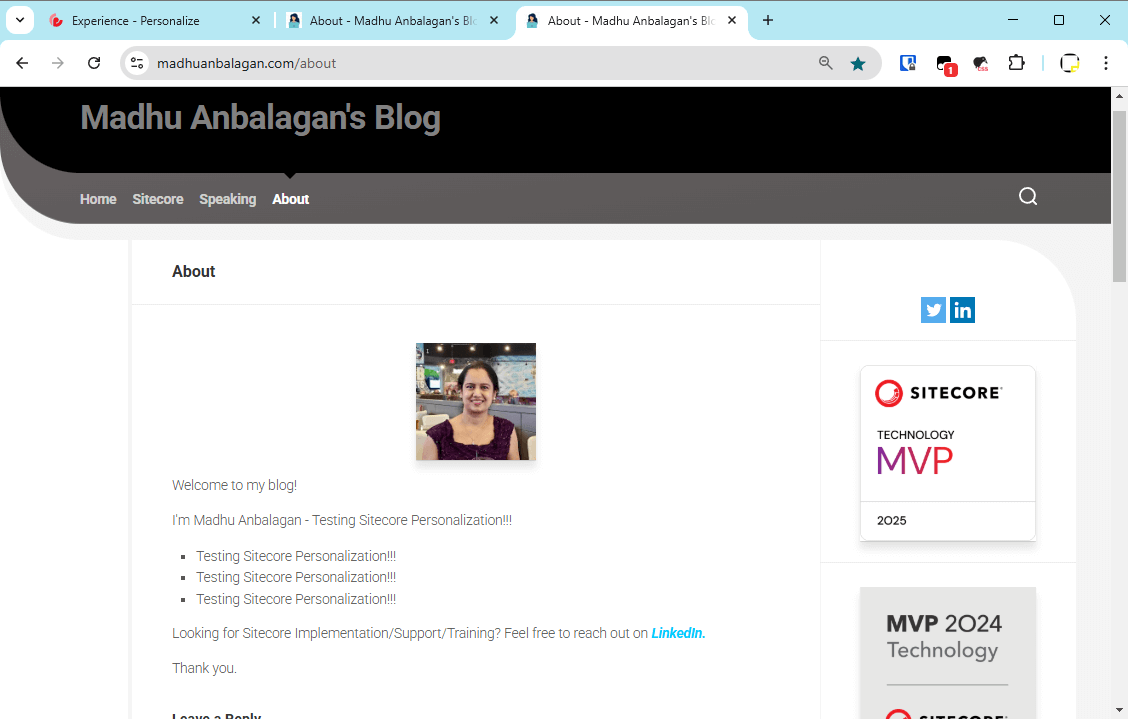
Hope this helps.
Happy Sitecoring!

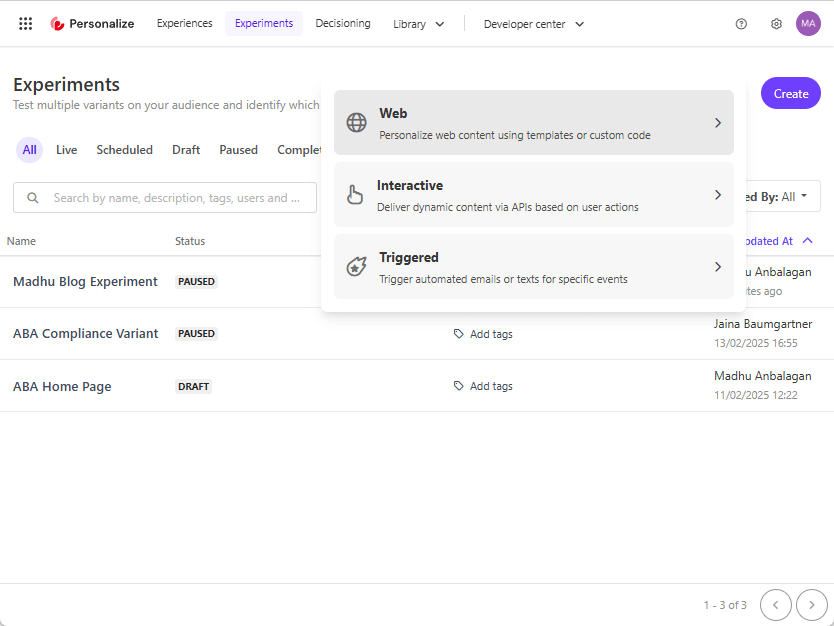 Types of Experiments: