The Sitecore Command Line Interface (CLI) is a developer tool that provides a command-line interface to interact with Sitecore instances for serializing templates, layouts, and renderings.
Let’s explore the installation and Configuration on Sitecore 10.x.
Prerequisites:
- .NET Core needs to be installed
Preparation:
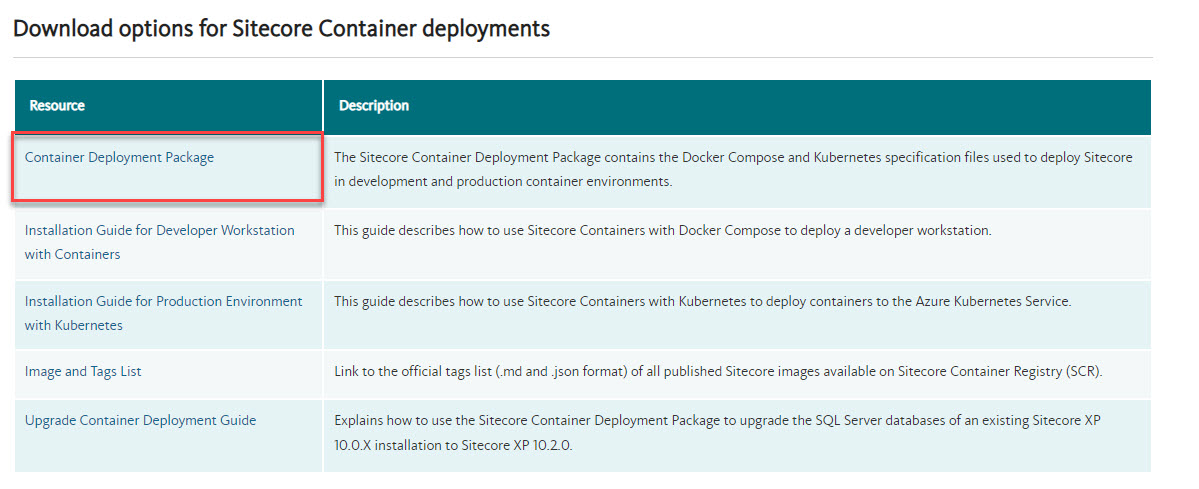
- Download Sitecore Management Services
- I picked the latest version Sitecore CLI 4.1.0 (compatible with Sitecore 10.1 and 10.2)

Installation:
- Login to Sitecore 10.2 CM instance, navigate to Control Panel, and Install a package.

- Accept the Terms and Conditions

- Installation was throwing the below error – Access to the path is denied

After researching, came to know the IIS permission is missing for the CM instance.
Once the instance is up and running, run the below command in PowerShell to get into the C:\inetpub\wwwroot folder of the instance.
Run the below command to resolve the issue. It takes some time, and you can get a coffee!
icacls.exe 'C:\inetpub\wwwroot' /grant 'IIS_IUSRS:(F)' /t


Now that the permissions are all set, I installed the package and it’s succeeded!

Let’s install the Sitecore CLI –
- Run the below commands in the Sitecore project CD folder.
dotnet new tool-manifestdotnet nuget add source -n Sitecore https://sitecore.myget.org/F/sc-packages/api/v3/index.jsondotnet tool install Sitecore.CLI

- To initialize a new project, run the below command.
dotnet sitecore init
Note: Starting from 4.1.0, the sitecore init command takes care of installing default plugins (Sitecore.DevEx.Extensibility.Serialization, Sitecore.DevEx.Extensibility.Publishing, Sitecore.DevEx.Extensibility.Indexing, and Sitecore.DevEx.Extensibility.ResourcePackage).
Skip the below step if you are installing Sitecore CLI 4.1.0 or above.
- Install the plugins.
dotnet sitecore plugin add -n Sitecore.DevEx.Extensibility.Serializationdotnet sitecore plugin add -n Sitecore.DevEx.Extensibility.Publishing

To see what plugins are installed, run the below command.
dotnet sitecore plugin list

Let’s log in –
Run this command in Powershell.
dotnet sitecore login --authority https://<Sitecore identity server> --cm http://<Sitecore instance> --allow-write true

It will open a Sitecore identity server URL in a browser to authenticate.


It’s successfully logged in, explore (push, pull, and publish to database) Sitecore CLI.
sitecore login: Authenticate with the Sitecore instance.sitecore ser pull: Pull serialized items from the Sitecore instance.sitecore ser push: Push serialized items to the Sitecore instance.sitecore publish: Publish content changes.
Happy Sitecoring!


