
I have been exploring Optimizely and installed CMS 12 on my local machine pretty quickly using the NuGet package manager.
Assuming all prerequisites are installed on the local machine. Check out to make sure everything is installed.
Let’s get started.
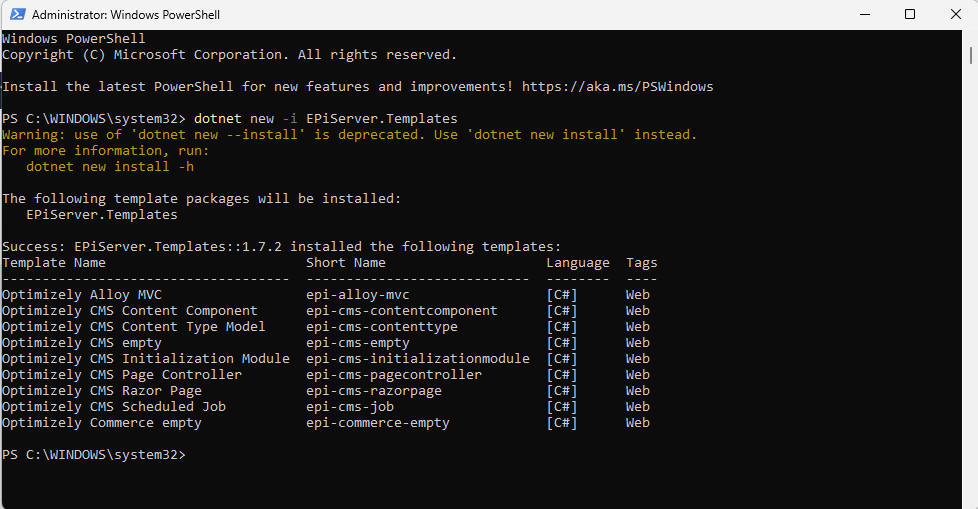
- Add EpiServer Templates in PowerShell
dotnet new -i EPiServer.Templates
- Let’s install Optimizely CLI Tool globally
dotnet tool install EPiServer.Net.Cli –global –add-source https://nuget.optimizely.com/feed/packages.svc/

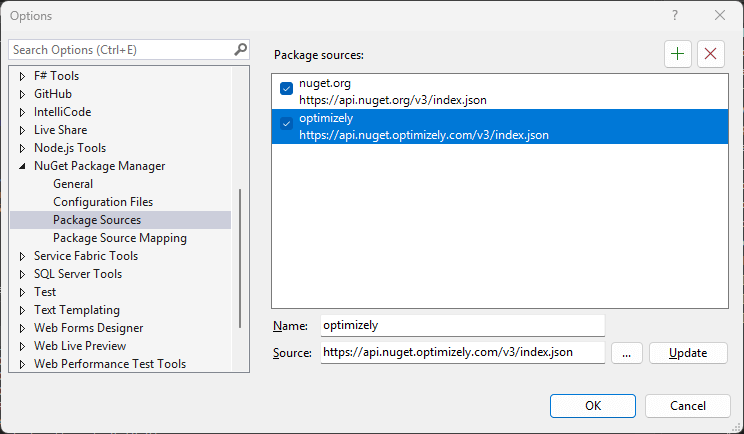
- In Visual Studio, let’s verify that the Optimizely NuGet source is added via the NuGet Package Manager Solution.
https://api.nuget.optimizely.com/v3/index.json
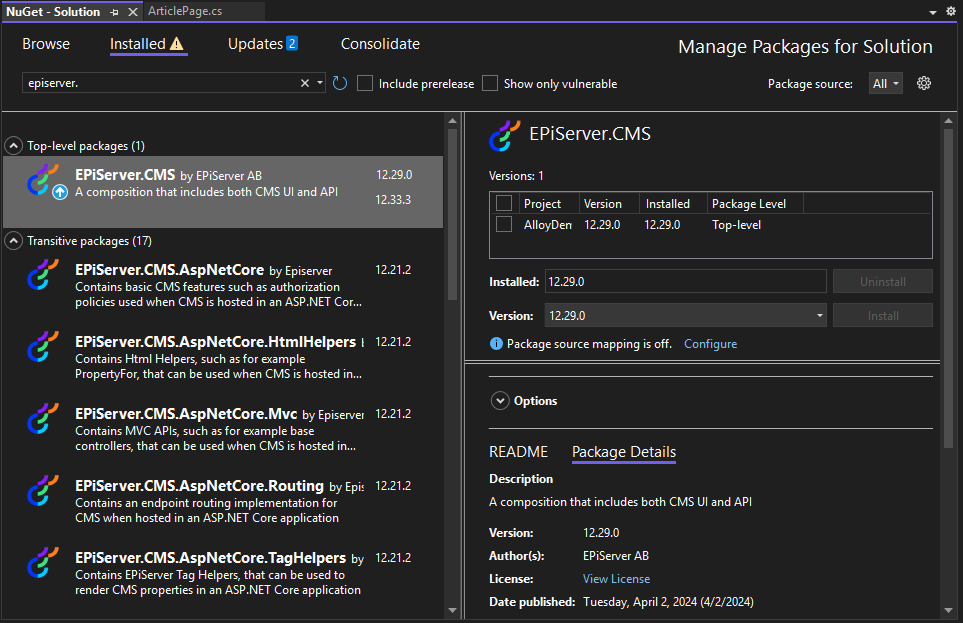
- Let’s also verify the EpiServer.CMS NuGet package is installed.
- Now, let’s create a new project in Visual Studio, which will give three Optimizely base projects to choose from
- Optimizely Alloy MVC
- Optimizely CMS empty
- Optimizely Commerce empty
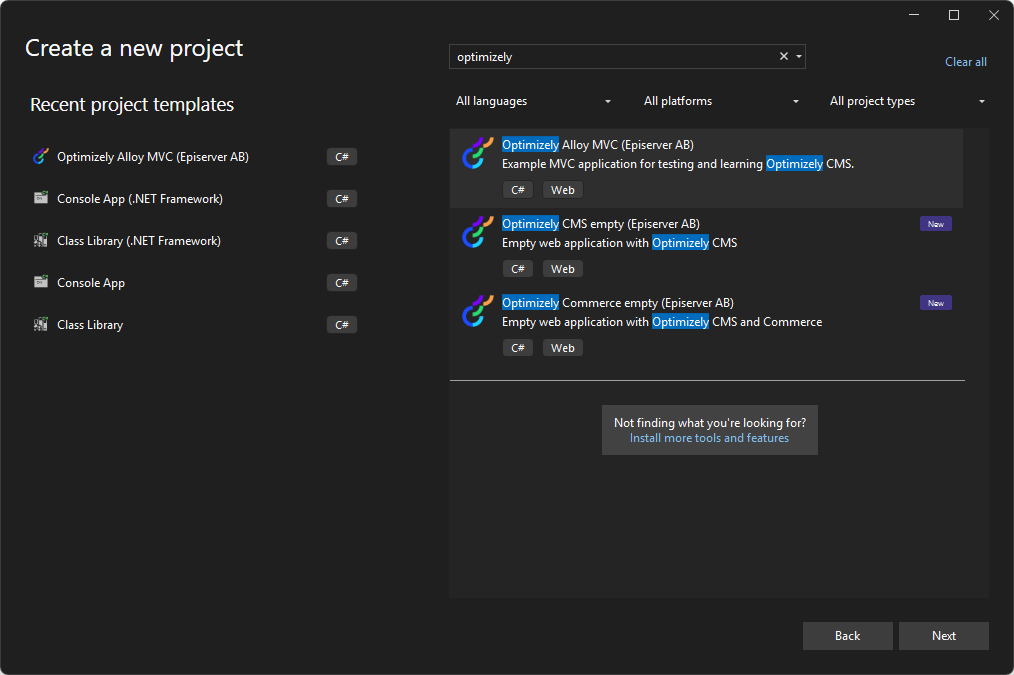
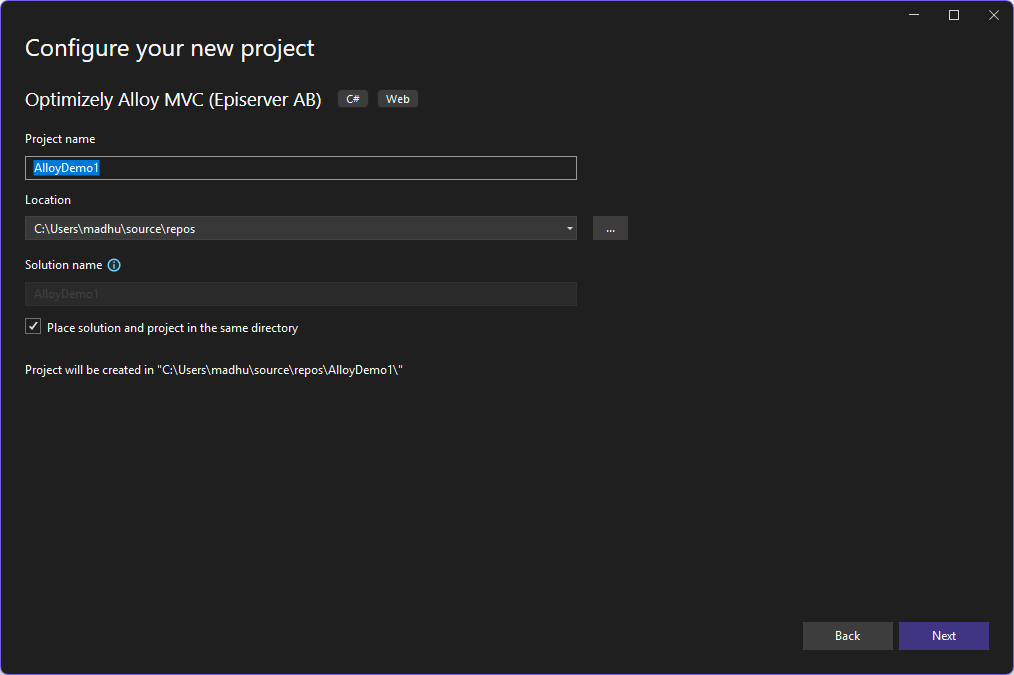
- I chose Optimizely Alloy MVC, which is a starter kit for new developers to explore.
- Named it – AlloyDemo1 project.
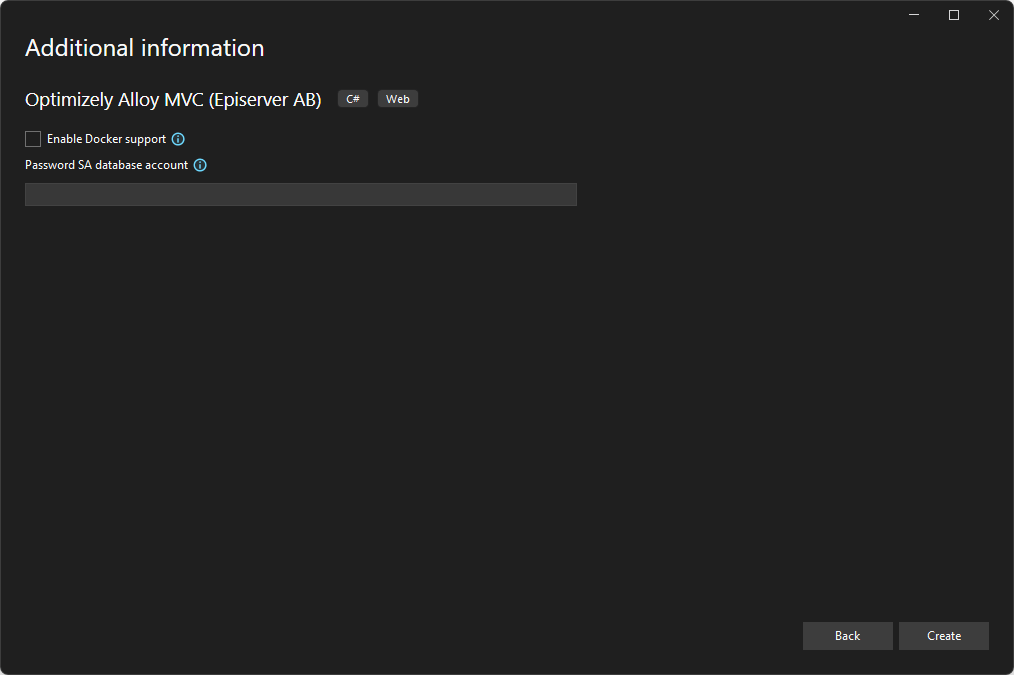
- Provide the SQL admin SA account password since it creates the databases as part of the project in MDF and LDF files.
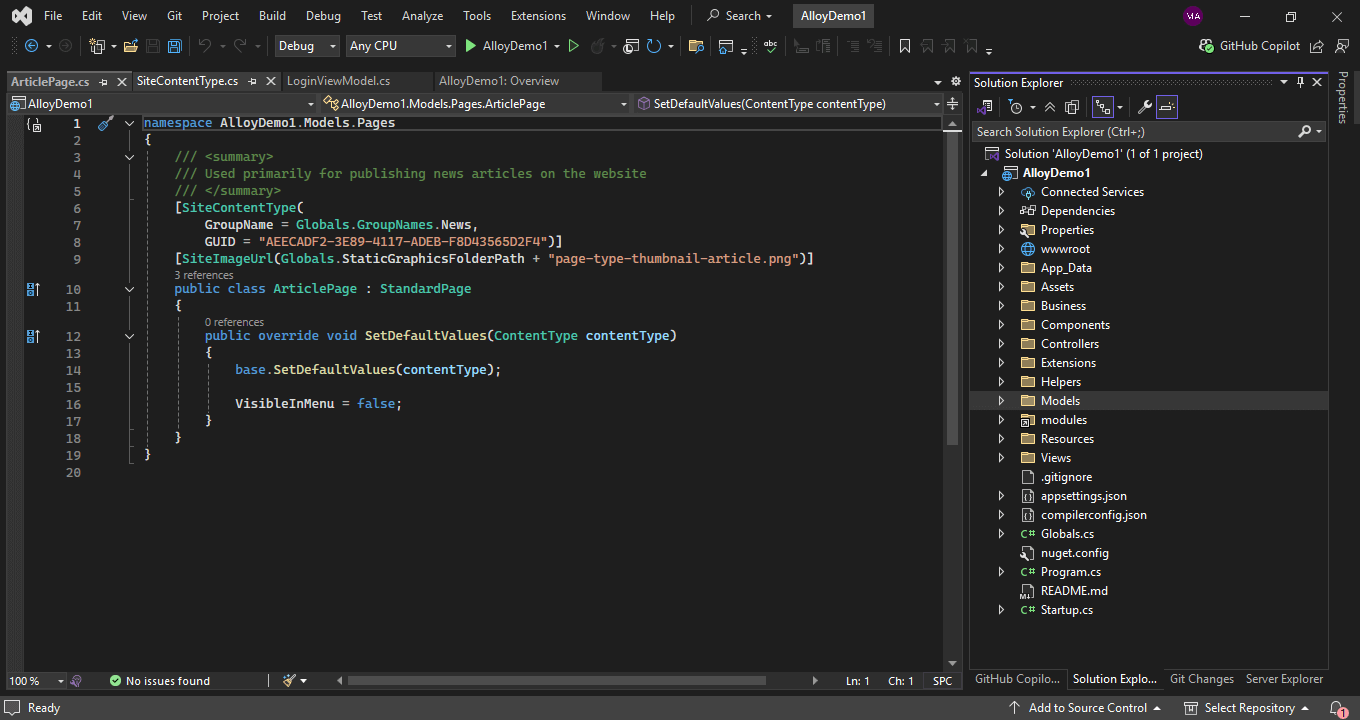
- The new Optimizely solution is ready to explore!
- To run the localhost, we just need to start the IISExpress AlloyDemo1 project, which runs cmd prompt to initialize commands.
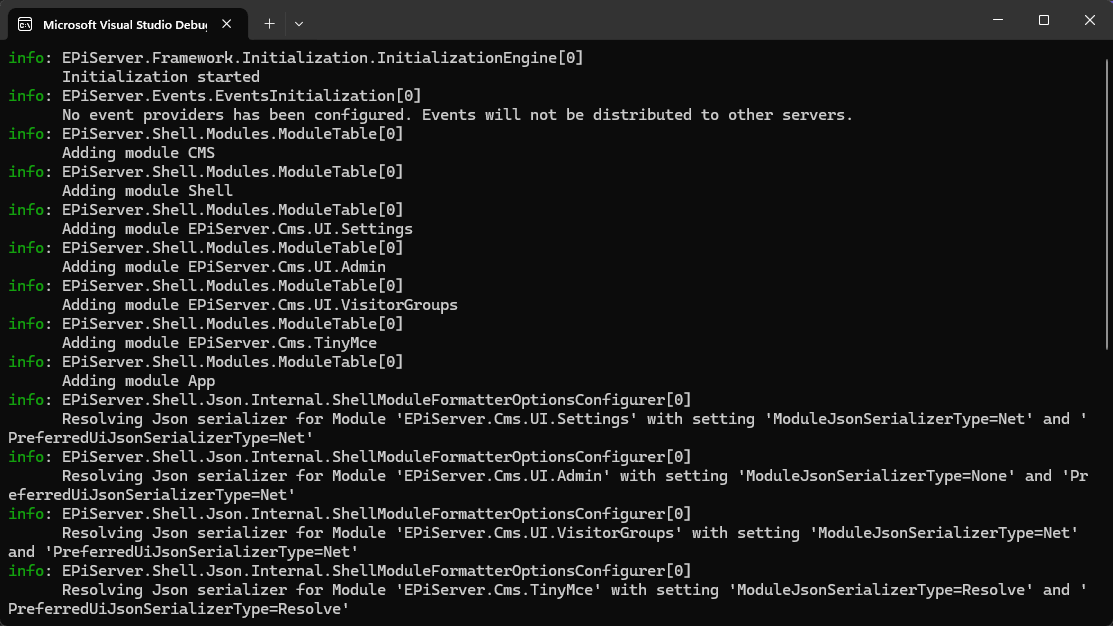
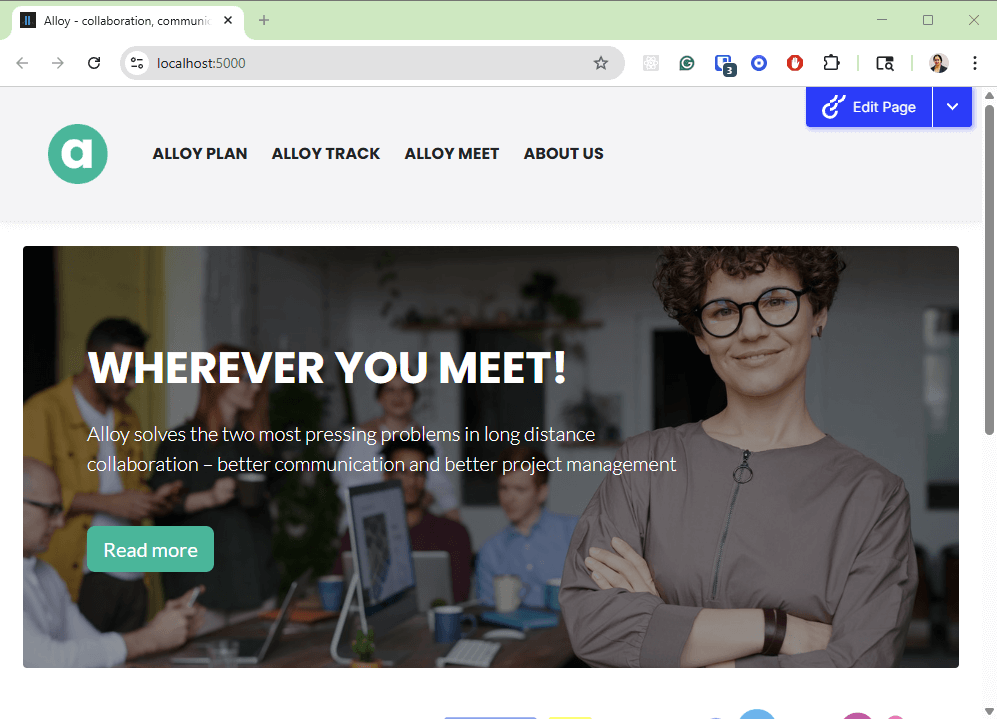
- After a few seconds, we will see https://localhost:5000 opened in a new browser.
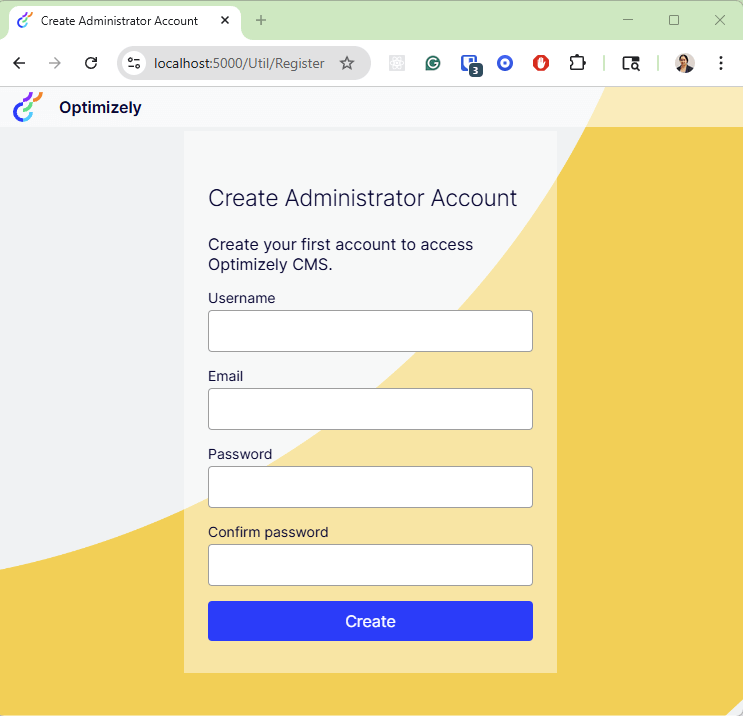
- Register the admin account with credentials and explore the new local instance of Optimizely.
NOTE: There is no license required for running on localhost or domainname.local. Yay!
If you prefer watching a video, my quick recording –
Happy Optimizing!


