The latest version Sitecore 10.3, is packed with new features and enhancements that make it easier than ever to manage your digital content and deliver personalized experiences to your customers.
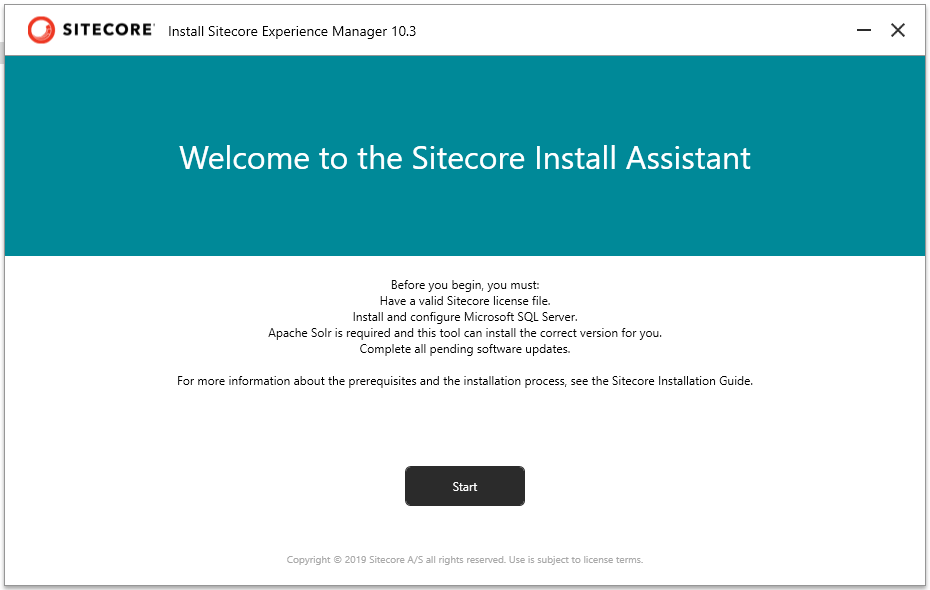
If you’re looking to install Sitecore 10.3 XM, one of the easiest ways to do it is by using the Sitecore Install Assistant (SIA). In this blog post, let’s walk through the steps to install Sitecore 10.3
Prerequisites:
- A Windows machine with a minimum of 16GB of RAM
- Microsoft SQL Server 2017 or later
- IIS 10 or later
- .NET Framework 4.8 or later
- Microsoft PowerShell 5.1 or later
Preparation:
- Download the installation package (Graphical setup package XM scaled) from here.

Installation:
- Extract the downloaded zip file

- Right-click on the Setup.exe and execute in Administrator mode
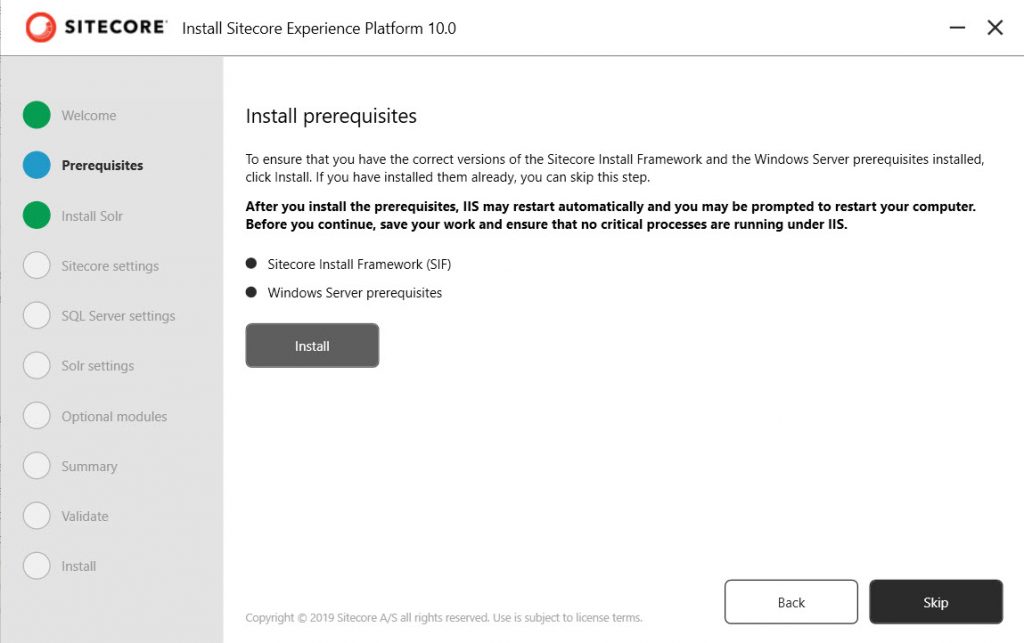
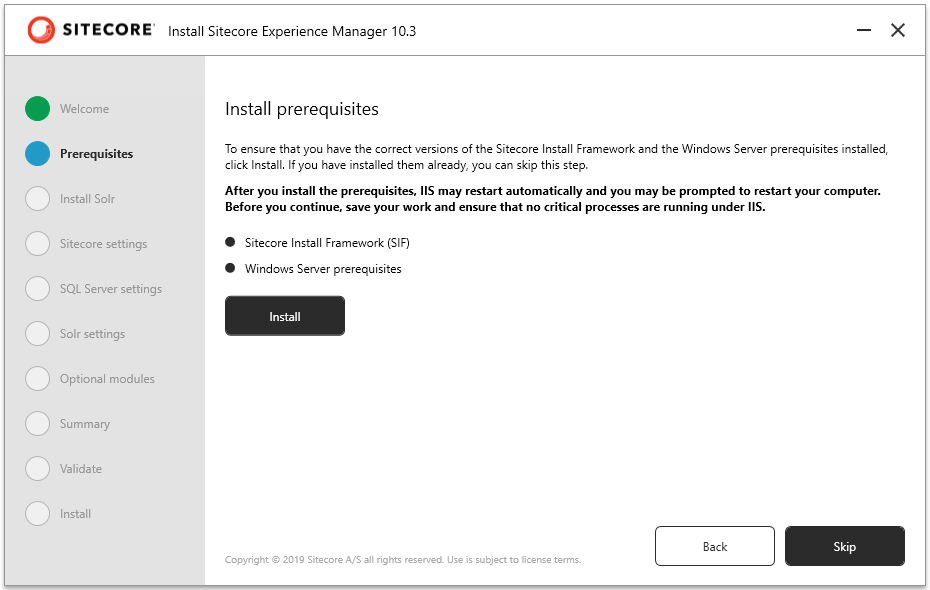
- Install the prerequisites
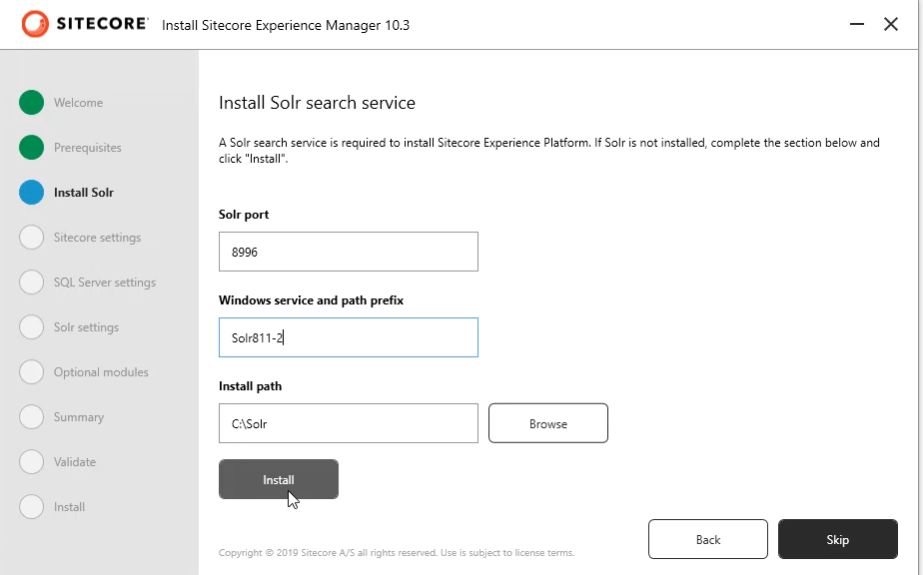
- Install Solr 8.11.2 by entering the Port, Windows service path prefix, and Install path
Note: Make sure the port number differs from earlier Solr-installed versions. Check out my blog to discover which processes are using which ports – https://madhuanbalagan.com/sitecore-10-sif-installation-roadblocks
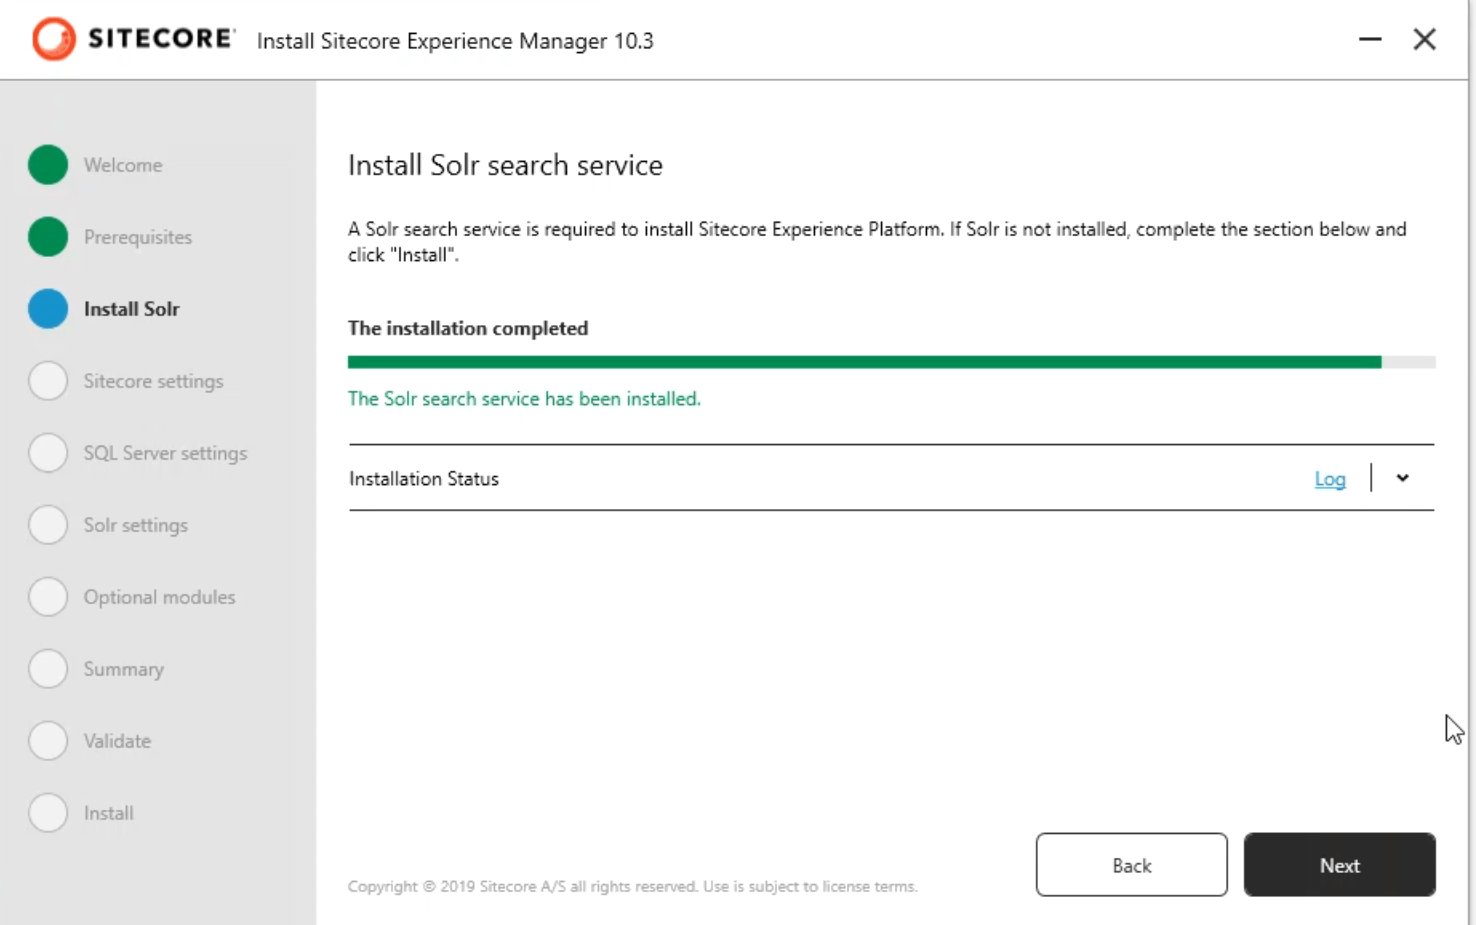
- Solr installation is successful!
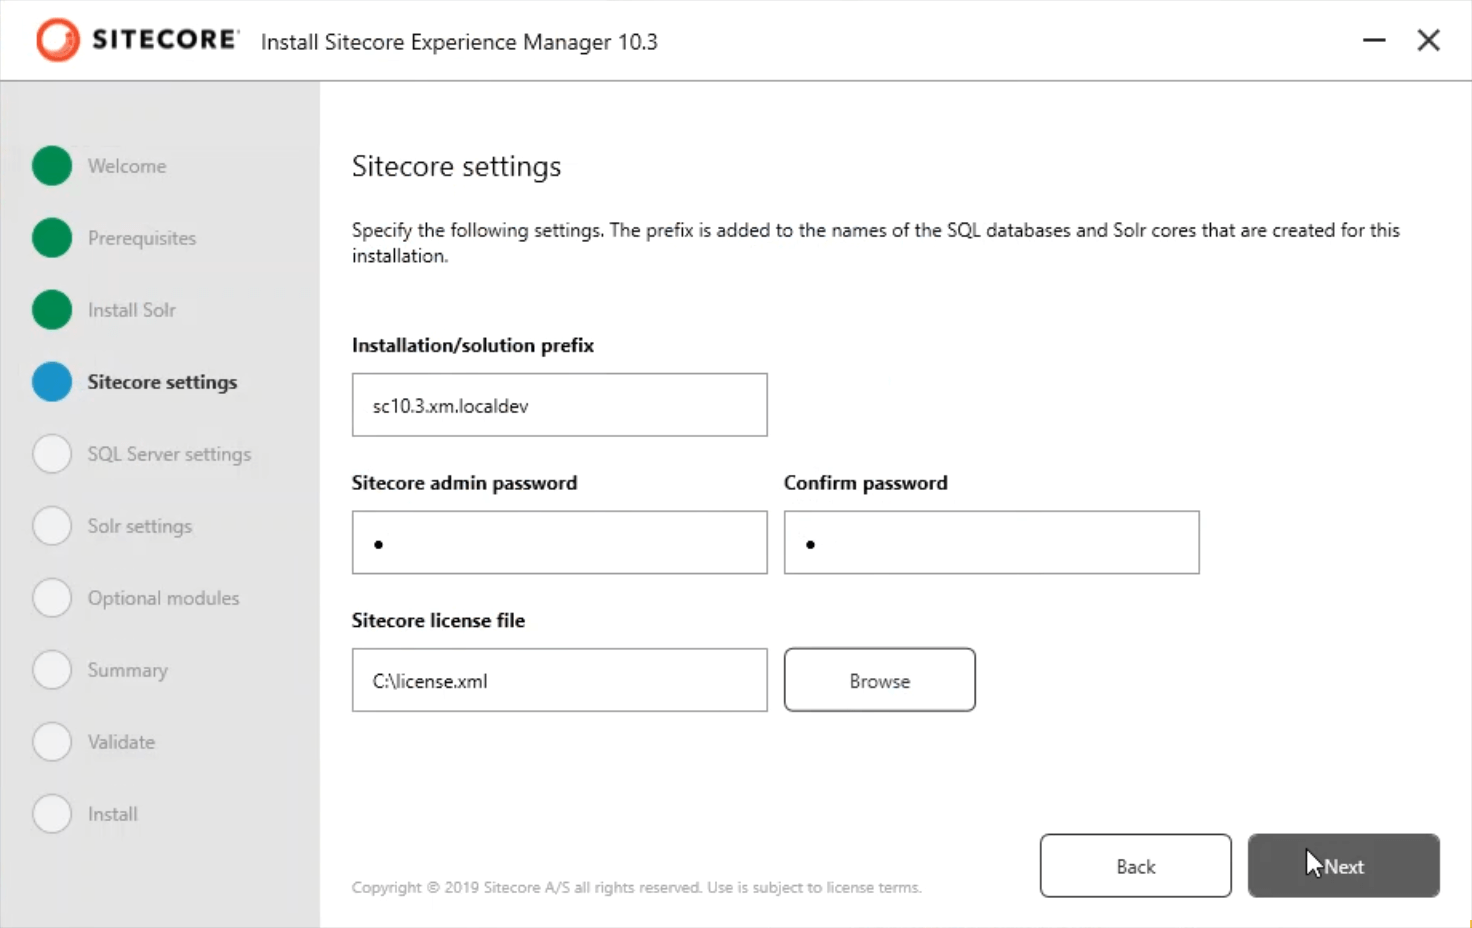
- Fill out the Site prefix, admin password(going with b, so easy to remember), and choose the Sitecore license file
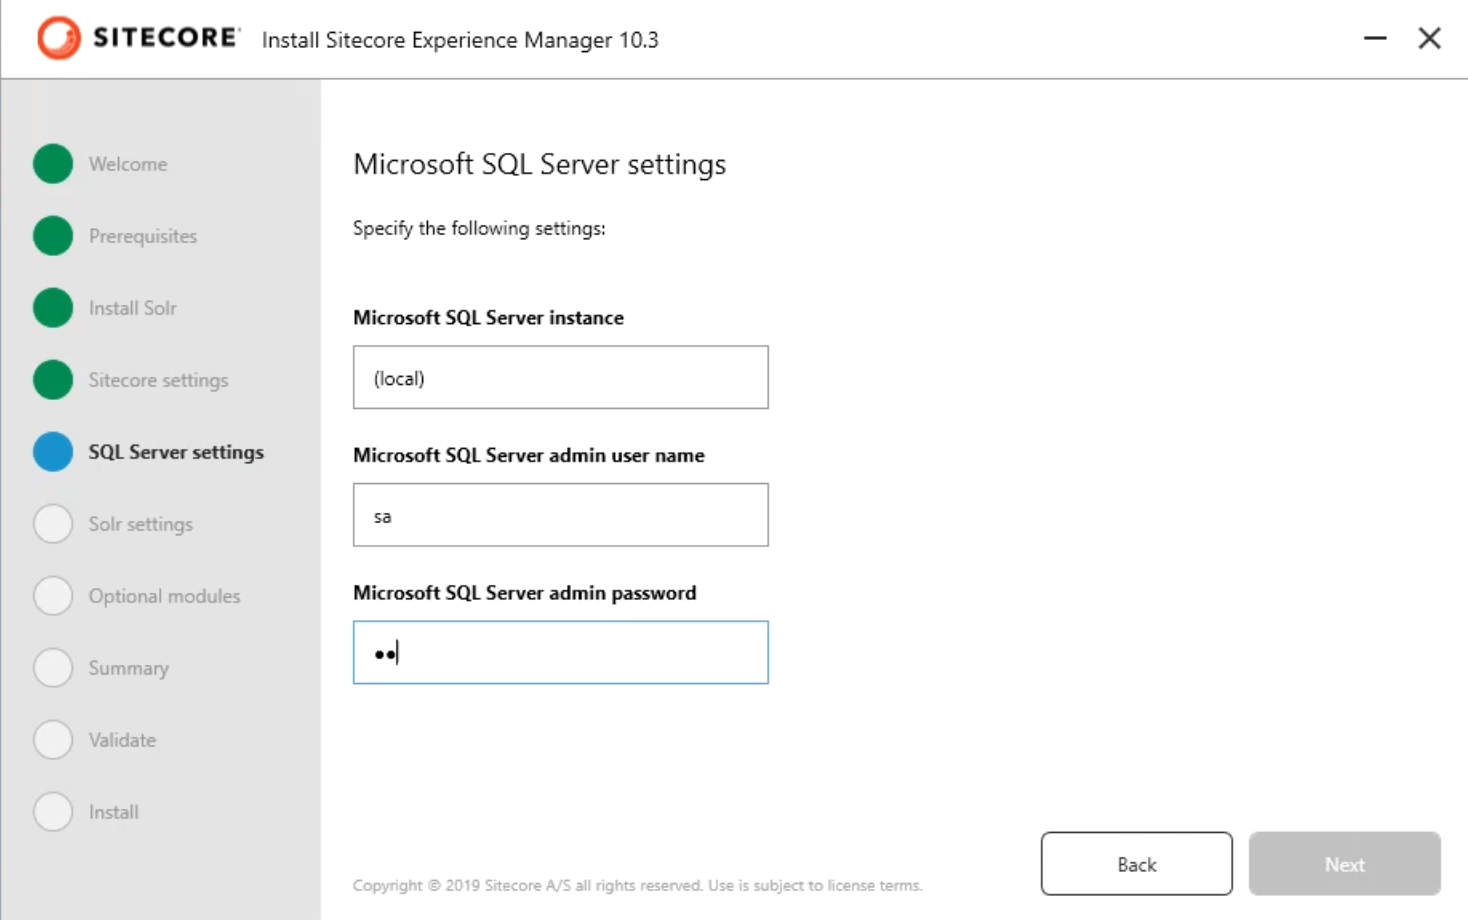
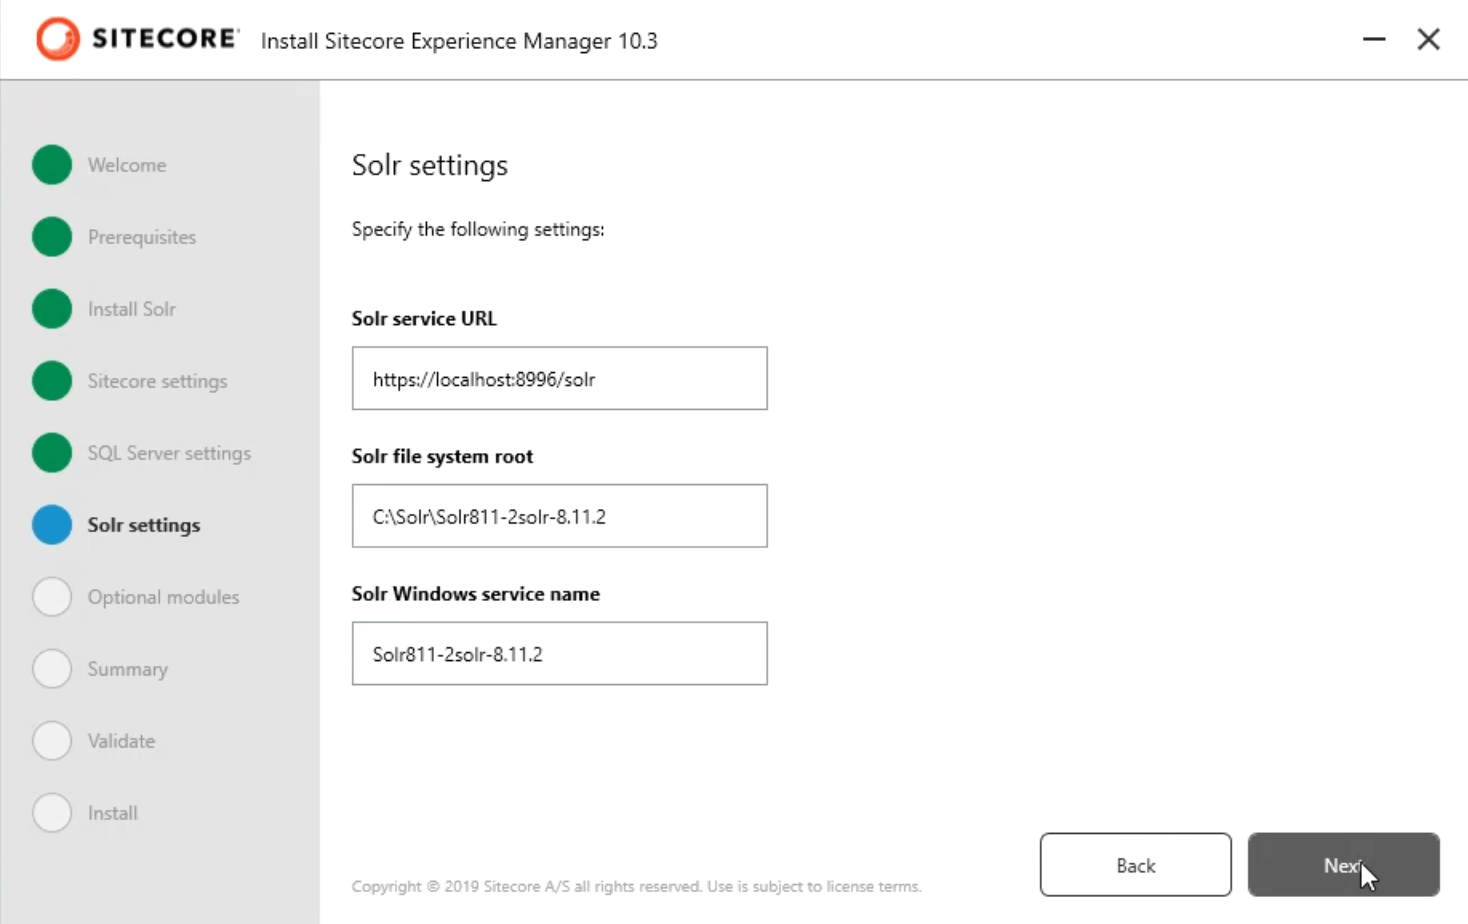
- Fill out the SQL server Instance name, admin username, and password.
- It auto-fills Solr URL, System root, and Windows service name
Note: Navigate to Solr URL and ensure it’s running as expected
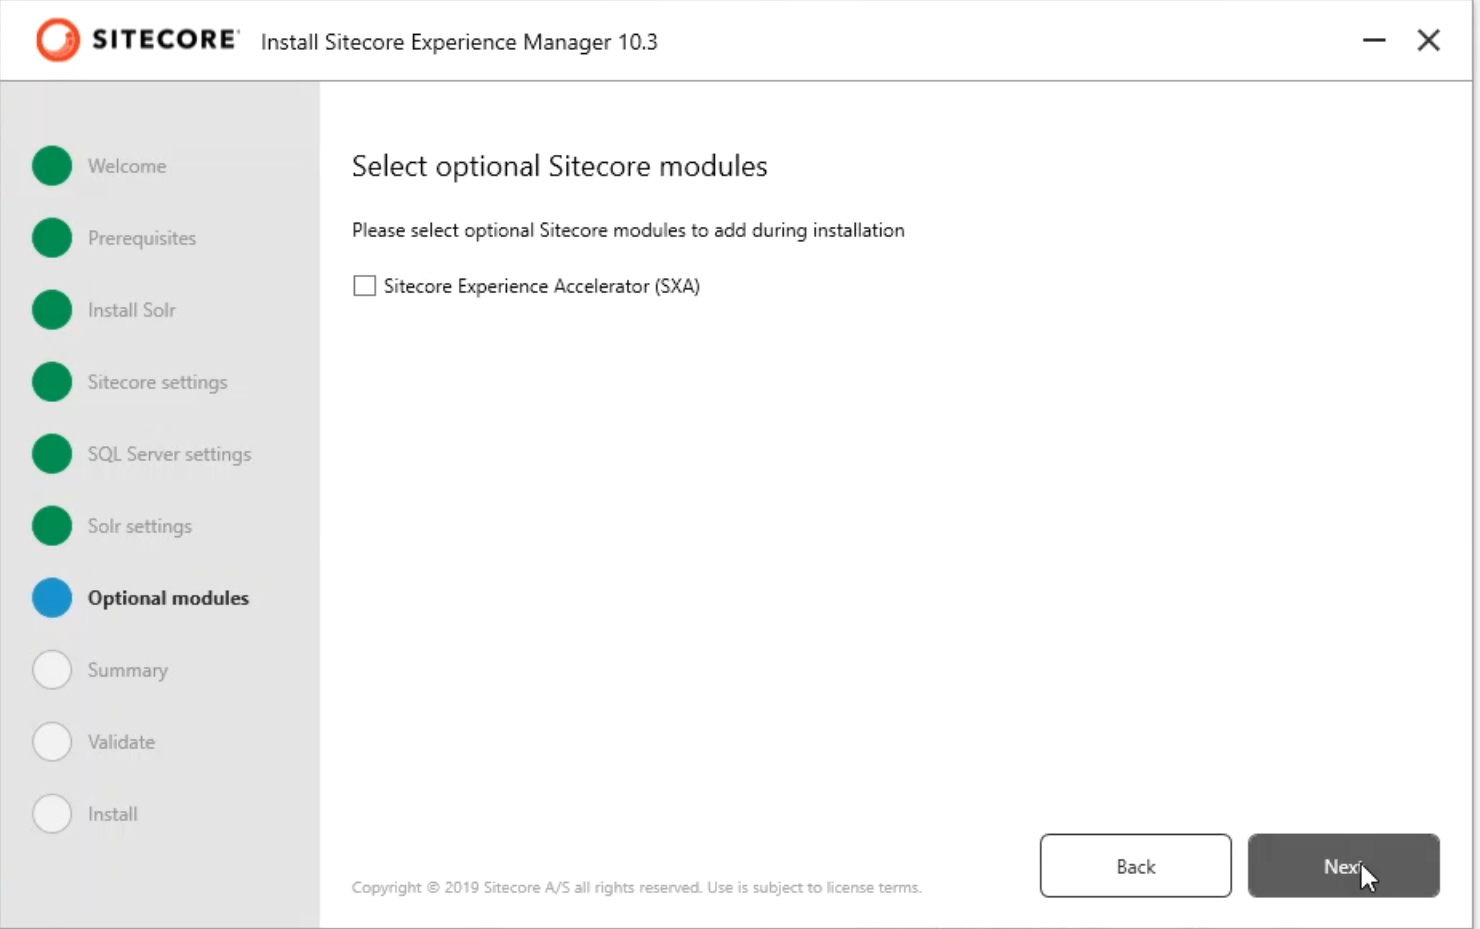
- Select the optional module if you plan to create a Headless SXA site
- Review the summary to make sure the settings are correct

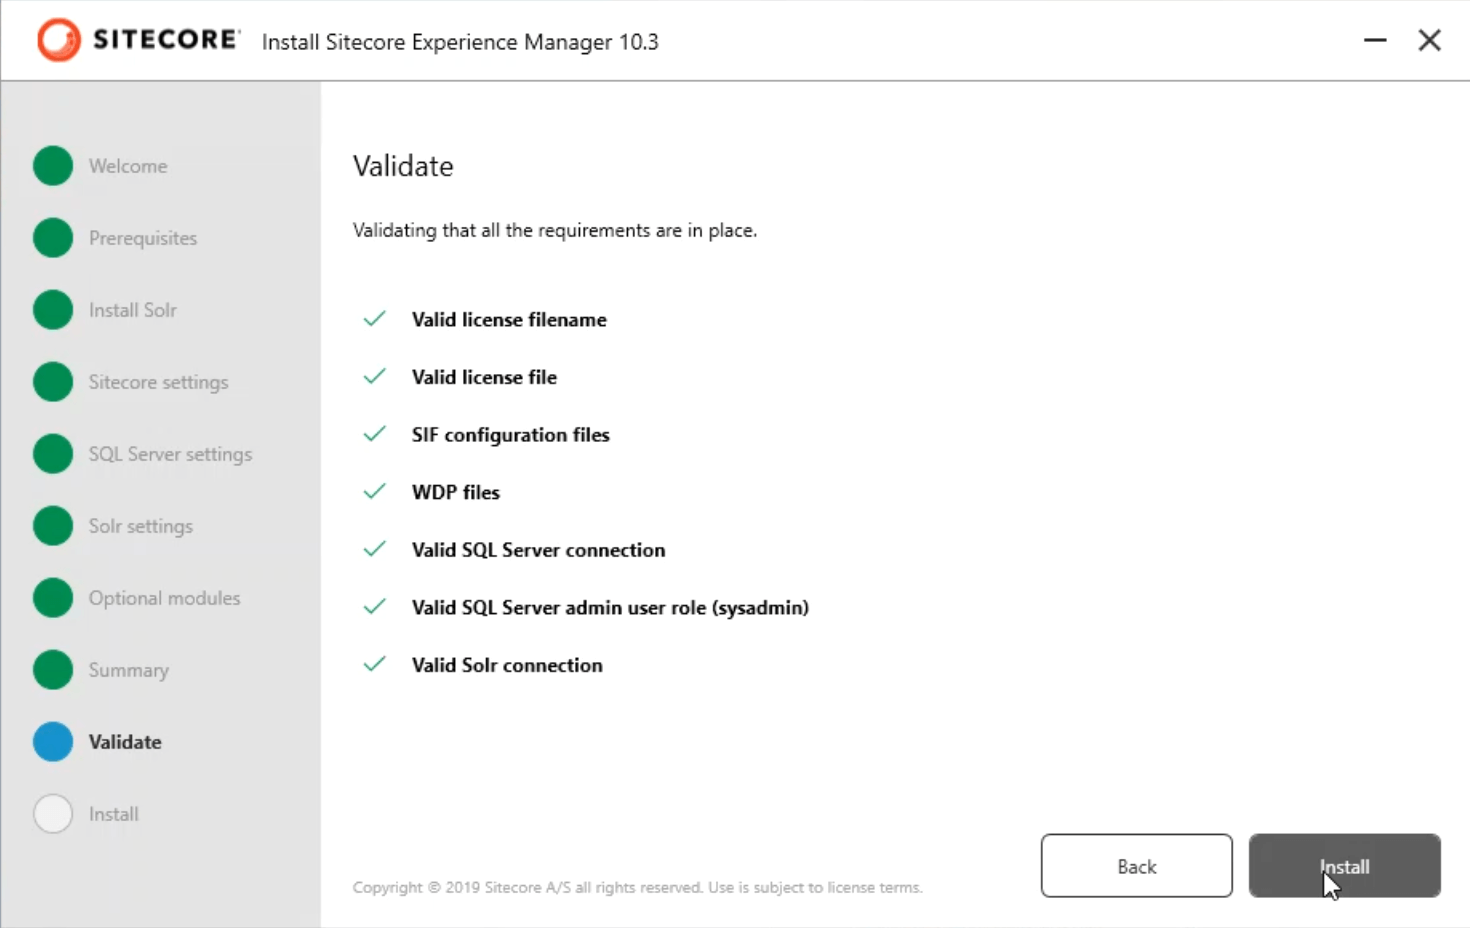
- The Installation wizard in SIA validates all the settings before starting the install
- Installation takes around 10-15 minutes (you can get a coffee!). If it errors out, check out the log.
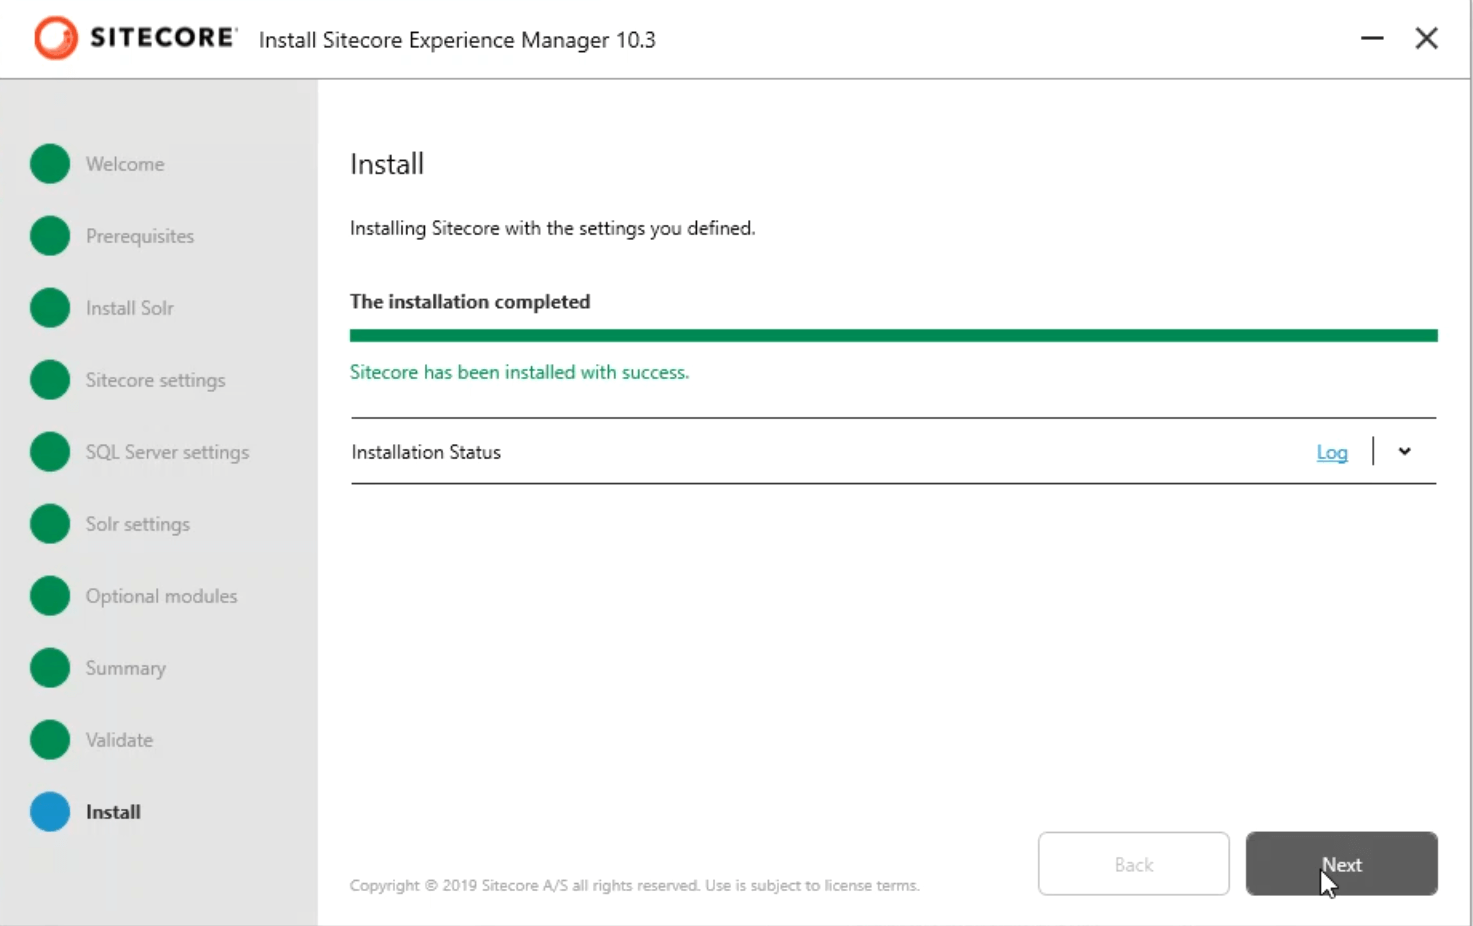
Yayy! It’s successfully installed. Is it easy to install with SIA? It’s indeed a great tool!
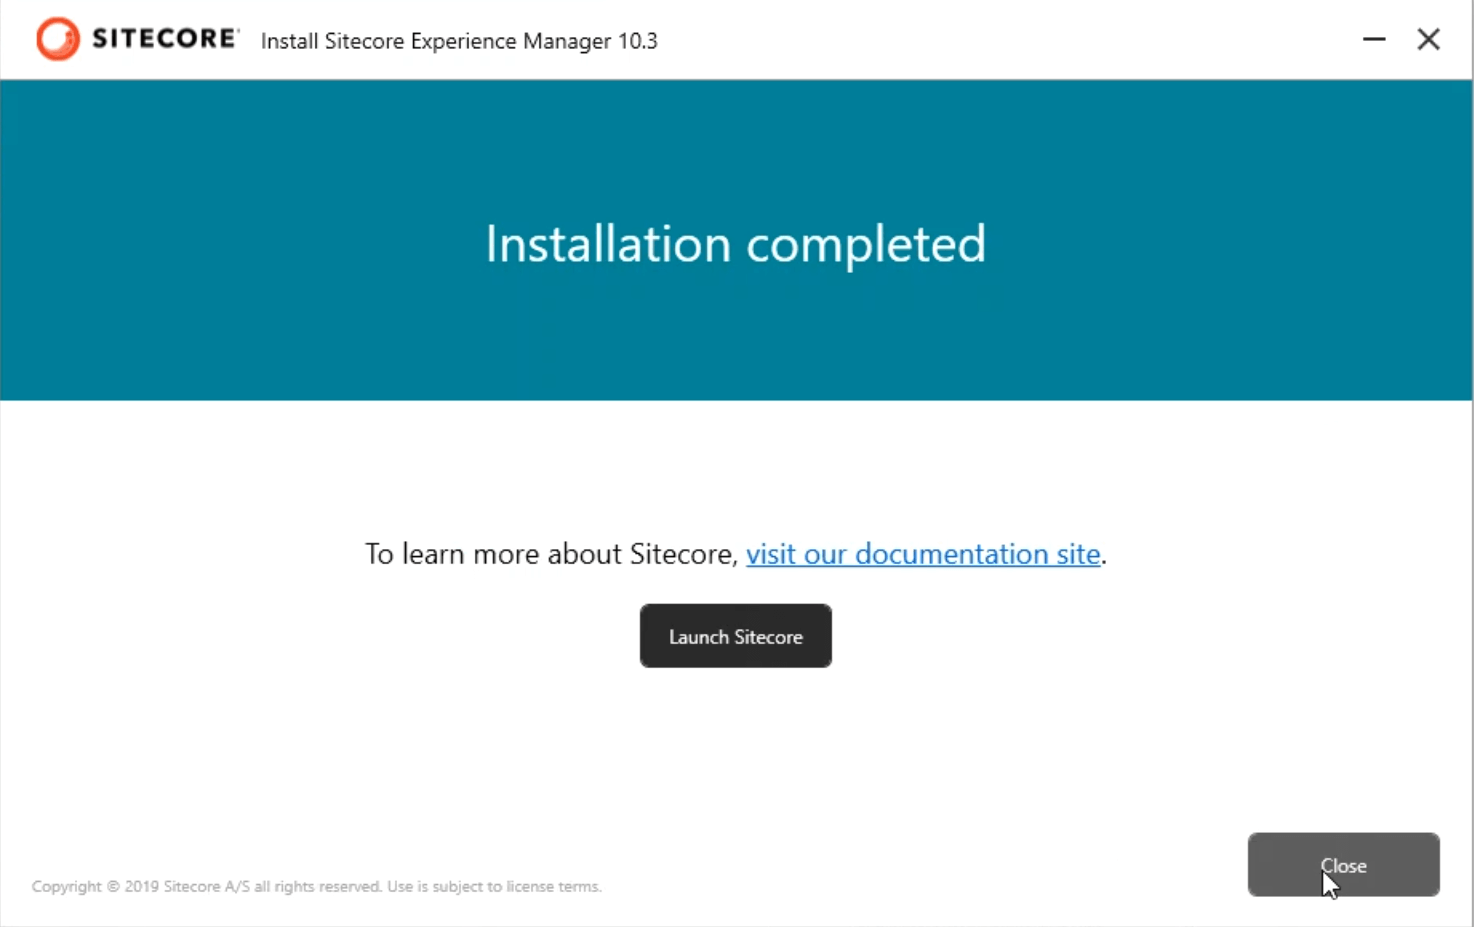
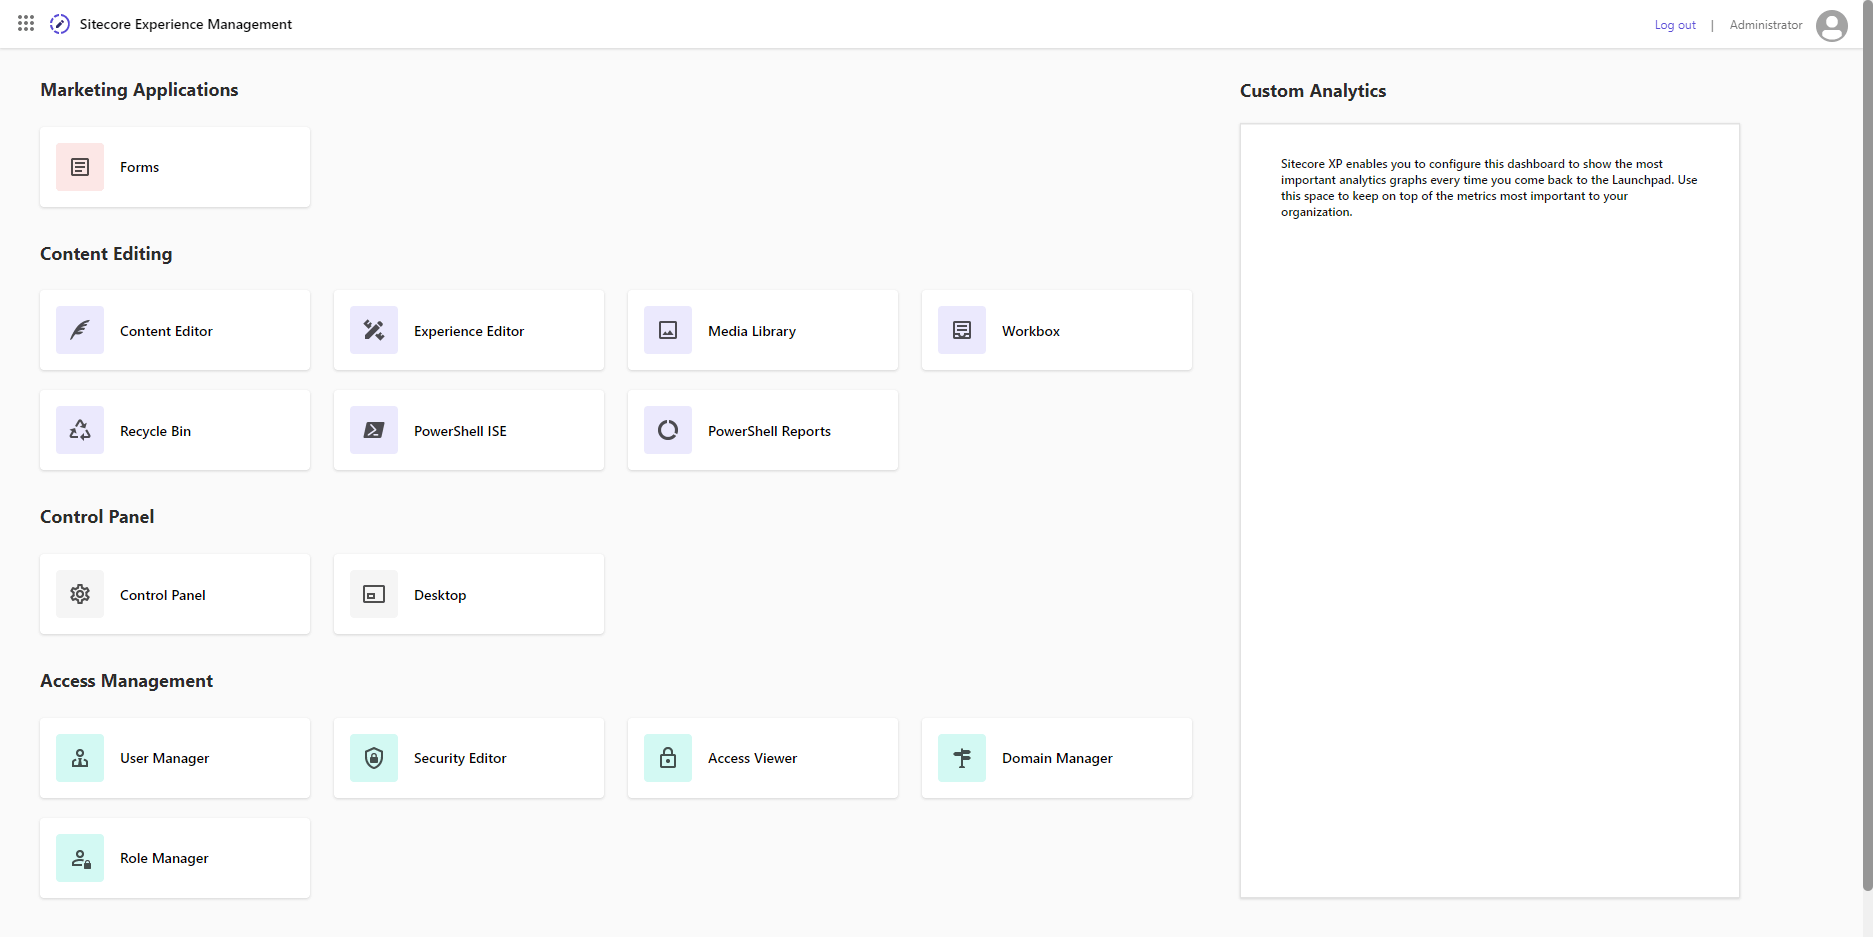
Let’s log in and explore!
Roadblocks:
Error # 1: Solr access to the path denied
Solr installation failed with error – Access to the path ‘C:\Users\MANBAL~1\AppData\Local\Temp\solr-8.11.2\server’ is denied.
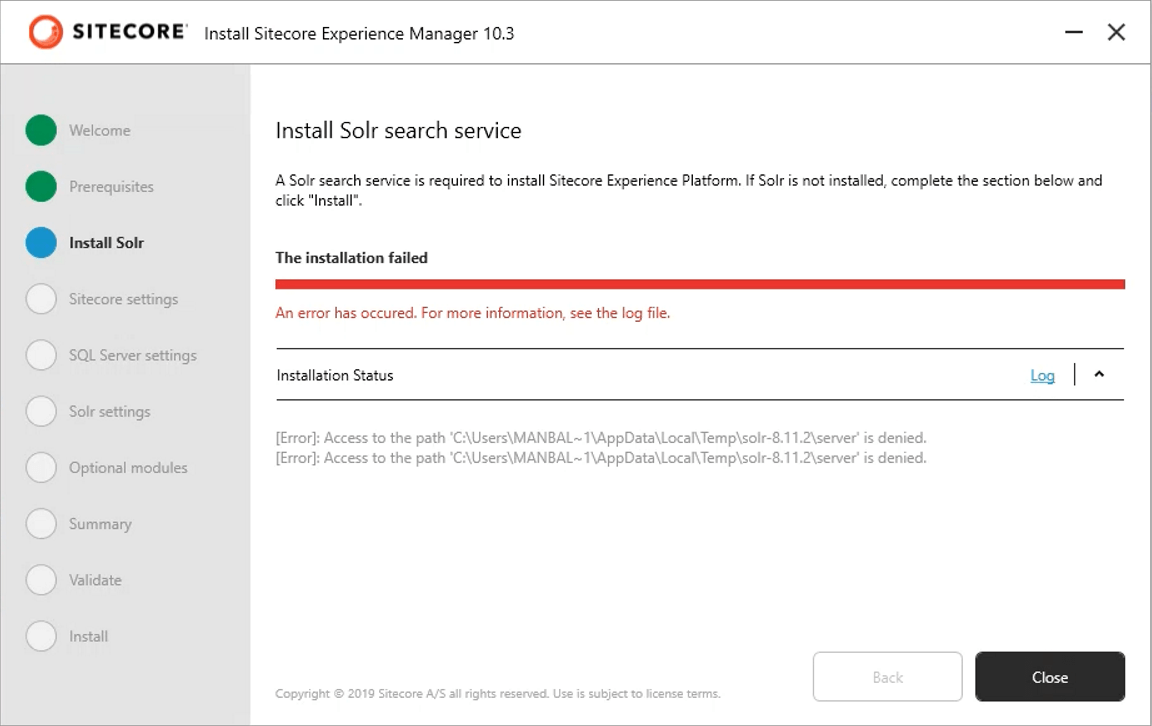
Resolution:
I wasn’t running at the setup.exe in Admin mode. Ran in Admin mode (restarted the machine just in case) fixed the issue.
Error # 2: Unable to create core index
Error CREATEing SolrCore Unable to create core [wc10.3.xm.local_core_index] Caused by: Can’t find resource ‘solrconfig.xml’ in the classpath or ‘C:\Solr\Solr.8.11.2solr-8.11.2\server\solr\sc10.3.xm.local_core_index’
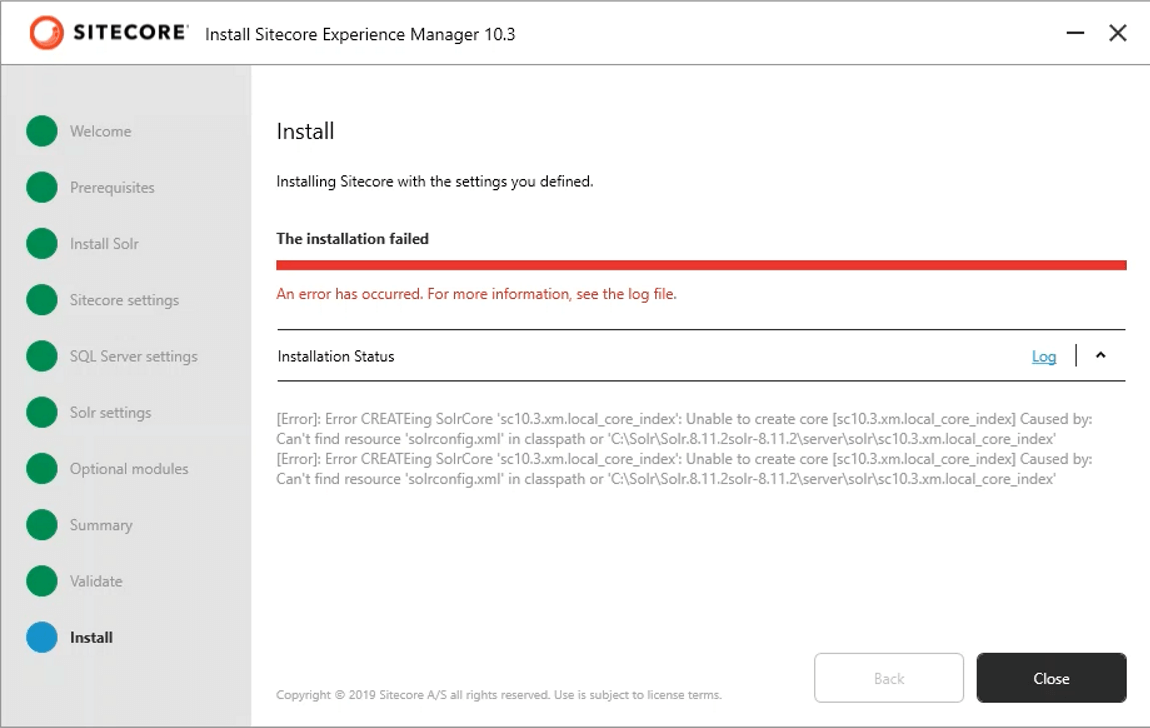
Resolution:
Do not use the same port used for the earlier installation. For some reason, it doesn’t work. Always use the new port and new Solr instance name.
Now that we installed Sitecore 10.3 XM, I’ll be installing Sitecore Headless Rendering (previously known as the JSS module) in my next blog post.
Hope this helps. Happy Sitecoring!